What You Need to Get Started with Your DIY Rock Tumbler
To begin crafting polished gems with your DIY rock tumbler, you’ll need a few key items:
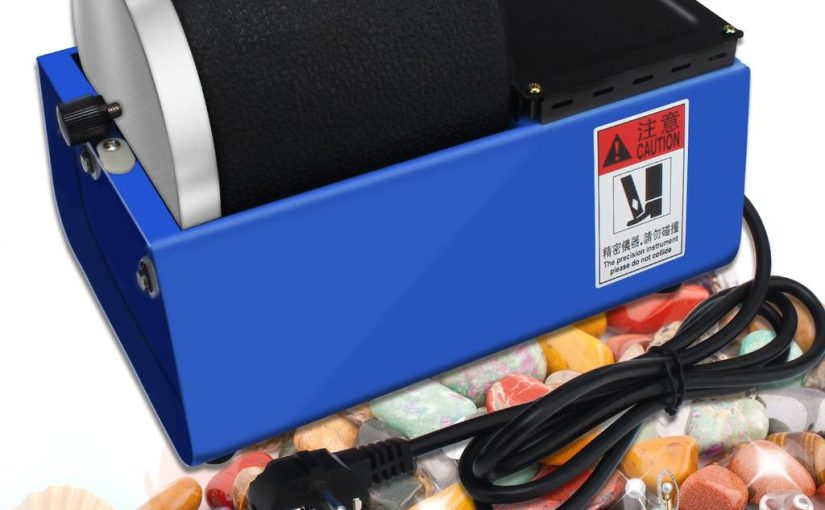
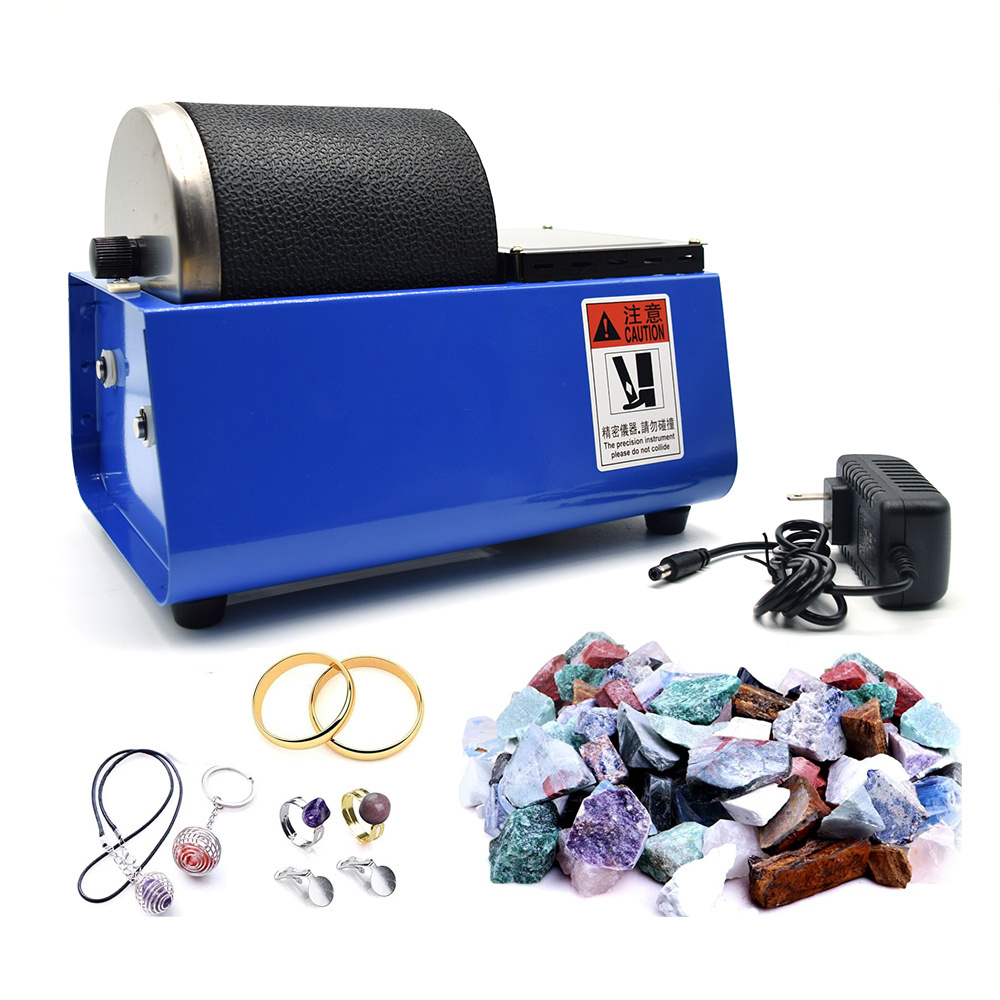
- Rock Tumbler Machine: This is the core device that will rotate your rocks and grit to create polished stones.
- Rough Rocks: Choose a variety of rough rocks to tumble. Opt for rocks that are a similar hardness to get the best results.
- Grits and Polish: Obtain different grits for the various tumbling stages. You’ll need coarse, medium, fine grits, and a final polishing compound.
- Tumbling Barrels: These containers will hold your rocks and grit during the tumbling process. Ensure they are compatible with your tumbler machine.
- Water: Access to water is essential for cleaning rocks and diluting the grits at certain stages.
- Safety Gear: Safety glasses are a must to protect your eyes, and gloves can help to protect your hands while handling rocks and grit.
- Power Source: Ensure you have a reliable power source for your tumbler, whether it’s electric or battery-operated.
- Timer: A timer will help you track the tumbling durations for each stage without having to monitor it constantly.
Gathering these supplies is the first step to setting up your own DIY rock tumbler. It’s important to select quality materials to ensure the best polishing results and to maintain your equipment for long-term use. Keep in mind the size of your tumbler as it will dictate the quantity of rocks and grit you can process at one time. Now that you know what you need, let’s move on to the next step: assembling your DIY rock tumbler.
Step-by-Step Instructions for Assembling a Rock Tumbler
Assembling your DIY rock tumbler is a critical step in starting your journey into rock polishing. Here’s a simple guide to help you set it up:
- Find a Stable Workspace: Choose a flat, stable surface to work on. It should be easy to clean and near a power source.
- Unpack the Tumbler: Carefully remove all parts from the box. Check for a manual or assembly guide.
- Assemble the Frame: Fit together the tumbler’s frame according to the manual. Ensure all screws are tight.
- Attach the Motor: Secure the motor to the frame. Connect any wires according to the instructions.
- Place the Barrels: Situate the tumbling barrels on the frame. They should fit snuggly and not move around.
- Test the Tumbler: Without adding rocks or grit, turn on the tumbler to ensure it works smoothly.
- Prepare for Use: Once you’ve confirmed the tumbler operates correctly, turn it off and unplug it, preparing it for your rocks and grit.
Take your time during assembly to avoid any mistakes that could affect the performance of your diy rock tumbler. Each step brings you closer to creating beautiful, polished gems. With these straightforward instructions, you’ll be ready to begin the tumbling process.
Choosing the Right Rocks for Tumbling
Selecting suitable rocks is key for successful tumbling. Start with these tips:
Consider Hardness: Rocks should be of similar hardness. This prevents softer stones from wearing down too quickly.
Examine Quality: Look for solid rocks without cracks or defects. Such imperfections can cause rocks to break during tumbling.
Size Matters: Choose rocks of similar size for even tumbling. Smaller stones may need less time than larger ones.
Uniformity: Although variety adds interest, too much range in rock type can lead to inconsistent results. Aim for similarity.
Type of Rock: Common rocks like agate, jasper, and quartz give great results. Avoid very soft rocks like soapstone or hard ones like diamond.
Remember, the right choice of rocks will enhance your diy rock tumbler’s effectiveness. Be patient and select carefully for the best polish on your stones.
The Tumbling Process: Duration, Materials, and Techniques
The tumbling process is where the magic happens in your DIY rock tumbler. Here’s a breakdown of the steps involved:
- Duration: Tumbling is not a quick fix—it takes time. Each stage may last from a few days to a few weeks, depending on your rocks’ size and hardness. A general rule is to let the rocks tumble for one week per grit stage.
- Materials: As previously mentioned, you need different types of grits. Start with coarse grit to shape and smooth the rocks. Move on to finer grits for more thorough smoothing. Finish with a polishing compound for that final shine.
- Techniques: Add rocks, grit, and water to the tumbler barrel, ensuring enough space for movement. Seal the barrel tightly. Set the tumbler turning speed as recommended by the manufacturer. Periodically check progress, and clean rocks and barrels when switching to finer grits.
A well-monitored tumbling process yields excellent results. Keep close tabs on your diy rock tumbler, and adjust the timing and materials as needed to achieve the smooth, gleaming finish you desire for your rocks.
Tips for Getting a Perfect Polish on Your Stones
Achieving a perfect polish with your DIY rock tumbler involves precision and patience. Here are essential tips to ensure your stones come out beautifully smooth and shiny:
- Start with Clean Equipment: Always begin with a clean tumbler and barrels. Residue from previous uses can affect the polish.
- Measure Your Grits: Use the correct amount of grit for the size of your barrel. Too much or too little can hinder the tumbling process.
- Check Seals and Lids: Ensure the tumbler barrels are sealed tight to prevent leaks. Leaks can cause a loss of grit and water, which is vital for tumbling.
- Maintain Proper Water Levels: The water level should barely cover the rocks in the barrel. Adjust as needed during check-ups.
- Inspect Rocks Between Stages: After each grit stage, inspect your stones. Remove any that are already well-polished or damaged.
- Be Patient with Each Stage: Don’t rush the tumbling stages. Give your stones the time they need to smooth out with each grit level.
- Use Quality Polishing Compound: Invest in a good polishing compound for the final stage to achieve that high gloss.
- Test and Adjust: If your stones aren’t as polished as you’d like, experiment with longer tumbling times or different grit combinations.
Following these tips will help you get the best results from your DIY rock tumbler. Remember, the key is to pay attention to detail and give your stones the care they need throughout the tumbling process.
Maintaining Your DIY Rock Tumbler for Long-Term Use
To keep your DIY rock tumbler running well, follow these maintenance tips:
- Regular Cleaning: After each use, clean your tumbler thoroughly. Remove grit and rock remnants to prevent buildup.
- Inspect for Wear: Regularly check for signs of wear and tear. Look at belts, bearings, and the motor for any damages.
- Tighten Loose Parts: Screws and bolts can loosen with vibration. Check and tighten them often to avoid breakdowns.
- Lubricate Moving Parts: Apply lubrication to any moving parts if the manufacturer recommends it. This reduces friction and prevents overheating.
- Store Properly: When not in use, store your tumbler in a cool, dry place. This protects it from damage by extreme temperatures and moisture.
- Replace Parts as Needed: Don’t wait for a complete failure to replace worn parts. Doing so prevents more extensive damage and saves money in the long run.
- Monitor Noise Levels: Unusual noises can signal a problem. Stop the tumbler and investigate any strange sounds immediately.
Caring for your DIY rock tumbler is simple with these tips. Proper maintenance means more polished stones and fewer problems.
Creative Ideas for Using Your Polished Rocks
After you’ve spent time tumbling and polishing rocks with your DIY rock tumbler, you’ll have beautiful, shiny gems ready for a variety of creative uses. These polished rocks can be more than just a satisfying project; they can become part of your home decor, jewelry, or art. Here are some creative ideas to inspire you:
- Decorative Accents: Use your polished stones as eye-catching elements in a vase or as part of a tabletop centerpiece.
- Jewelry Making: Turn those small, gleaming rocks into pendants, earrings, or beaded bracelets.
- Mosaic Projects: Incorporate polished rocks into mosaic art pieces, such as frames, pots, or stepping stones for your garden.
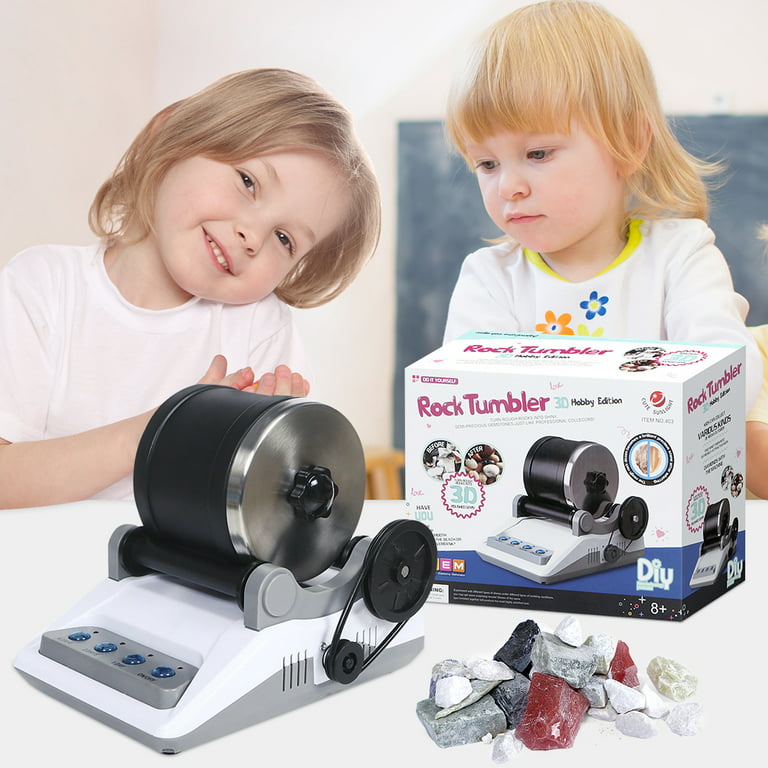
- Educational Tools: Teach kids about geology with your colorful collection of stones. Explain how each type of rock was formed and polished.
- Personalized Gifts: Give your polished rocks as personalized gifts, perhaps by painting or engraving them with special messages.
- Fish Tanks: Brighten up an aquarium by adding polished rocks as part of the underwater landscape.
- Meditation and Healing: Some believe in the healing properties of stones. Use yours in meditation or as part of a wellness routine.
By exploring these ideas, you can extend the joy of your DIY rock tumbler hobby and share your polished creations with others.