Keeping your baby’s toys clean and sanitized is crucial for their health and well-being. Babies explore their world through touch, often putting toys in their mouths, making it essential to maintain proper hygiene. With a variety of materials used in toys today, understanding how to sanitize baby toys effectively is vital. This step-by-step guide will provide you with practical methods to keep your baby’s toys clean, ensuring they are safe for playtime.
Understanding the Importance of Sanitization
Why Sanitize Baby Toys?
How to sanitize baby toys? Babies are curious creatures, constantly exploring their environments. However, their immune systems are still developing, making them more susceptible to germs and bacteria. Toys can harbor dirt, germs, and even mold if not cleaned adequately. Regular sanitization reduces the risk of infections, illnesses, and allergies, promoting a healthier environment for your little one.
In addition to health benefits, maintaining clean toys contributes to a safer play area. Dirt and grime can accumulate over time, which not only looks unpleasant but can also affect a toy’s functionality. By keeping toys disinfected and in good condition, you enhance their longevity and ensure they continue to provide the development and engagement your baby needs.
Benefits of Regular Cleaning
Implementing a regular cleaning routine goes beyond sanitizing for health concerns. Clean toys encourage your child to take pride in their belongings and understand the importance of hygiene. As they grow, teaching them about cleanliness can instill lifelong healthy habits.
Moreover, clean toys often spark more joy in playtime. When brightly colored toys are spotless, they become more visually appealing. This encourages your child to engage with them more frequently, enhancing their overall developmental experience through play. How to sanitize baby toys? A commitment to cleanliness can make playtime enjoyable and safe.
Gathering Your Supplies
Essential Cleaning Supplies
Before you begin sanitizing, gather all necessary supplies. This preparation ensures that the cleaning process is efficient and effective. For most cleaning tasks, you will need a few basic items:
- Mild Soap: Use a gentle dish soap or baby-safe cleaner. Avoid harsh chemicals that may irritate your baby’s skin or lungs.
- Warm Water: Having a bowl or basin filled with warm water makes it easier to soak toys and cleanse them properly.
- Rags or Soft Cloths: Use soft cloths to wipe down toys without causing scratching or damage.
- Scrub Brush: For toys with crevices or that are particularly dirty, a soft scrub brush can help remove stubborn grime.
- Disinfectant Solution: Consider purchasing a safe disinfectant that is explicitly labeled safe for use around children. Alternatively, you can make your own solution using a mix of water and bleach or vinegar, always ensuring it is safe for the specific materials of your toys.
- Rinse Water: Keep a separate basin of clean water for rinsing toys after washing them.
Safety Considerations
When choosing your supplies, prioritize safety. Always opt for cleaning agents labeled as non-toxic and free from harmful chemicals. If using bleach or vinegar solutions, ensure they are well-diluted to avoid any potential harm to your baby. Always store cleaning supplies out of reach of children to prevent accidents.
Before using a new cleaning product, also test it on a small area to check for any adverse reactions with the materials of the toys. By taking these precautions, you help create a safe and healthy play environment for your baby.
Preparing the Toys for Cleaning
Step 1: Assessing the Toys
Before you begin the sanitization process, take time to assess the toys you intend to clean. Check for any tags, labels, or instructions that may provide specific cleaning guidelines. Certain toys may have particular care needs based on their materials.
Identify any toys that require special attention, such as those that are cloth-based or contain electronic components. By recognizing these before cleaning, you can avoid damaging the toys and ensure they stay in great condition after sanitization.
Step 2: Disassembling When Necessary
For toys that come apart, disassemble them as much as possible. This will allow you to clean each section thoroughly, including areas that might be harder to reach. Remove any batteries from electronic toys to prevent damage during cleaning.
If your baby’s toys include removable parts, small accessories, or attachments, consider placing them in a mesh laundry bag so they remain together throughout the washing process. By preparing the toys properly, you set the stage for efficient and thorough cleaning.
Washing the Toys
Step 1: Washing Non-Electronic Toys
Start with non-electronic toys first. These items can typically be washed with warm, soapy water. Using a soft cloth or sponge, scrub the surfaces gently. Be sure to get into any crevices, especially those that may harbor dirt. For larger toys, you may want to use a scrub brush for more effective cleaning.
Once you’ve thoroughly washed the toys, rinse them well under warm running water to remove any soap residue. It’s essential to remove all soap to prevent irritation to your baby’s skin. Shake off excess water gently and move on to the drying stage.
Step 2: Cleaning Soft Toys
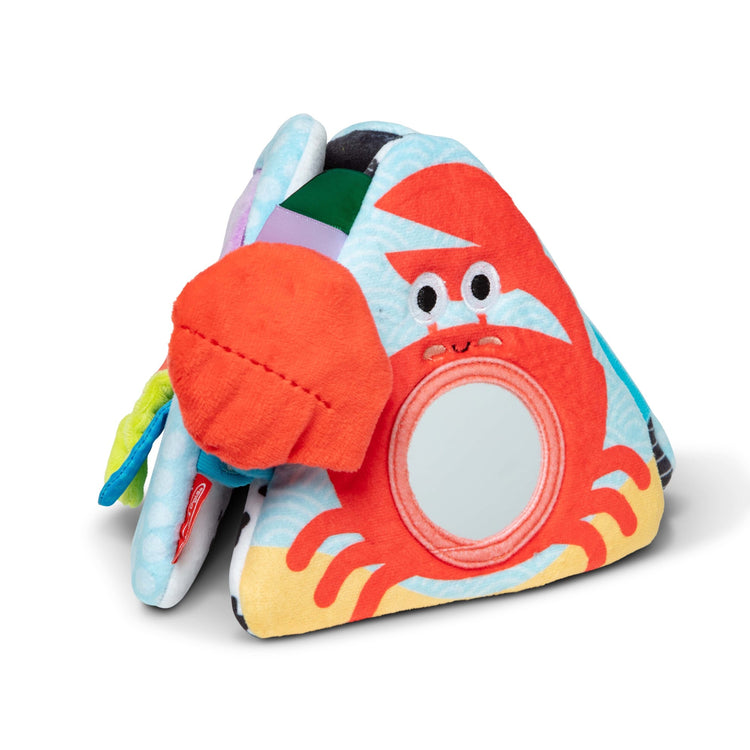
Soft toys, like stuffed animals, require a different approach. Check the care label for cleaning instructions, as some may be machine washable while others need to be hand-washed.
Hand Washing Approach: If hand washing, use lukewarm water mixed with mild detergent. Submerge the toy gently and scrub it softly to avoid damage. Rinse thoroughly under clean water.
Machine Washing Approach: For washable stuffed animals, place them in a pillowcase or laundry bag to protect them during the wash cycle. Use a gentle cycle with mild detergent, and avoid fabric softener. Once clean, air dry the plush toys to prevent any shrinkage.
Sanitizing the Toys
Step 1: Disinfecting with Solutions
After washing, it’s time to disinfect the toys to eliminate any remaining germs and bacteria. For this step, you can use your prepared disinfectant solution or opt for store-bought child-safe disinfectants. If making a solution, combine one tablespoon of unscented liquid bleach with a quart of water.
Be sure to soak a clean cloth in the solution and wipe down every surface of the toys. Focus on frequently touched areas. Specific toys may also require you to soak them in the solution if they are particularly dirty or well-used. Allow the disinfectant to sit on the toys for around 5-10 minutes to ensure effectiveness.
Step 2: Rinsing and Drying
Once the disinfecting time has elapsed, rinse the toys again thoroughly under warm water. This step is crucial to remove any residue from the disinfectant solution. Again, be sure to shake off any excess water carefully.
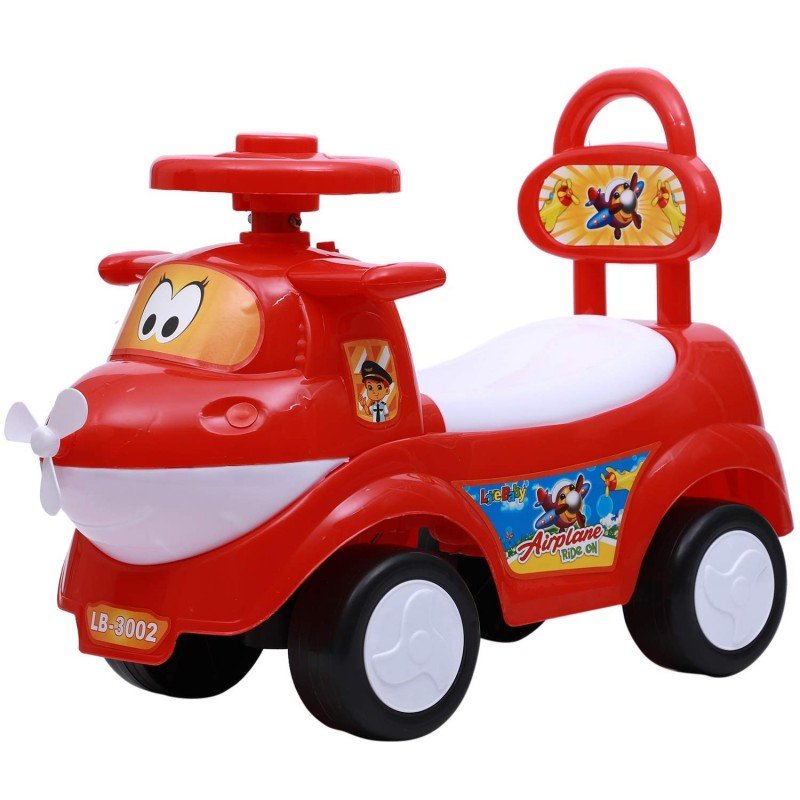
For drying, place the sanitized toys on a clean towel or drying rack. Ensure they are in a well-ventilated area, and avoid placing them in direct sunlight, especially for plastic toys, as sunlight can cause fading or warping. Ensure they are completely dry before putting them back into use.
Storing Cleaned Toys
Step 1: Organizing for Easy Access
Once the toys are dried and sanitized, it’s time to organize them. Store cleaned toys in a designated toy box or bin to keep them all in one place. This keeps your child’s play area tidy and ensures that everything is easy to find during playtime.
Use clear containers or labels, if necessary, for larger collections of toys. Organizing toys by category can make it easy for your baby to understand where everything goes, encouraging independence as they grow. This also makes cleaning and sanitizing easier in the future.
Step 2: Regular Maintenance Schedule
Instead of waiting for toys to become visibly dirty, establish a cleaning routine. Regularly inspect your baby’s toys for signs of dirt or wear. Set a schedule for sanitizing, such as doing it every week or biweekly, depending on how often the toys are used.
Incorporating a maintenance routine not only keeps toys fresh but also reduces the need for deep cleaning sessions. Make it a family activity to ensure your baby’s toys remain safe and clean, nurturing a habit of cleanliness from an early age.
Final Tips for Toy Sanitization
Educating on Hygiene
In addition to cleaning toys, educate your child about the importance of hygiene. Involve them in the cleaning process as they grow older, helping them understand that cleanliness is a shared responsibility. This education will serve them well as they navigate various environments and social settings.
Encourage your little one to take care of their toys. Instilling good habits now will benefit them in countless ways. Teach them to put away toys after playtime to reduce clutter and maintain cleanliness in their environment.
Considerations for Future Purchases
When buying new toys for your baby, consider choosing materials that are easy to clean. How to sanitize baby toys? Fabrics that are machine washable or toys with smooth surfaces can make sanitizing much simpler down the road. Always check for age-appropriate labels and safety certifications to ensure the toys are suitable for your child’s stage of development.
By taking these steps, you can ensure that your baby’s play area remains a safe and enjoyable space. Maintaining clean toys enhances the overall experience for your child, allowing them to explore and learn in a healthy environment. With consistent care, your baby’s toys will continue to provide joy and support for their development growth. Take pride in creating a safe and clean play area for your little one to enjoy!
