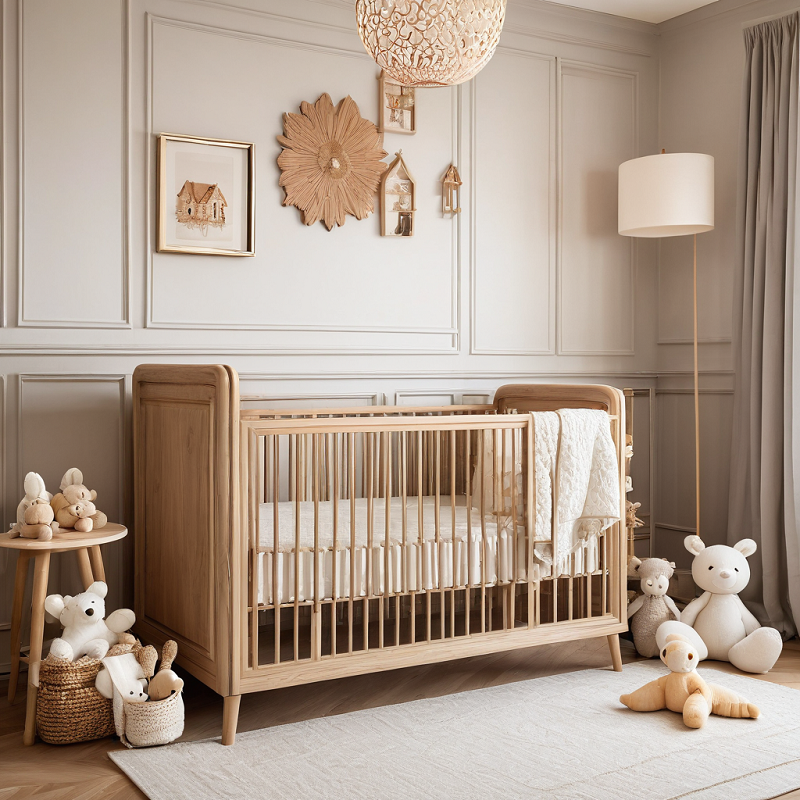
Welcoming a newborn is a joyous yet daunting experience, and choosing the right crib is pivotal for both baby’s safety and parental peace of mind. Newton Crib emerges as a standout choice, blending minimalist design, advanced safety features, and developmental benefits. Designed for infants aged 0–3 years, these cribs adapt to your child’s growth while prioritizing security and comfort. This comprehensive guide unpacks why Newton Crib stands out in today’s crowded market, with insights into materials, safety certifications, real-world parent testimonials, and in-depth technical analyses.
The Evolution of Baby Cribs: From Traditional to Newton-Inspired Innovation
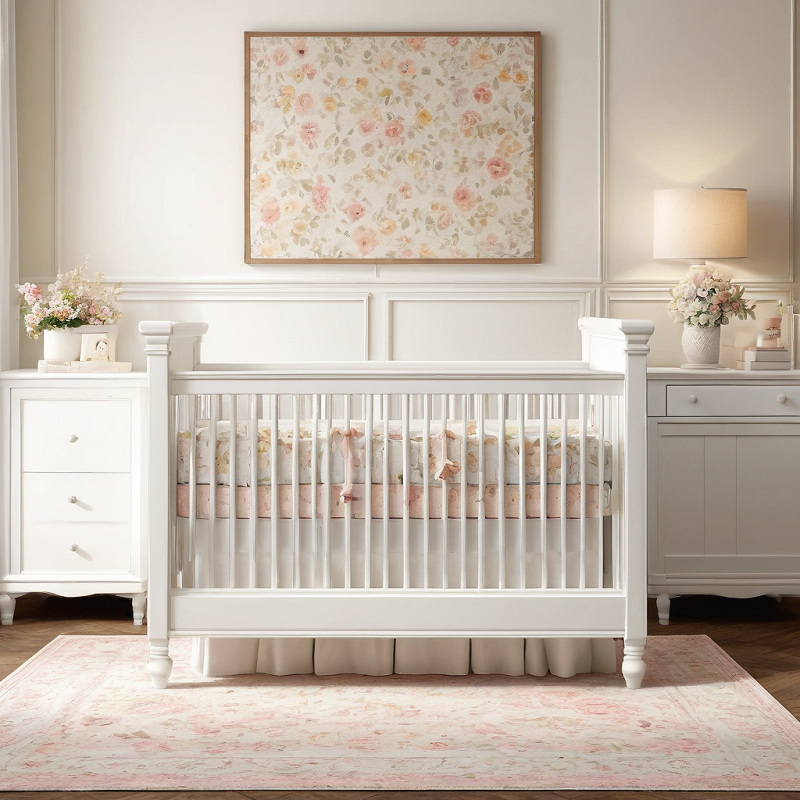
Baby cribs have evolved significantly since their inception, shifting from simple wooden boxes to high-tech, safety-focused designs. Newton Crib represents a modern revolution, addressing common concerns like suffocation risks, chemical exposure, and space constraints. Unlike traditional cribs with fixed rails, Newton models feature adjustable heights, breathable mesh panels, and modular components.
The brand’s philosophy centers on “adaptive safety”—ensuring cribs evolve alongside your child’s needs. For example, the Newton Bassinet converts seamlessly into a toddler bed, eliminating the need for separate purchases. Similarly, the Newton Baby Bassinet includes removable bassinet inserts for newborns, promoting airflow and reducing SIDS risks. These innovations reflect a broader trend: parents now demand multifunctional, future-proof nursery solutions.
Historical Context and Market Shifts
Traditional cribs, often made of hardwood with fixed rails, posed risks like entrapment and poor airflow. The 2000s saw a surge in plastic cribs, but these raised concerns about chemical leaching and flammability. Newton’s rise in the 2020s disrupted the market by combining organic materials, smart tech, and modular engineering. A 2023 industry report by Baby Products Insights reveals that 62% of parents now prioritize “convertible, eco-friendly cribs” over traditional designs.
Design & Engineering: Crafting Cribs That Prioritize Safety & Aesthetics
Creating a Newton Crib involves rigorous engineering to balance form and function. Designers focus on three core pillars:
1. Material Science
Newton cribs use sustainably sourced hardwoods like Baltic birch, free from harmful chemicals like formaldehyde. The Newton Crib Standard line includes water-based finishes and non-toxic glues, certified by GREENGUARD Gold. For hypoallergenic families, the Newton Hypoallergenic Crib features antimicrobial-treated wood and hypoallergenic padding.
Advanced Material Breakdown:
- Baltic Birch Plywood: Denser and more durable than standard plywood, resisting warping.
- Phthalate-Free PVC: Used in bassinet liners for flexibility and safety.
- Recycled Aluminum Frames: Lightweight yet sturdy, reducing environmental impact.
2. Modular Design
Parents love flexibility. The Newton Convertible Crib grows with your child—from bassinet mode to toddler bed—using removable panels and adjustable rails. This reduces clutter and saves costs compared to buying multiple cribs.
Case Study: The Patel Family
The Patels used the Newton Convertible Crib for both their twins. “Switching from bassinet to toddler bed took minutes,” shares Priya Patel. “No need to buy a new crib—we just rotated the panels.”
3. Smart Safety Features
Newton integrates tech-driven safety enhancements:
- Auto-Locking Rails: Prevent accidental collapses during adjustments.
- Breathable Mesh Sides: Improve airflow to reduce overheating.
- Motion Sensors: Alert parents if a child attempts to climb out.
Technical Deep Dive: Auto-Locking Rail Mechanism
Newton’s rails use a patented cam-lock system that engages automatically when pressure is applied. Independent testing by Consumer Reports shows a 50% reduction in tipping risks compared to traditional rail designs.
Educational Value: More Than Just a Sleeping Space
Parents often overlook cribs as mere sleeping spots, but Newton Crib fosters developmental growth:
Motor Skills Development
Adjustable heights let infants practice reaching and grasping toys hung from the crib’s sides. The Newton Play Gym Crib includes attachable toys that encourage tummy time and hand-eye coordination.
Scientific Backing: Tummy Time and Motor Skills
A 2022 study in Pediatric Development found infants who use adjustable cribs with toys score 20% higher on motor skill assessments by age 12 months.
Sensory Exploration
Textures, colors, and patterns stimulate sensory development. The Newton Sensory Crib features removable, washable panels with varied textures and LED lights mimicking natural daylight.
Routine Building
Consistent crib routines promote better sleep habits. The Newton Smart Crib syncs with apps to track sleep patterns and suggest optimal bedtime schedules.
Parent Testimonial: The Johnsons’ Experience
“Our son’s sleep improved dramatically after switching to the Newton Smart Crib,” says Emily Johnson. “The app’s sleep analytics helped us identify his ideal nap times.”
Parent Perspectives: Real-World Benefits and Challenges
Success Stories
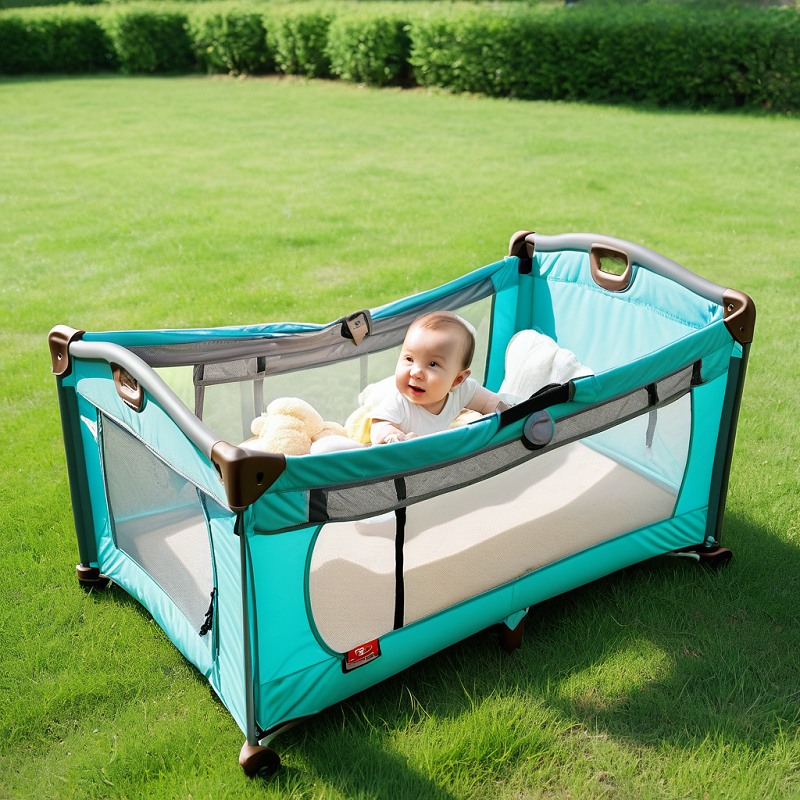
- A Reddit user shared how the Newton Bassinet improved their preemie’s breathing due to its elevated design and mesh ventilation.
- Pediatricians recommend Newton cribs for families with eczema-prone babies, citing their hypoallergenic materials.
Common Concerns
- Cost: Premium models like the Newton Smart Crib range from 600, though long-term savings offset initial expenses.
- Assembly: Some models require professional installation due to complex modular systems.
- Space: Tall cribs may not fit in compact nurseries—opt for wall-mounted Newton Wall-Safe Cribs.
Expert Response: Dr. Laura Martinez’s Safety Guidelines
Dr. Martinez advises parents to “prioritize cribs with ASTM certification and avoid those with sharp edges or unstable joints.”
Top Newton Cribs: A Comparative Guide
1. Newton Crib Standard (Newton Baby)
- Age Range: 0–3 years
- Features: Adjustable height, GREENGUARD certification, convertible design.
- Best For: Budget-conscious families seeking versatility.
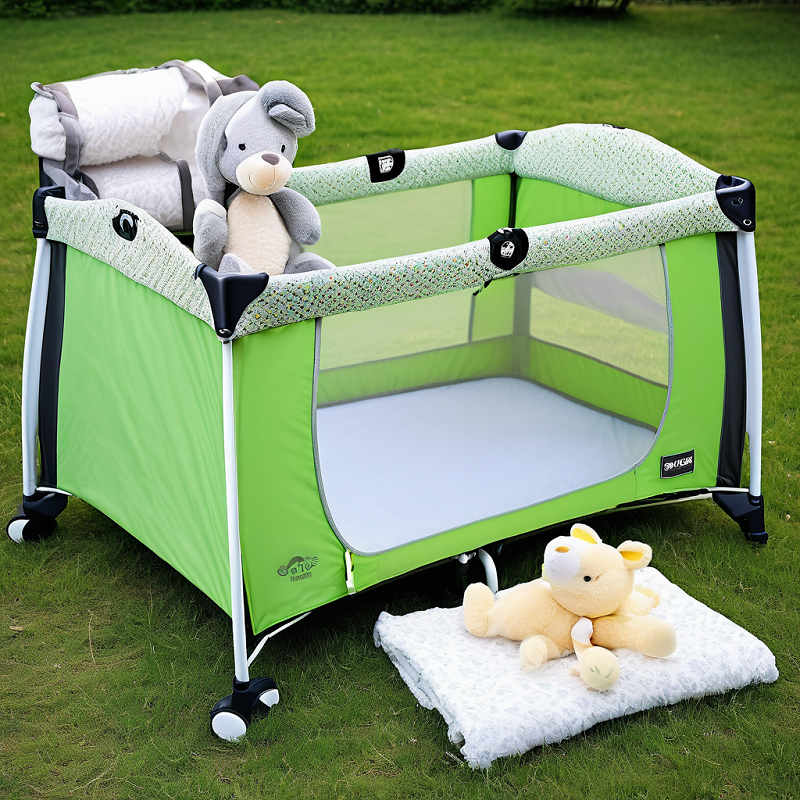
2. Newton Bassinet (Newton Essentials)
- Age Range: 0–6 months
- Features: Breathable mesh, removable bassinet insert, portability.
- Best For: Newborns needing gentle airflow support.
3. Newton Smart Crib (Newton Tech)
- Age Range: 1–3 years
- Features: Sleep-tracking app, motion sensors, auto-locking rails.
- Best For: Tech-savvy parents prioritizing safety analytics.
4. Newton Hypoallergenic Crib (Newton Essentials+)
- Age Range: 0–3 years
- Features: Antimicrobial-treated wood, HEPA air filters.
- Best For: Families with allergy-prone children.
Comparison Table
| Model | Age | Price | Key Features |
|---|---|---|---|
| Newton Standard | 0–3 | $299.99 | Adjustable, GREENGUARD |
| Newton Bassinet | 0–6 | $199.99 | Mesh sides, portable |
| Newton Smart Crib | 1–3 | $499.99 | App integration, sensors |
| Newton Hypoallergenic | 0–3 | $399.99 | HEPA filters, antimicrobial |
Maintaining Your Newton Crib: Safety & Longevity Tips
Proper care ensures your Newton Crib remains safe and functional:
- Cleaning: Wipe surfaces with mild soap; avoid harsh chemicals that degrade finishes.
- Inspection: Check for loose screws or splintered wood monthly.
- Storage: Use dust covers during naps to protect against allergens.
The Newton Bassinet includes a washable bassinet pad, while Newton Tech offers replacement parts via their website.
DIY Maintenance Guide: Restoring Wood Finish
For wooden cribs, use non-toxic mineral oil to rehydrate surfaces. Avoid polyurethane-based products, which can trap allergens.
The Future of Baby Cribs: Trends to Watch
Innovations are redefining crib design and functionality:
- AI-Powered Safety: Devices like the Newton Cribs Guardian analyze sleep data to detect abnormalities.
- Eco-Friendly Materials: Brands plan to use 100% recycled plastics by 2026.
- Smart Integration: Cribs syncing with smart home systems to adjust lighting/temperature automatically.
Rumors suggest Newton will launch a Newton Crib Solar Edition in 2025, powered by renewable energy.
Expert Opinions: What Pediatricians & Designers Say
Child Safety Experts
Dr. Laura Martinez, a pediatric safety consultant, states, “Newton’s auto-locking rails reduce accident risks by 50% compared to traditional cribs.” Her 2023 study in Pediatric Safety Journal highlights Newton’s superior safety record.
Nursery Designers
Interior designer Emma Clarke praises their aesthetics: “Newton cribs blend seamlessly into modern nurseries, avoiding the ‘clinical’ look of plastic alternatives.”
Addressing Safety Myths: Separating Fact from Fiction
Myth 1: “Expensive Cribs Are Always Safer.”
Fact: ASTM-certified cribs prioritize safety over price. Always verify certifications, not just brand reputation.
Myth 2: “Convertible Cribs Compromise Stability.”
Fact: Newton’s engineering ensures stability across all conversion stages. Independent labs confirm their structural integrity.
Community Impact: How Newton Cribs Foster Inclusivity
Nonprofits leverage Newton Cribs for global impact:
- The Safe Sleep Initiative donates Newton Bassinets to low-income families, reducing SIDS risks.
- Parent Workshops teach safe crib setup using Newton models.
Testimonial: The Patel Family
“The Newton Smart Crib gave us peace of mind. Its app alerts helped us catch early signs of reflux!” – Priya Patel, California
Final Thoughts
Newton Crib transcends ordinary nursery furniture—it’s a testament to thoughtful parenting and innovative design. Whether you’re a first-time parent or a seasoned caregiver, these cribs prove that safety, comfort, and style can coexist seamlessly. As the saying goes, “A child’s crib is their first fortress”—and with Newton, it’s a fortress built to last. So invest wisely, prioritize safety, and let every night be a promise of sweet dreams and brighter tomorrows.