Importance of Toys in Early Development
Baby first toys play a vital role in early development, offering essential opportunities for learning, sensory exploration, and motor skill growth. Choosing the right baby first toys helps shape how infants interact with and understand the world around them.
How Toys Stimulate Growth and Learning
Toys stimulate cognitive, social, and emotional growth. They encourage babies to explore textures, colors, and sounds. Interactive toys help build problem-solving skills and creativity. Playing with toys challenges their curiosity and keeps their minds active.
Motor skill development is another benefit. Toys like rattles improve grip and arm movement. Rolling balls or stacking blocks improve coordination, supporting larger motor milestones.
Benefits of Age-Appropriate Toys
Age-appropriate toys meet the developmental needs of babies. These toys provide the right level of challenge. For newborns, simple sensory toys help develop vision and hearing. For older babies, interactive toys boost learning and exploration.
Safe and suitable toys reduce frustration and keep babies engaged. Age-appropriate toys promote both learning and fun, enabling steady physical growth and cognitive progress. Always use toys designed for specific age groups.
Factors to Consider When Choosing Baby Toys
Choosing the right toys for babies is important. Thoughtful selection supports their safety, growth, and learning process. Below are key factors to focus on.
Safety Guidelines for Baby Toys
Safety should always come first when choosing baby toys. Ensure toys are free from small parts to prevent choking. Look for toys without sharp edges or loose parts. Always choose toys that meet safety standards like ASTM or CE certifications. Opt for non-toxic materials to keep your baby safe if they mouth the toys. Lastly, regularly inspect toys for wear and tear to avoid hazards.
Material and Construction Quality
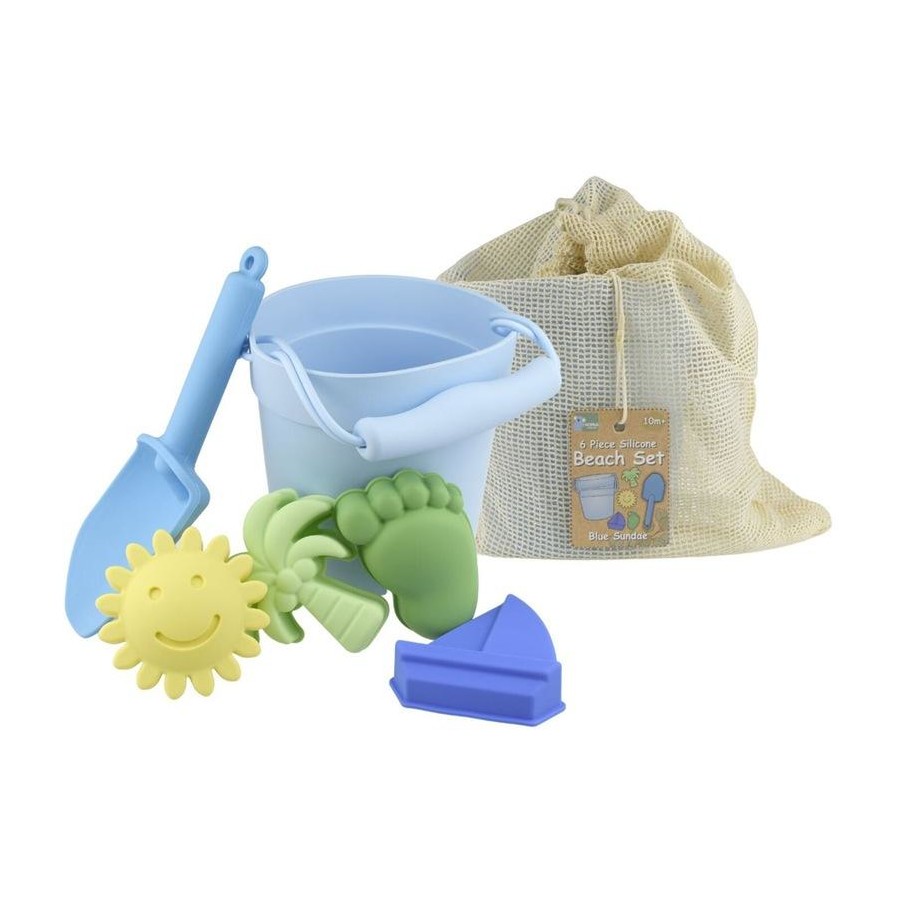
High-quality materials extend the durability and safety of baby first toys. Choose toys made from BPA-free plastic, natural wood, or organic fabrics. Sturdy construction ensures toys do not break easily during play. Materials should feel smooth and comfortable against babies’ sensitive skin. For plush toys, opt for hypoallergenic fabric and washable options. Avoid toys made of cheap or brittle materials that can pose risks.
Developmental Milestones and Toy Selection
Different toys cater to various stages of development. For newborns, choose sensory toys with lights or sounds to stimulate senses. For older babies, pick toys that encourage grasping, stacking, or problem-solving. Balance fun and challenge by selecting toys suitable for your baby’s current abilities. Avoid overly complicated toys that can overwhelm or frustrate your baby. Matching toys to developmental milestones promotes learning and keeps playtime engaging.
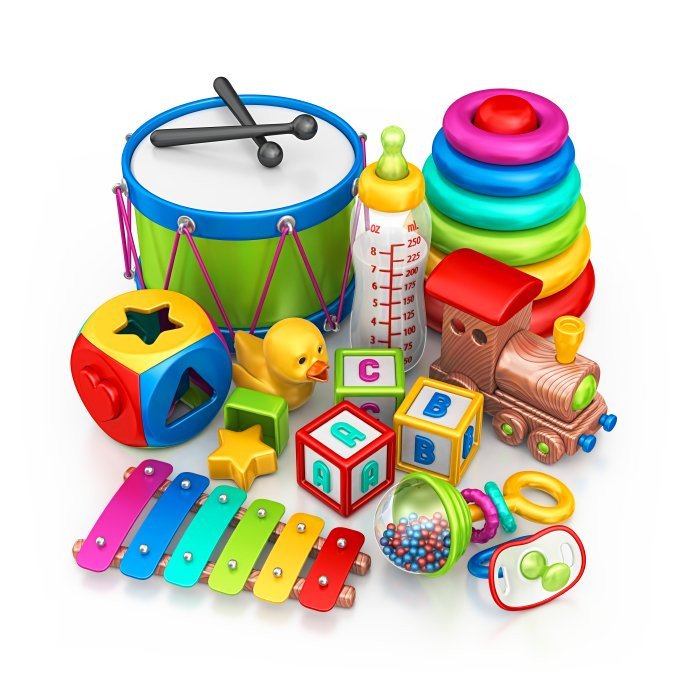
Top Categories of Baby First Toys
Selecting the right categories of baby first toys can boost early learning and growth. Each category supports specific aspects of a baby’s development, ensuring balanced progress through play.
Sensory Toys for Babies
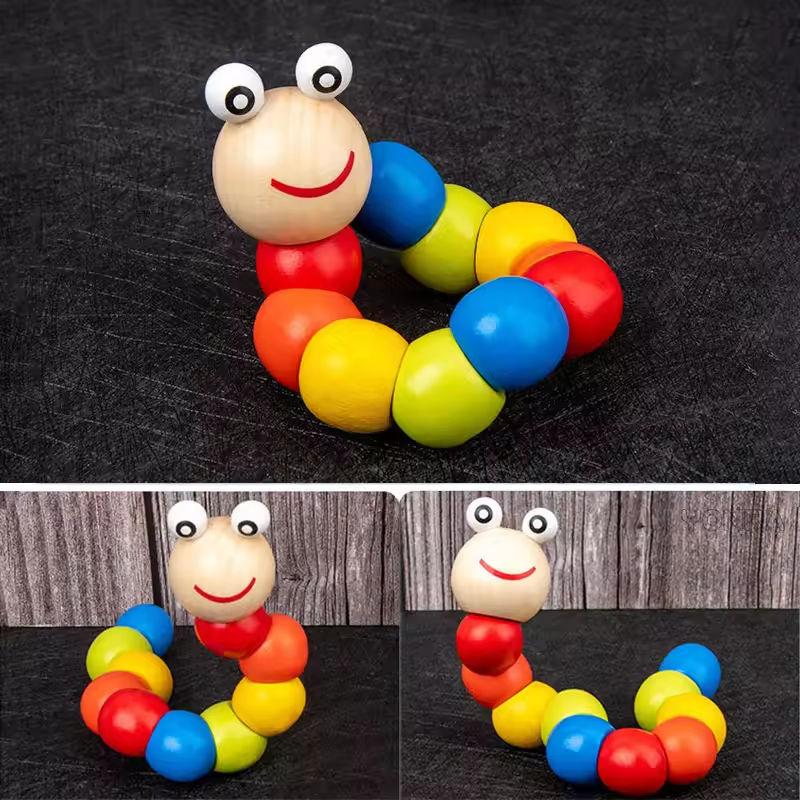
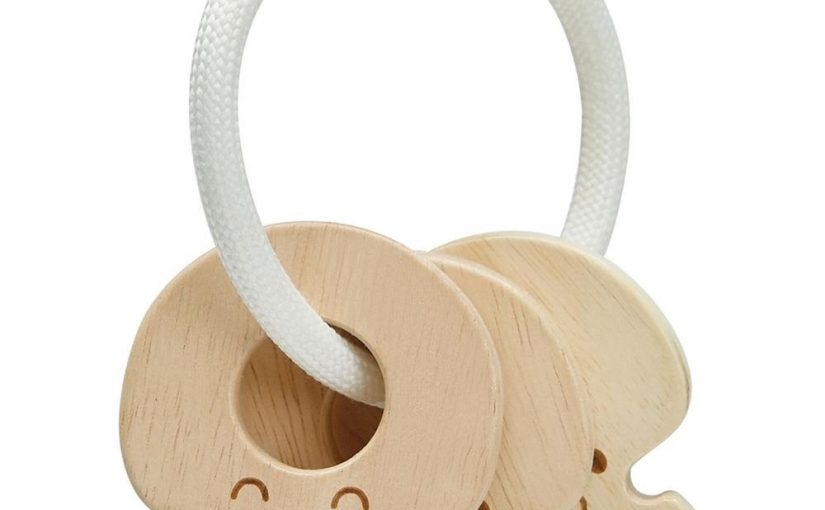
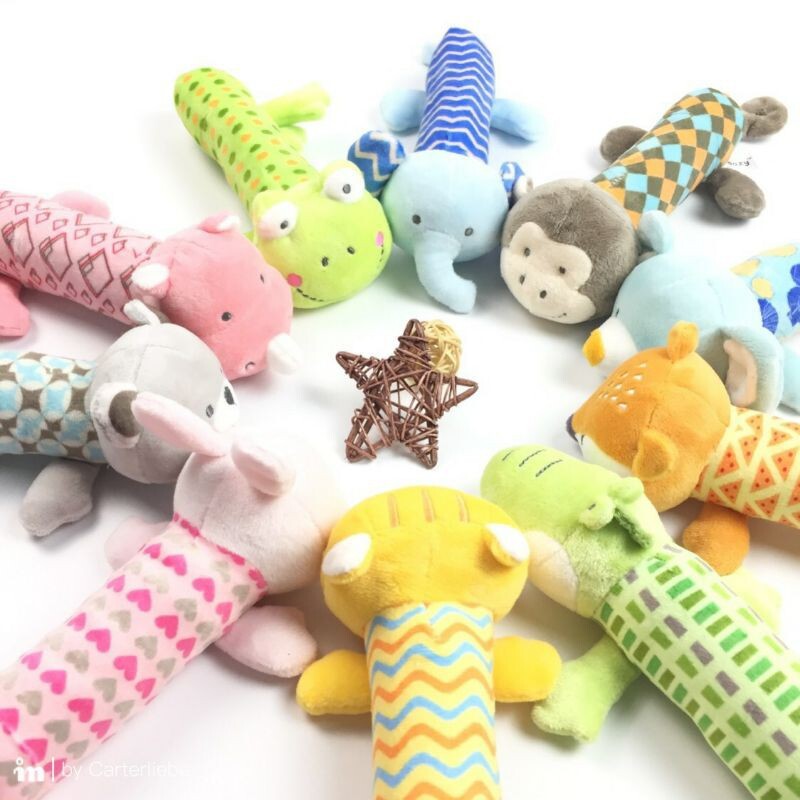
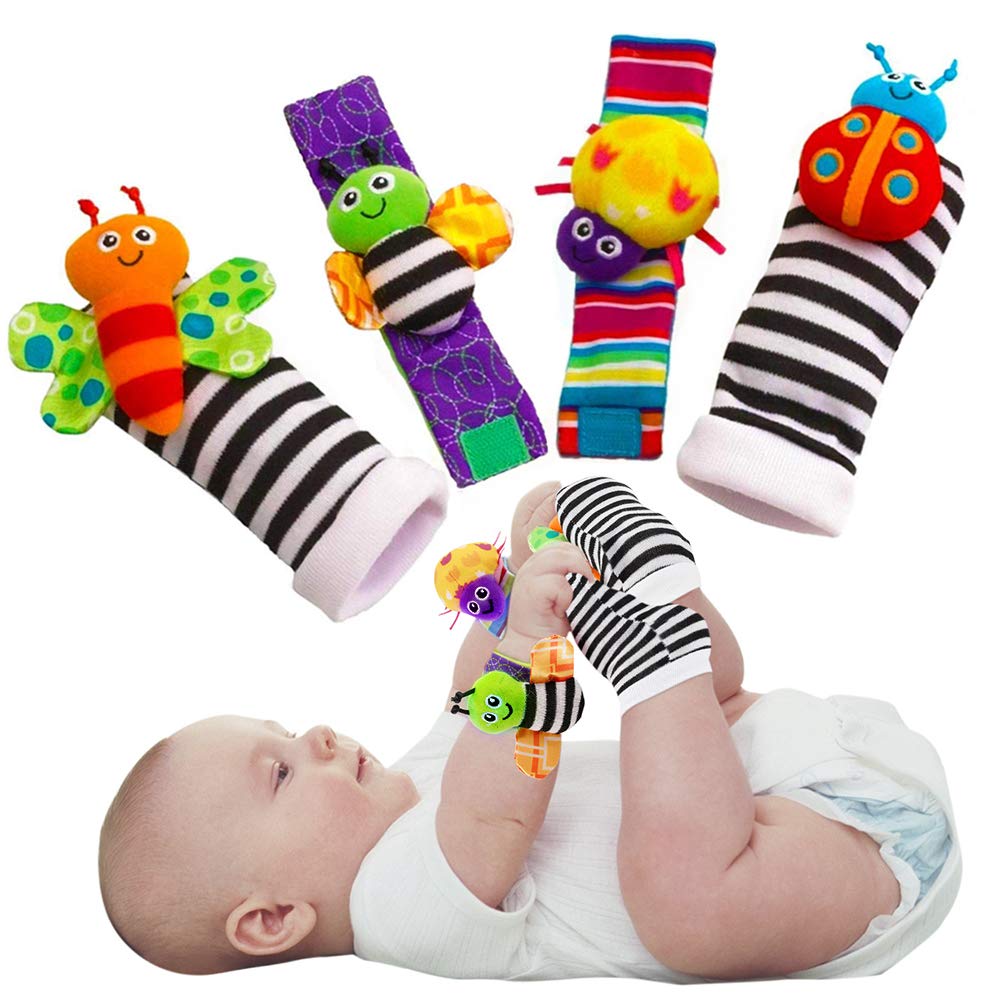
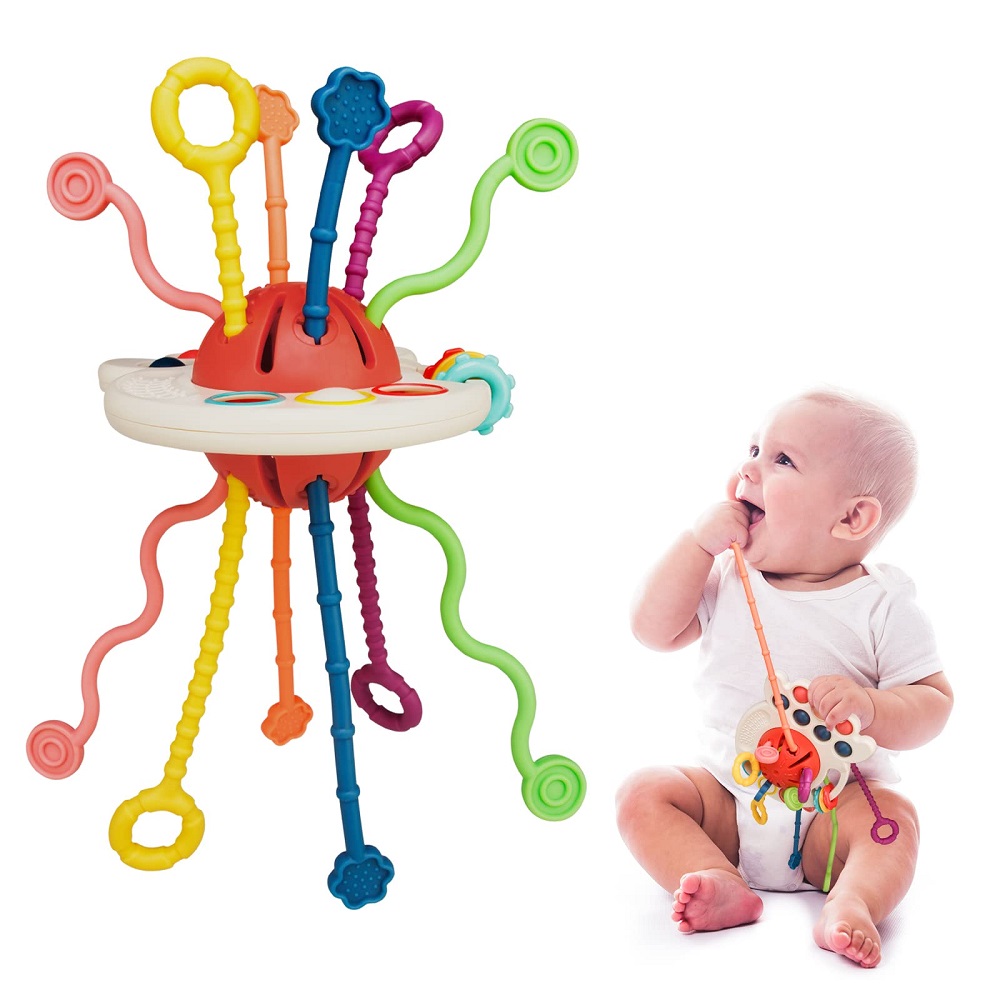
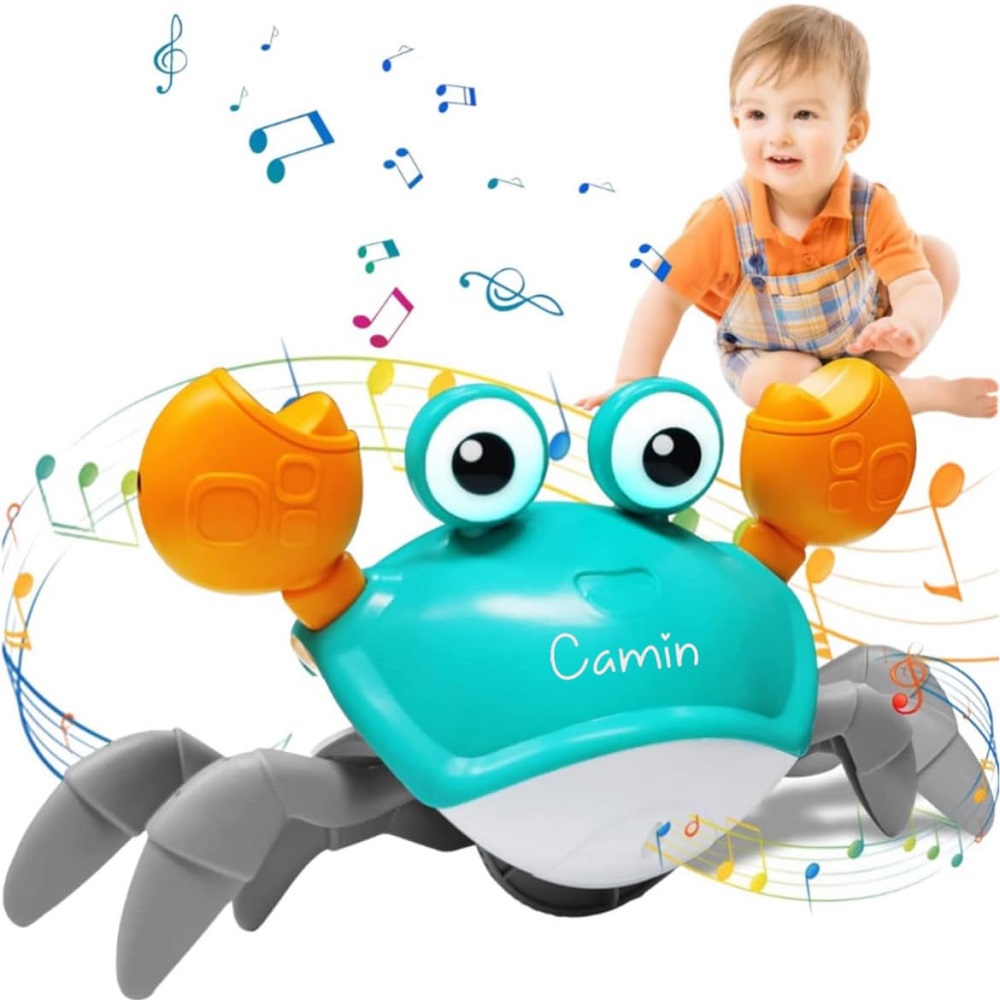
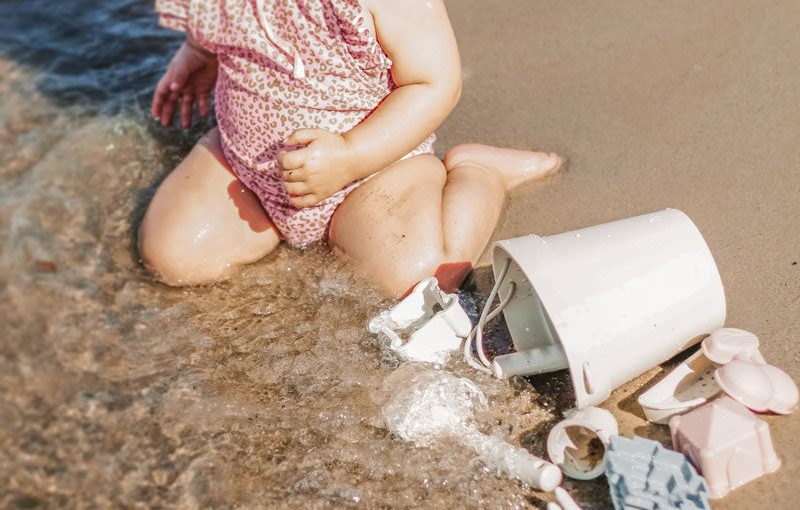
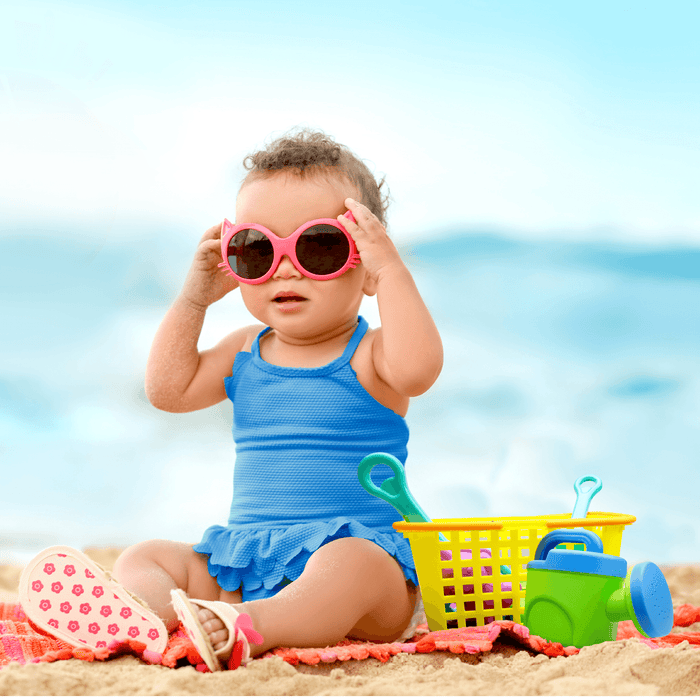
Sensory toys are designed to engage a baby’s senses of touch, sight, and sound. These toys often feature bright colors, varied textures, and gentle sounds. Rattles, crinkle books, and light-up toys stimulate sensory exploration. By using sensory toys, babies enhance their visual tracking, auditory responses, and fine motor skills. They are ideal for newborns and young infants, offering safe and interactive ways to explore the surrounding world.
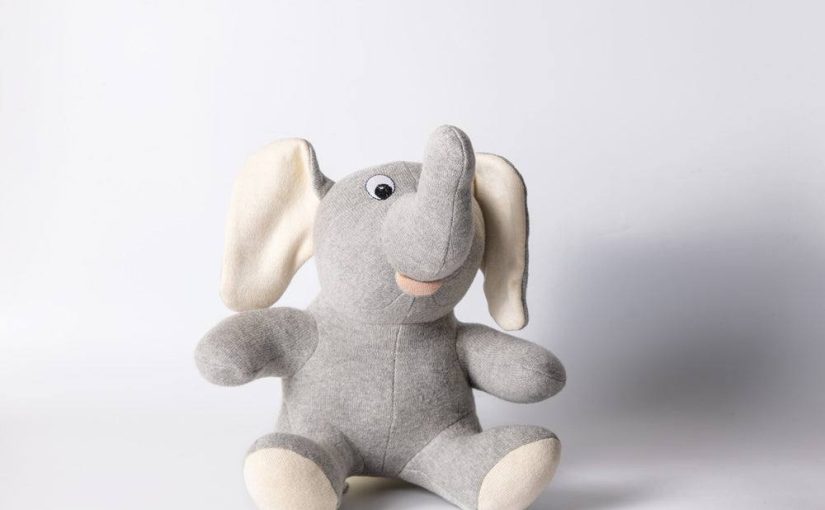
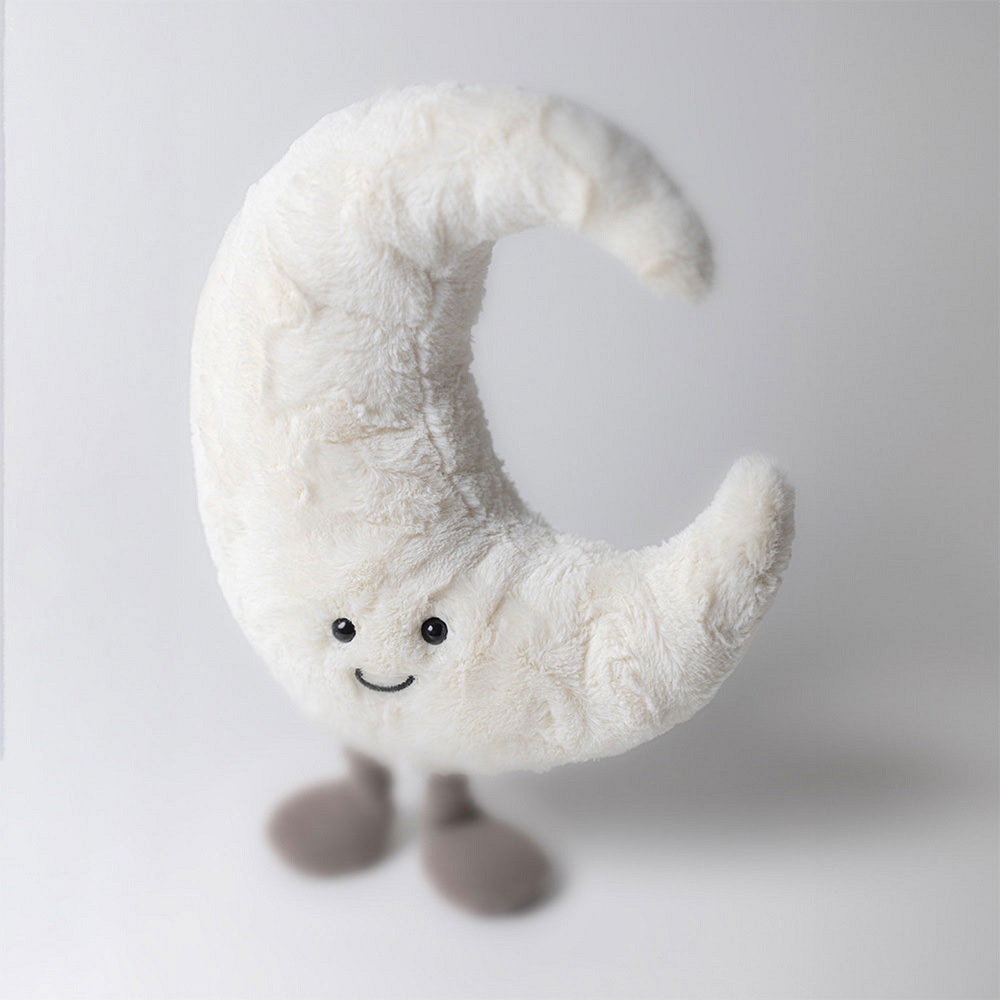
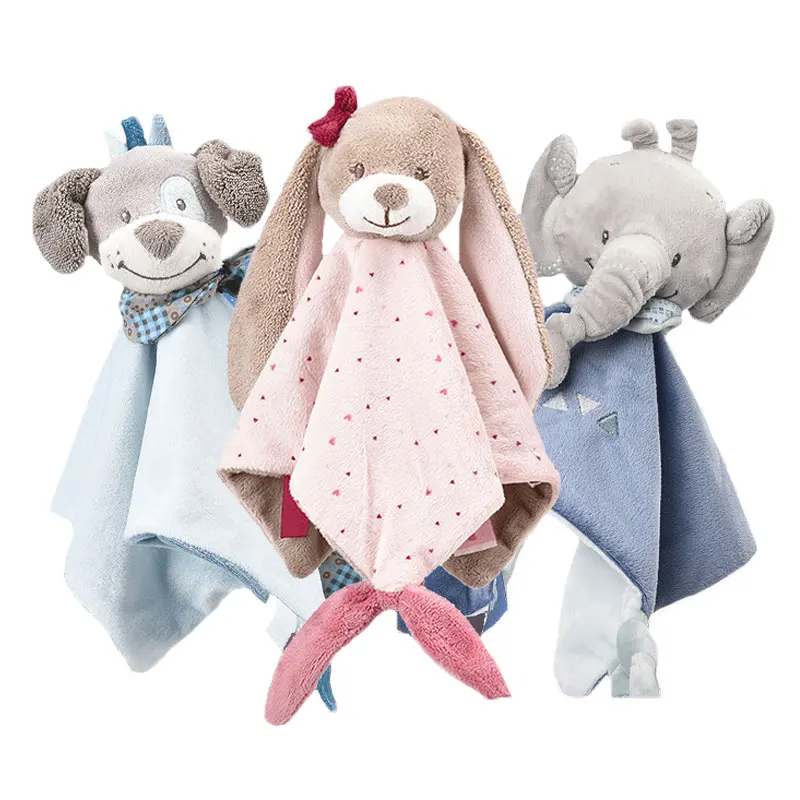
Soft and Plush Toys
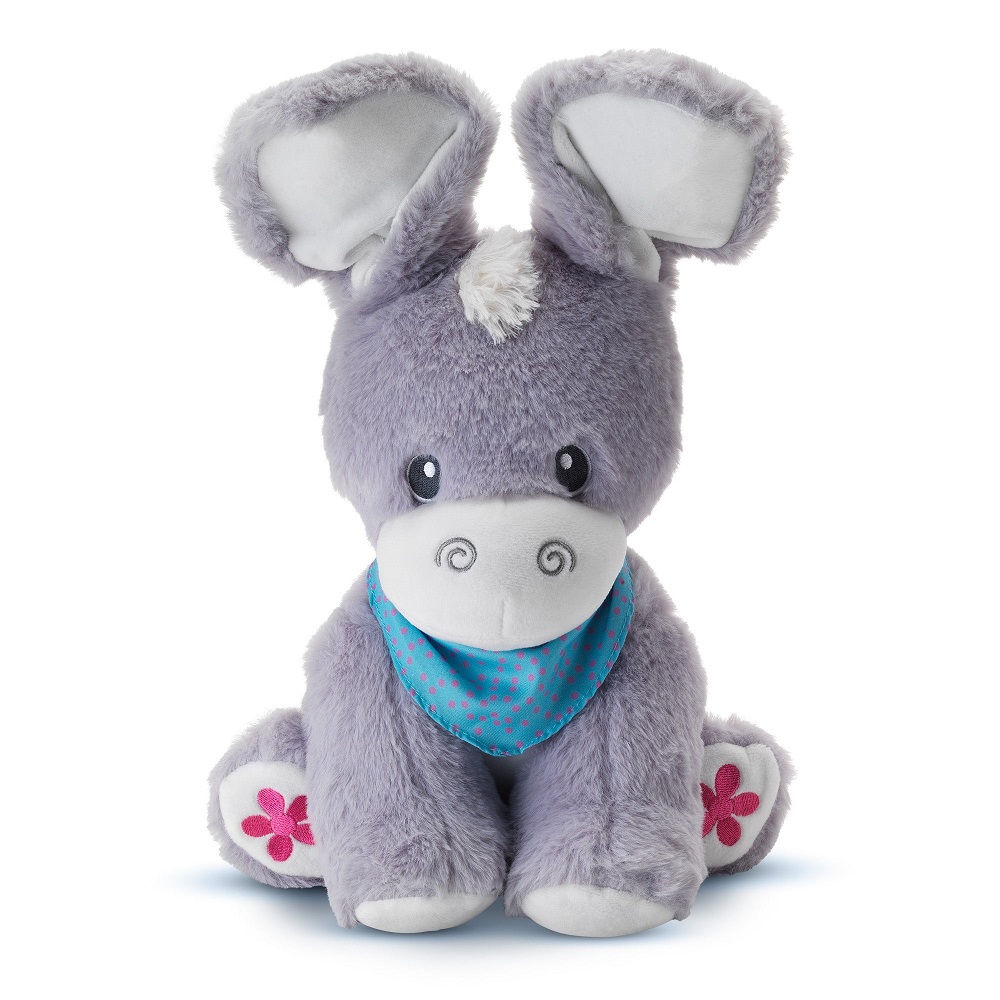
Soft and plush toys provide comfort while promoting emotional and tactile growth. These toys are made with soft fabrics that are gentle on a baby’s sensitive skin. Stuffed animals, lovies, or fabric dolls help babies develop a sense of security. Many plush toys are also washable and made from hypoallergenic materials, ensuring safety and hygiene. They are perfect for cuddling and can even become a baby’s first “friend,” encouraging emotional bonding.
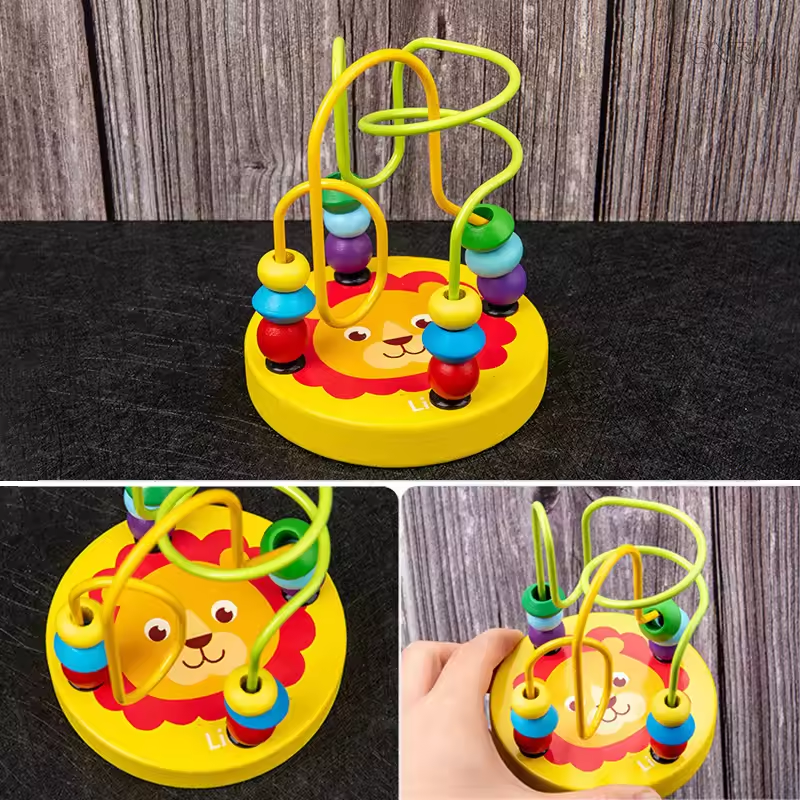
Educational and Interactive Toys
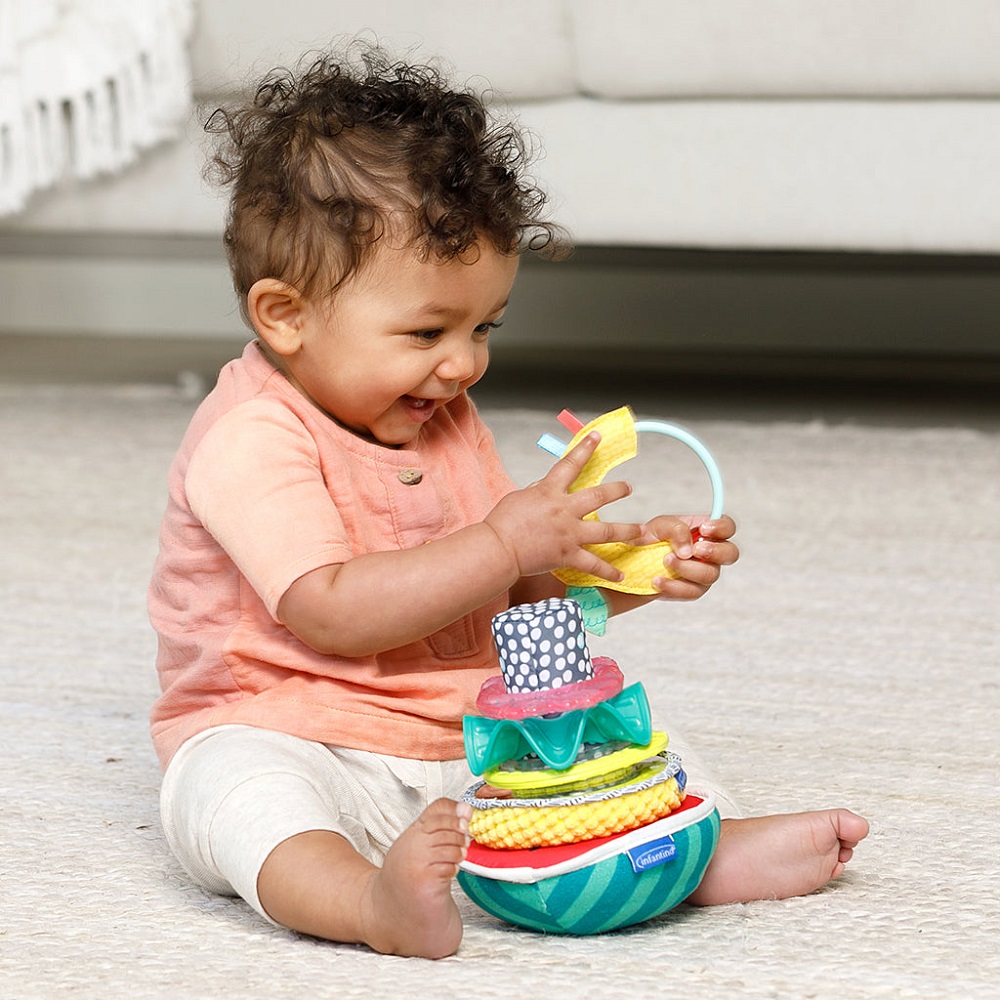
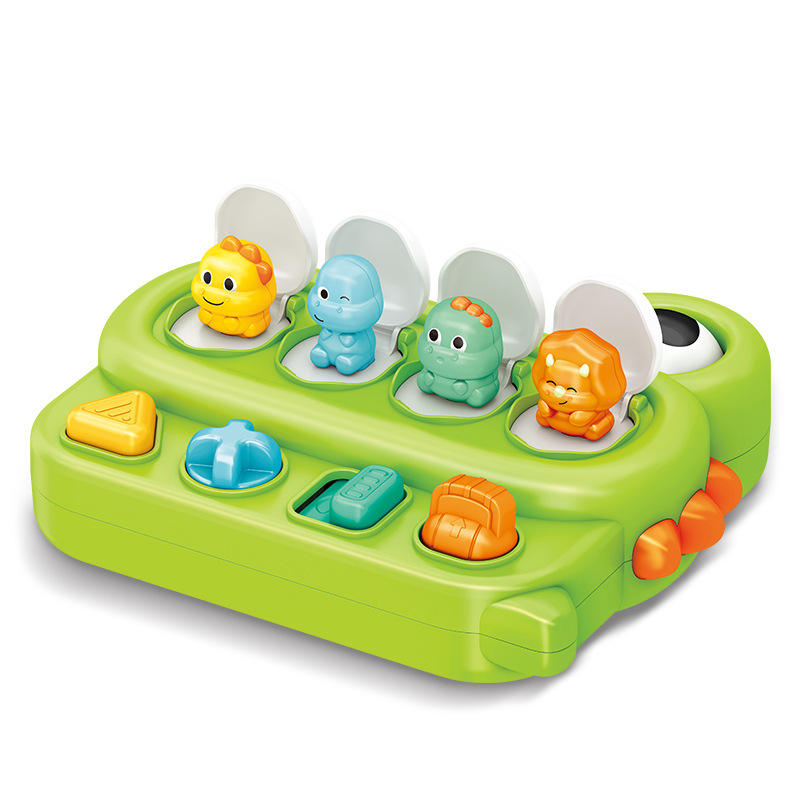
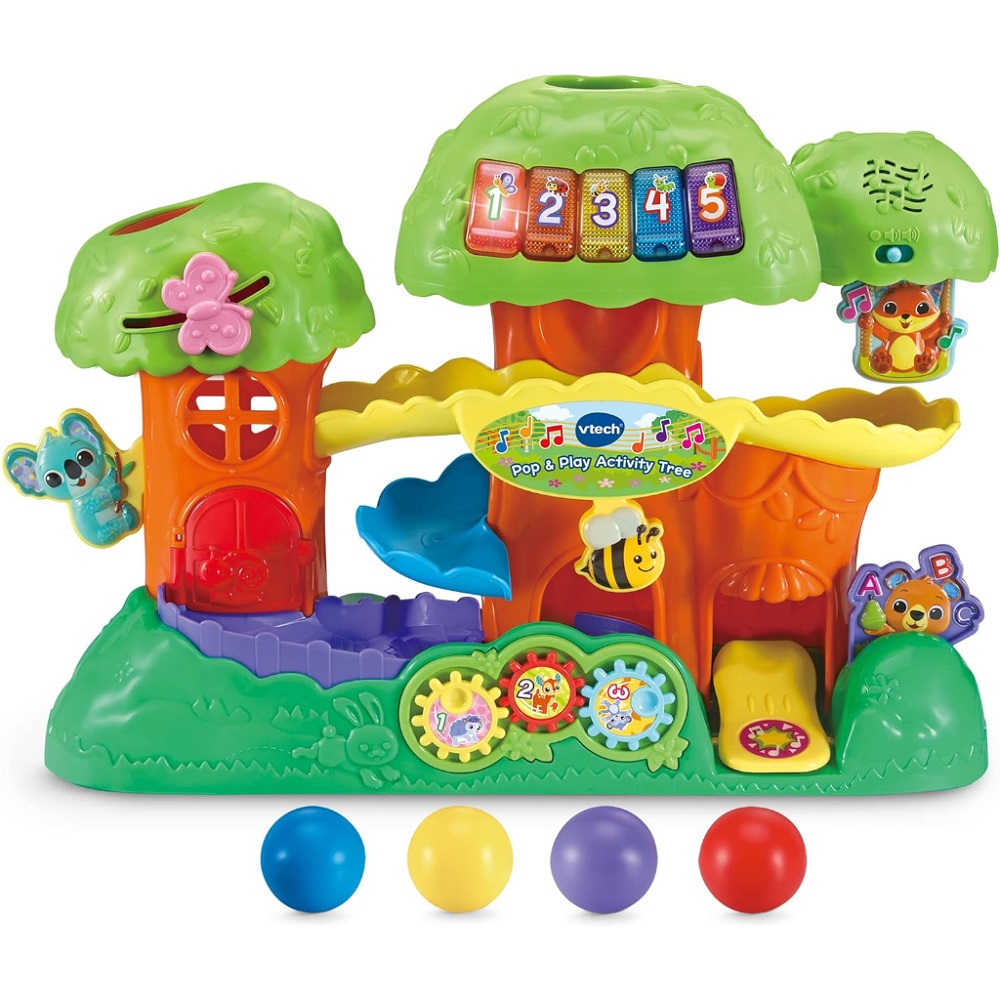
Educational and interactive toys combine fun with learning. These toys, like stacking rings, shape sorters, or activity centers, help babies build problem-solving skills and creativity. Interactive elements like buttons, levers, or sounds encourage babies to explore cause-and-effect relationships. These toys cater to cognitive growth, hand-eye coordination, and critical thinking. They are especially beneficial for older infants, providing engaging challenges that match their advancing abilities.
Recommendations for Newborn Toys
Newborns benefit greatly from toys that stimulate their senses and nurture early development. These toys should be safe, simple, and suited to their limited yet rapidly growing abilities. Choosing the right baby first toys for this stage can promote cognitive, sensory, and emotional growth.
Ideal Toys for 0-3 Months
For newborns, toys should engage their senses of sight, sound, and touch. Here are some ideal toy options:
- Black-and-White ToysHigh-contrast toys, like black-and-white cards or soft books, are perfect. These toys enhance visual development as newborns are drawn to bold patterns.
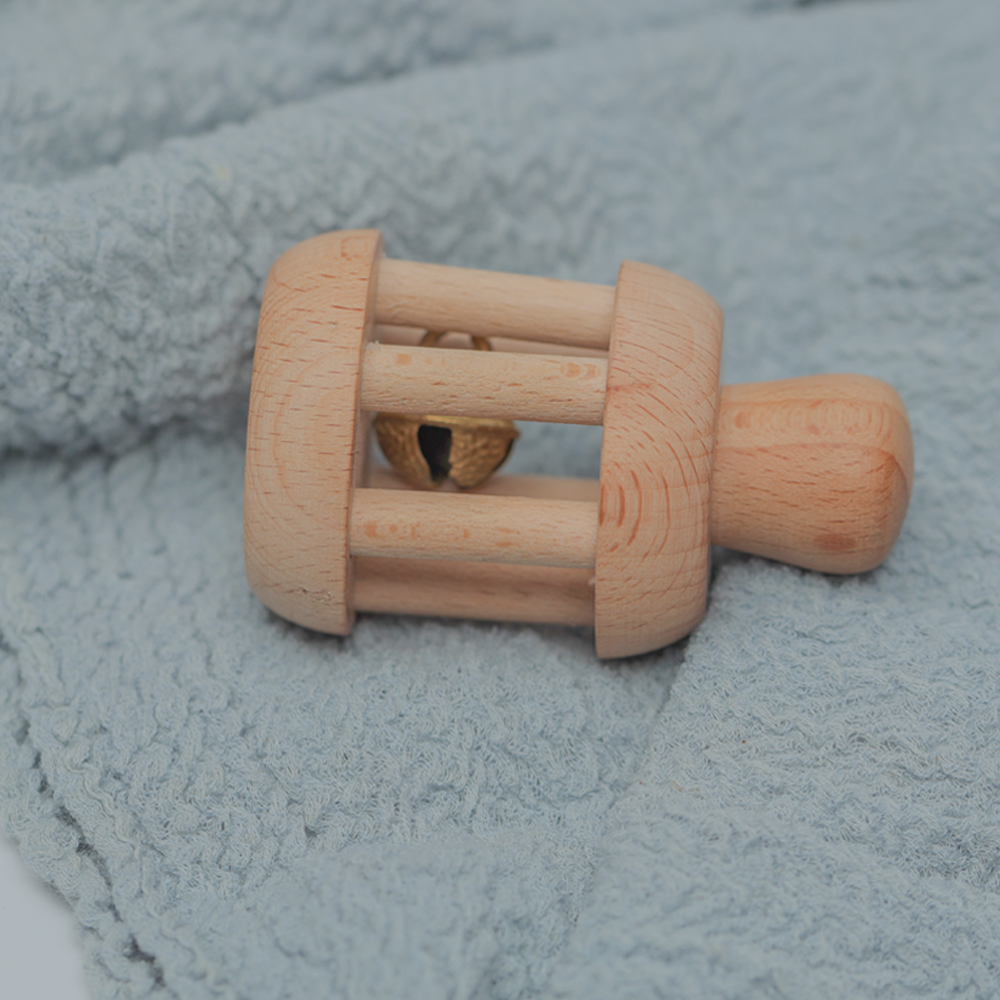
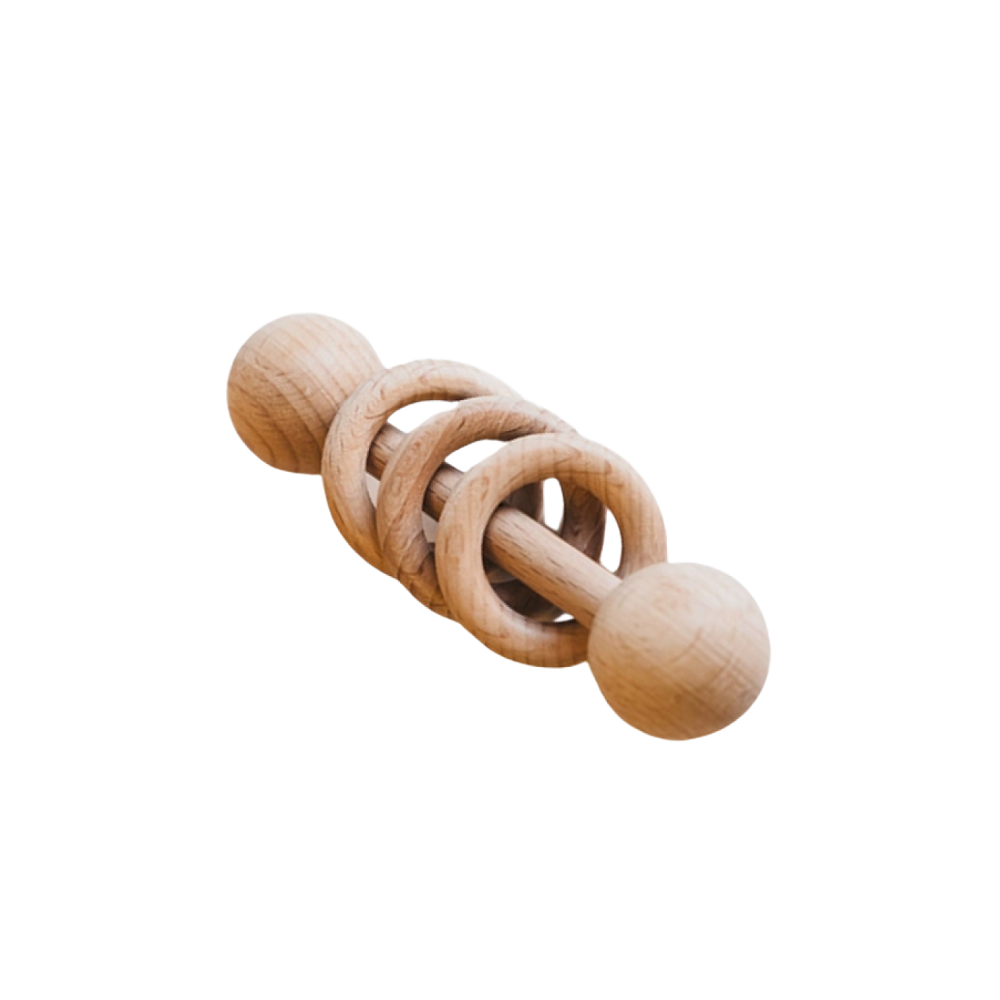
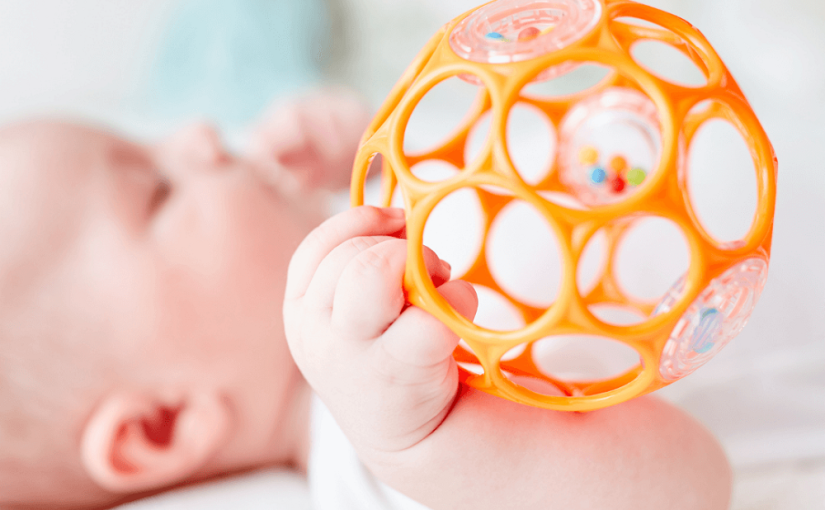
- Soft RattlesLightweight rattles are easy for babies to grasp. The gentle sounds intrigue them, encouraging their auditory responses and motor grip.
- Crinkle Toys or Cloth BooksSoft, crinkly fabric toys captivate babies with their textures and sounds. They also foster tactile exploration and hand movement.
- Soft MobilesMobiles featuring simple shapes and calming colors keep babies visually engaged. Ensure they are securely hung and not within reach.
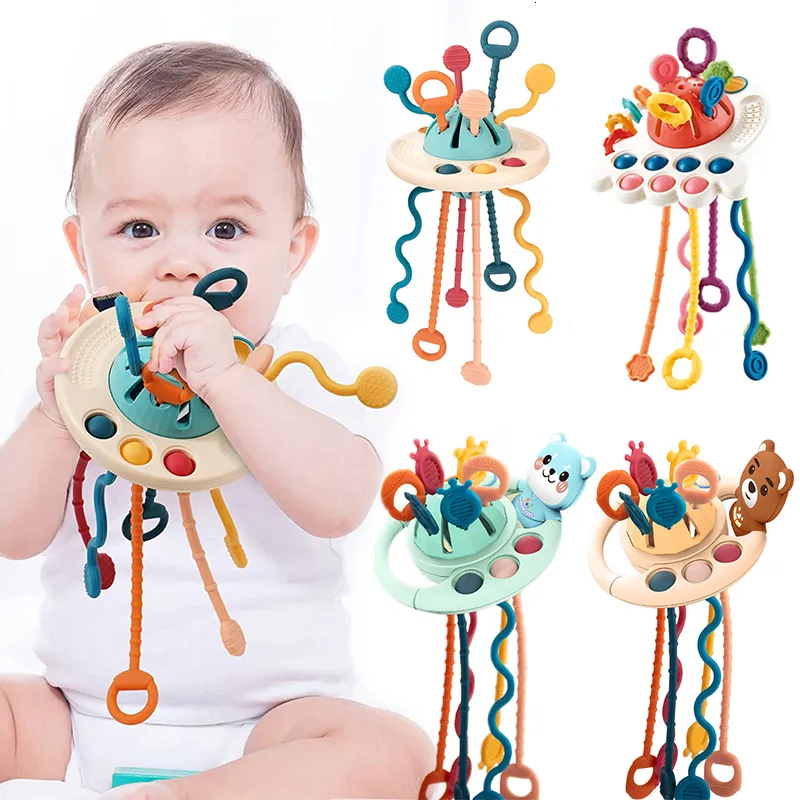
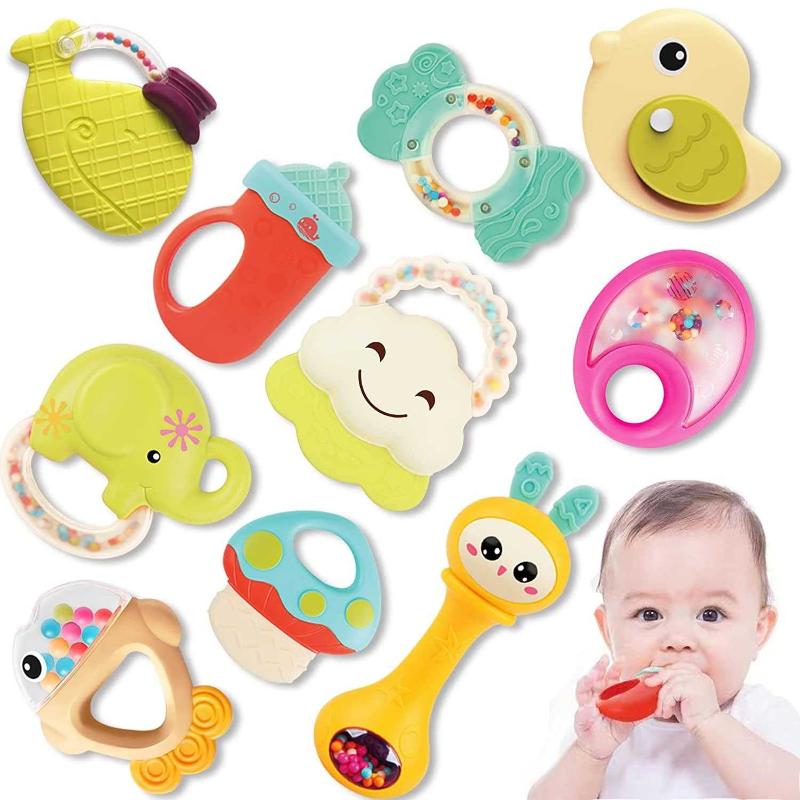
- Teething ToysBPA-free teething rings help soothe babies’ gums and satisfy their natural chewing reflex.
Tips for Encouraging Early Interaction
Interaction plays a critical role in a baby’s early development. Here’s how to use baby first toys effectively during the newborn phase:
- Play Together ConsistentlySpend a few minutes each day introducing toys. Demonstrate how to use them and watch their reactions.
- Focus on One Toy at a TimeLimiting the number of toys decreases overstimulation and helps babies focus more.
- Encourage Sensory ExplorationGuide your baby to feel different textures and listen to toy sounds. This promotes sensory growth.
- Make Toys Part of Daily RoutinesInclude toys during tummy time or diaper changes. It keeps activities fun and educational.
- Create Gentle Social PlayUse toys to introduce simple social interaction. For example, shake a rattle and smile to foster facial recognition and bonding.
Providing ideal toys and supporting early interaction through play builds a strong foundation for learning and growth. Prioritize safe and simple toys tailored to your newborn’s stage of development.
Toys for Cognitive Development
Cognitive development is vital during a baby’s initial years. Toys designed to enhance thinking skills can shape how babies perceive, process, and respond to the world around them. These toys help babies understand basic concepts, develop problem-solving abilities, and build memory.
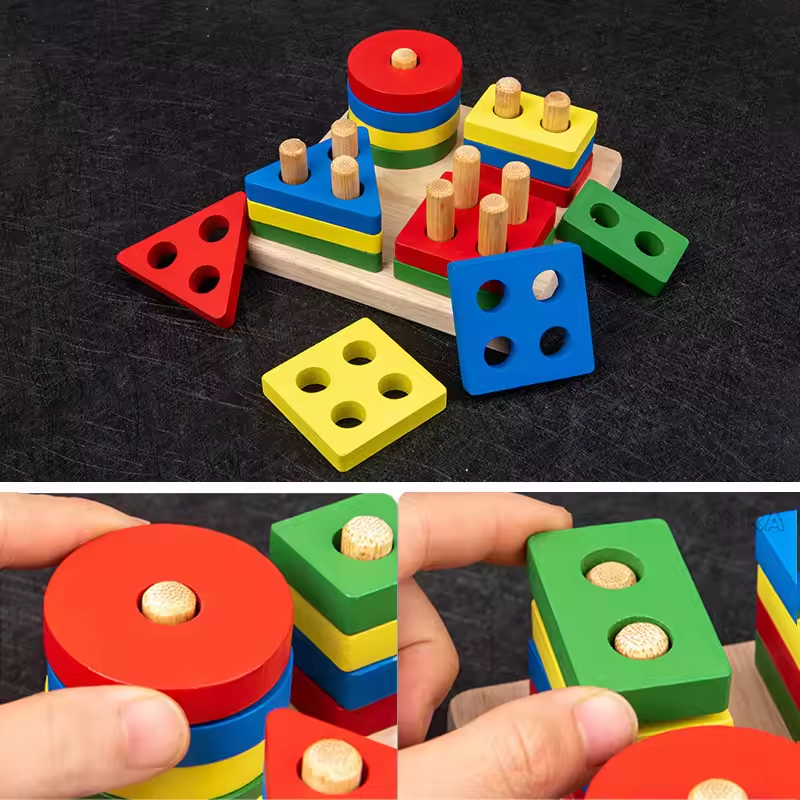
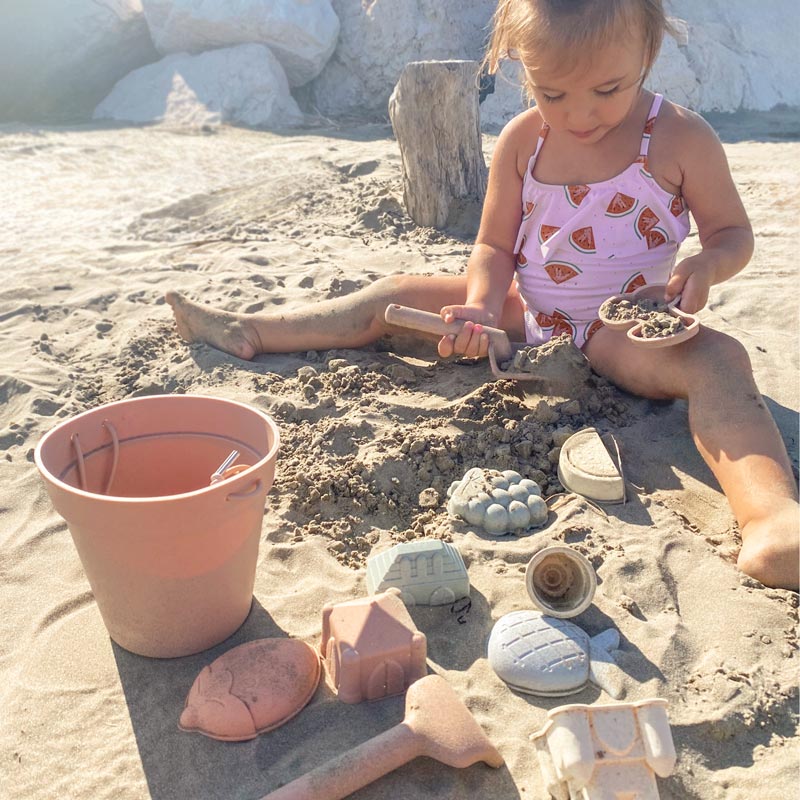
Puzzles and Shape Sorters
Puzzles and shape sorters are excellent tools for cognitive growth. Babies use these toys to learn patterns and shapes, encouraging logical thinking.
- Simple Wooden PuzzlesThese puzzles with large pieces improve hand-eye coordination and spatial awareness.
- Shape SortersThese toys teach babies to match shapes with their corresponding slots, enhancing problem-solving.
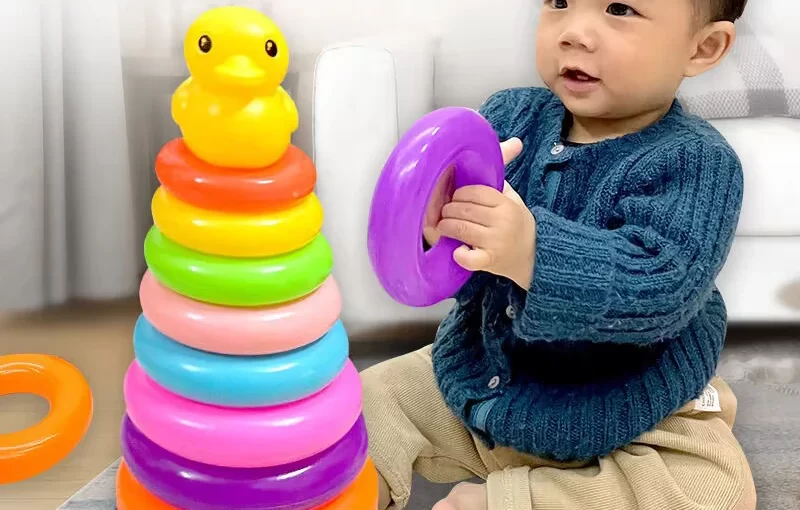
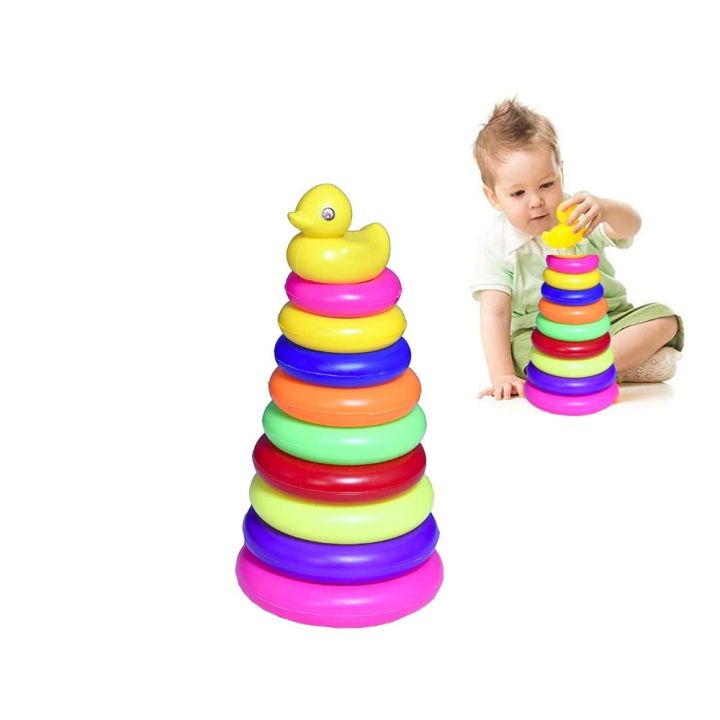
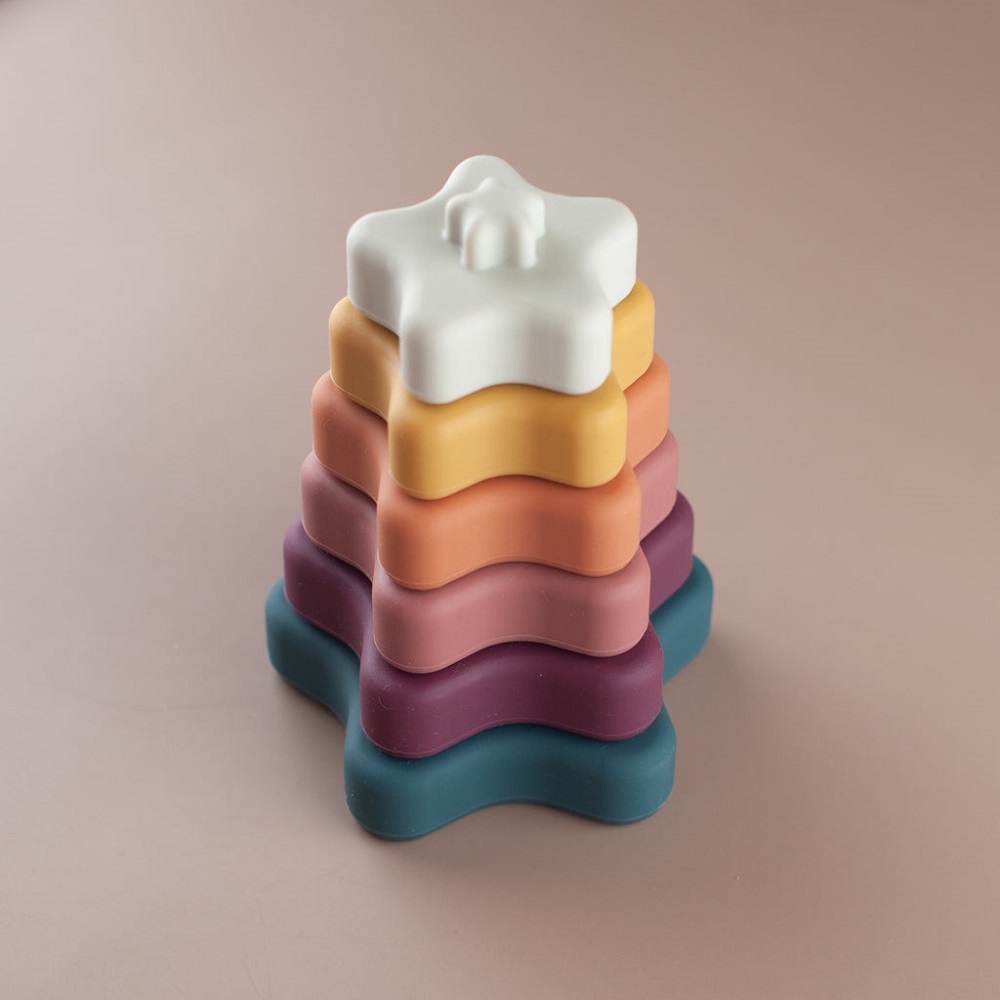
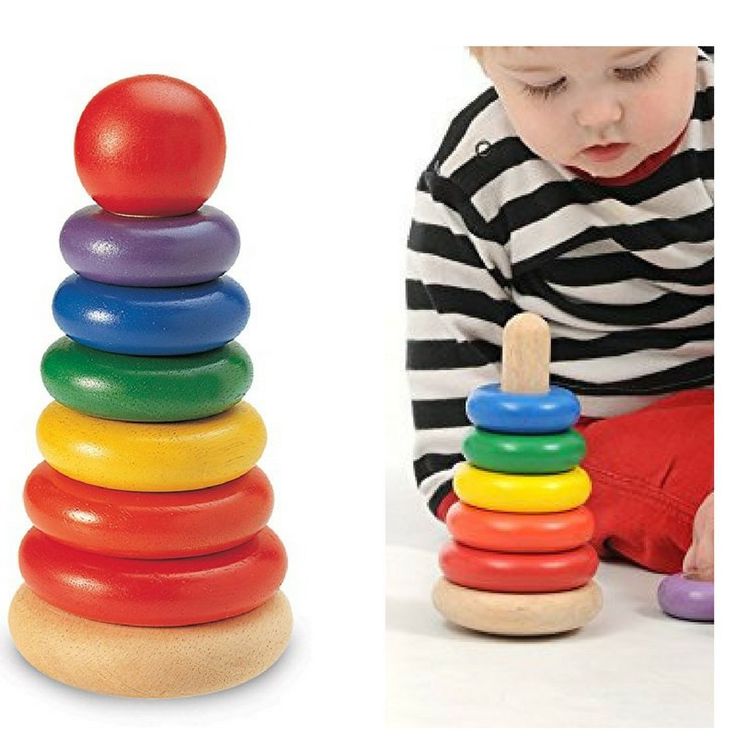
- Stacking RingsBrightly colored rings encourage size comparison and sequencing skills, helping babies understand order.
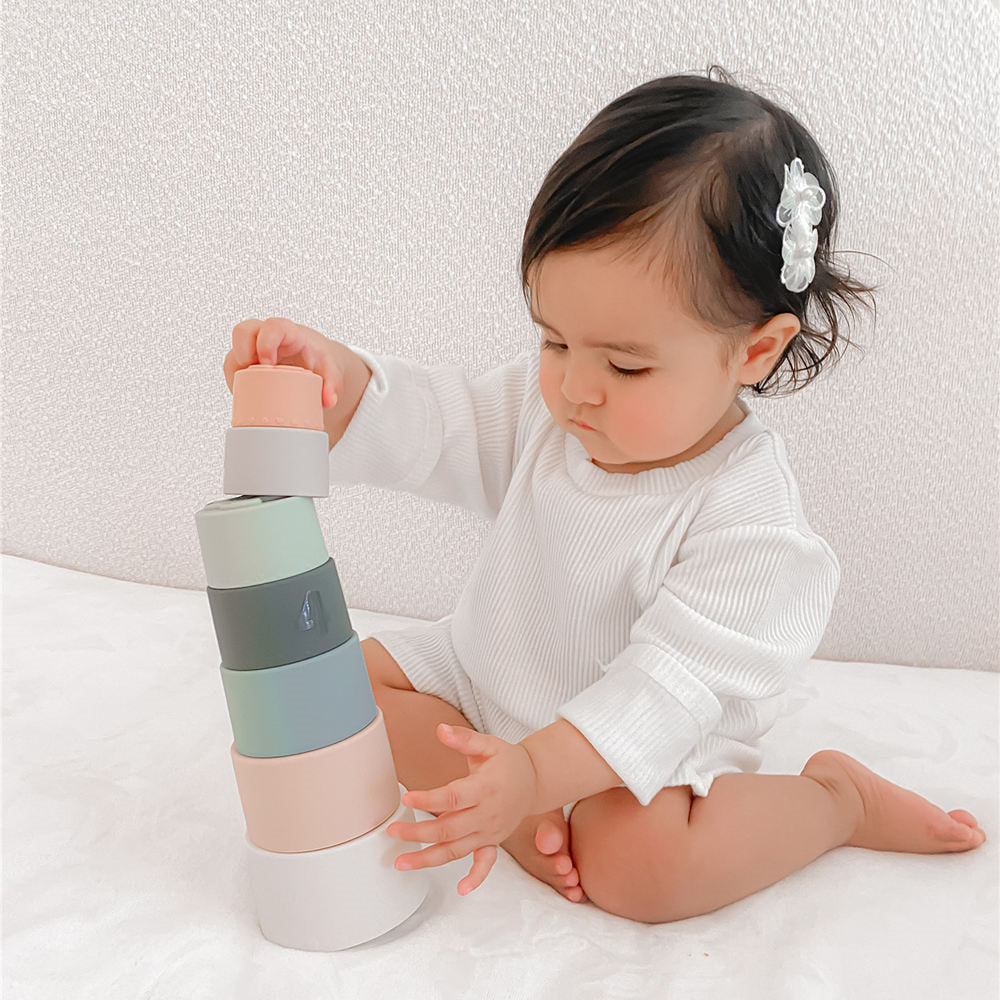
- Nestable CupsNesting cups offer a fun way to learn size relationships and stacking methods.
Using these toys during supervised play promotes focused learning and keeps babies engaged in exploratory activities.
Toys That Encourage Problem-Solving Skills
Problem-solving toys challenge babies to think critically and find solutions. These toys stimulate curiosity and reinforce persistence.
- Activity CentersThese toys feature buttons, levers, and switches to teach cause-and-effect relationships.
- Building BlocksBlocks encourage babies to construct and design structures, boosting creativity and patience.
- Interactive BooksBooks with flaps or movable parts engage babies, fostering curiosity and cognitive exploration.
- Pull-Along ToysThese encourage babies to coordinate movement with purposeful action, building decision-making skills.
Select simpler toys initially and gradually introduce complex ones as your baby’s cognitive skills improve. Using baby first toys that focus on thinking and problem-solving ensures mental growth while keeping playtime fun.
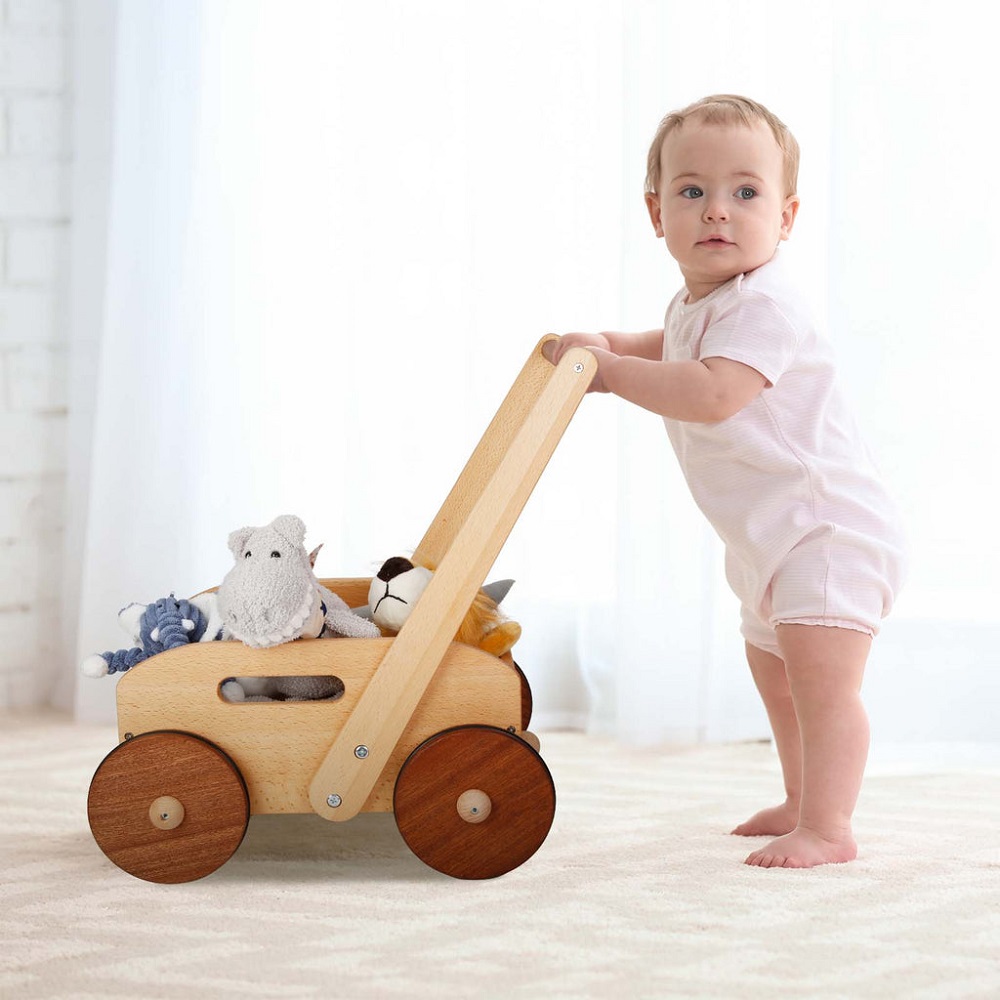
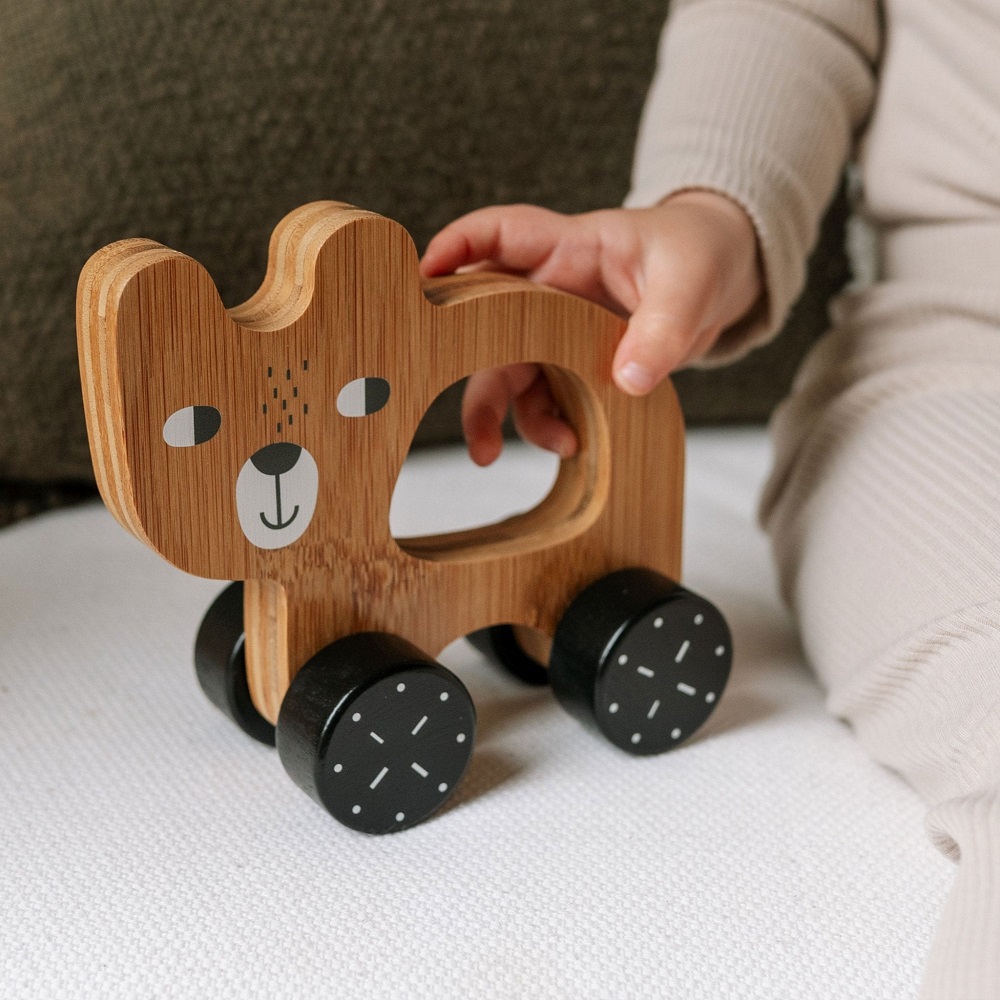
Toys for Motor Skill Development
Motor skill development is crucial for babies as they grow. Toys designed to enhance these skills help babies improve coordination, strength, and dexterity. Incorporating the right toys into playtime can significantly support a baby’s physical abilities.
Toys That Develop Hand-Eye Coordination
Hand-eye coordination helps babies gain better control over their movements. Certain toys encourage these abilities:
- Rolling BallsSoft, colorful balls that roll motivate babies to reach, grasp, and crawl.
- Stacking BlocksBlocks help babies enhance precision as they stack shapes and improve fine motor skills.
- Pull-Along ToysThese toys develop coordination by encouraging purposeful movements while walking or crawling.
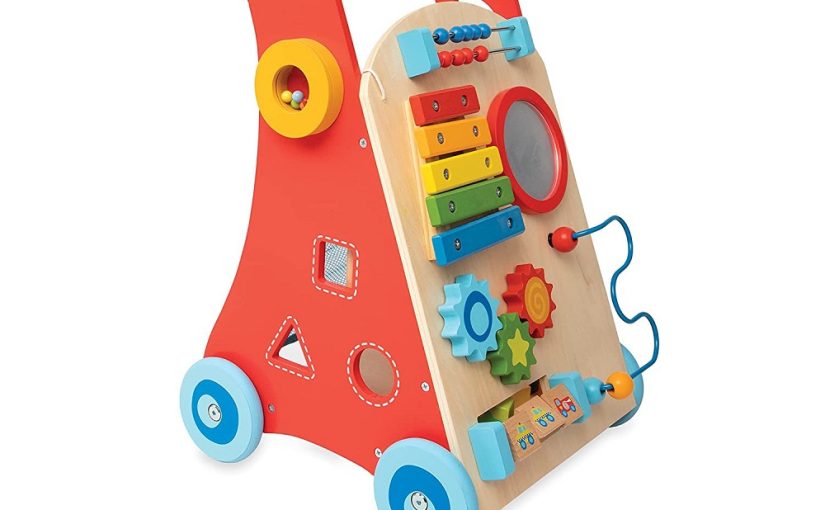
- Toy InstrumentsInstruments like xylophones or drum sets build coordination as babies create sounds by striking or tapping.
- Shape SortersSorting shapes into matching slots enhances visual processing and hand placement accuracy.
These toys keep babies engaged and encourage consistent motor development through simple, fun activities.
Benefits of Tactile Play for Babies
Tactile play enhances fine motor skills and sensory awareness. It allows babies to explore textures and movement:
- Crinkle ToysSoft crinkle toys introduce varied textures while encouraging grasping and squeezing motions.
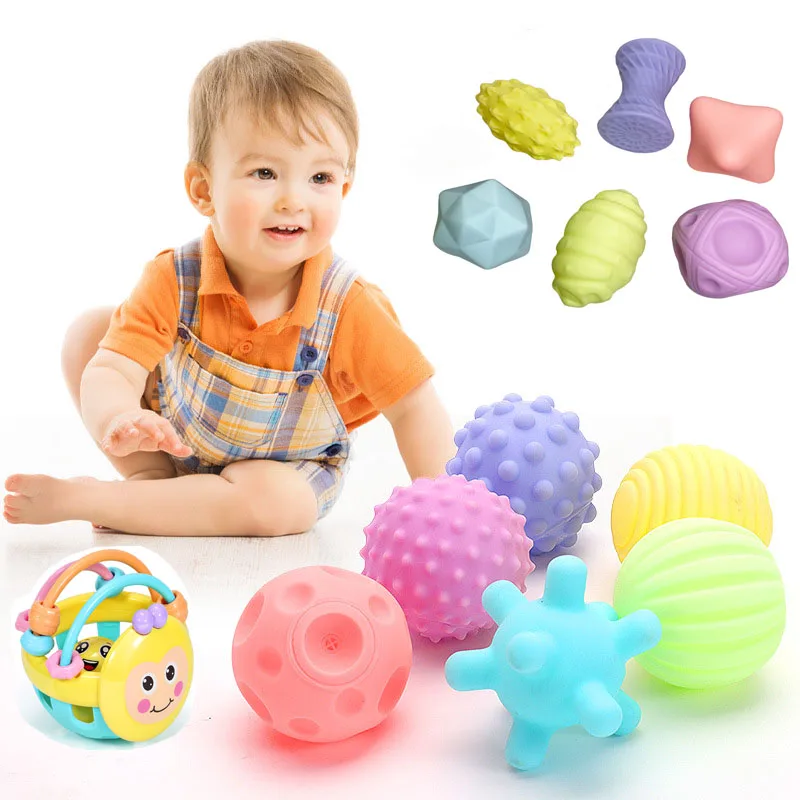
- Sensory BallsTextured balls help babies explore unique surfaces, stimulating tactile curiosity.
- Teething RingsTeething rings with ridges and bumps improve grip and soothe gums while boosting motor skills.
- Fabric Activity MatsMats with interactive elements like zippers or buttons engage touch and hand movement.
- Soft PuzzlesTactile puzzles allow babies to assemble pieces while feeling diverse surfaces.
Encouraging tactile play develops sensory coordination and helps babies learn through touch, making playtime both educational and enjoyable.
Tips for Using Baby Toys Effectively
Baby toys can do more than entertain; they support learning and developmental milestones. Using toys thoughtfully improves your baby’s engagement, focus, and interaction during play. Below are some tips for making the most of baby first toys.
How to Rotate Toys for Increased Engagement
Rotating toys keeps your baby interested and reduces boredom. It helps maintain focus during play.
- Limit ChoicesOffer a small number of toys at a time to avoid overstimulation.
- Weekly RotationSwap out toys every week to keep play fresh and exciting.
- Mix Toy TypesInclude sensory, motor, and educational toys in each rotation for balanced growth.
- Observe PreferencesChoose toys your baby spends the most time exploring and interacting with.
- Store Extra ToysKeep unused toys out of sight to help your baby concentrate on the ones available.
Rotating toys engages your baby’s curiosity while encouraging discovery and continuous learning.
Encouraging Parent-Child Bonding Through Play
Playing with your baby strengthens emotional connections and supports learning. Use baby first toys effectively to bond.
- Participate ActivelyGet involved during play to show love and build trust.
- Use Interactive ToysChoose toys that let you both play together, such as stacking blocks or musical instruments.
- Celebrate Small WinsCheer for your baby when they solve puzzles or learn new skills.
- Talk and ReactDescribe what you’re doing and respond enthusiastically to keep their attention.
- Make Play RoutineAdd playtime to your daily schedule for regular bonding moments.
Parent-child play builds emotional security while enhancing cognitive and social skills. Focus on engagement and connection every day.