Introducing babies to water can be both exciting and essential for their development. Water play offers numerous benefits, from sensory exploration to physical development. Incorporating baby water toys into your swimming routine can enhance this experience, making it more enjoyable for both parents and children. From floats to splashes, these toys can help create a joyful and safe swimming environment. In this article, we will explore the importance of baby water toys, the benefits they offer, and the various types available to ensure a delightful swim experience.
The Importance of Introducing Water Play Early
Developing Water Confidence
Introducing babies to water at an early age fosters water confidence. The right toys can help create a positive association with water, ensuring that children feel secure and comfortable in aquatic environments. This early exposure can lay the foundation for future swimming skills and safety around water.
As babies play with water toys, they begin to explore their surroundings. They learn to float, splash, and maneuver in the water. Over time, this exploration promotes familiarity with the water, making learning to swim less intimidating later on. Encouraging comfortable experiences can reduce fear and anxiety associated with water activities.
Enhancing Sensory Experiences
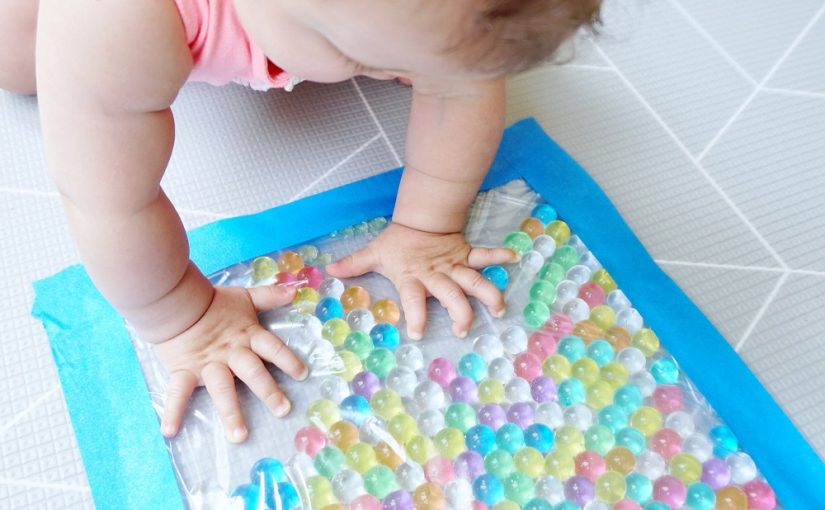
Water play also stimulates sensory development. Babies experience a variety of textures, temperatures, and movements when playing with water. The sensory stimulation provided by water toys enhances cognitive development, encouraging curiosity and exploration.
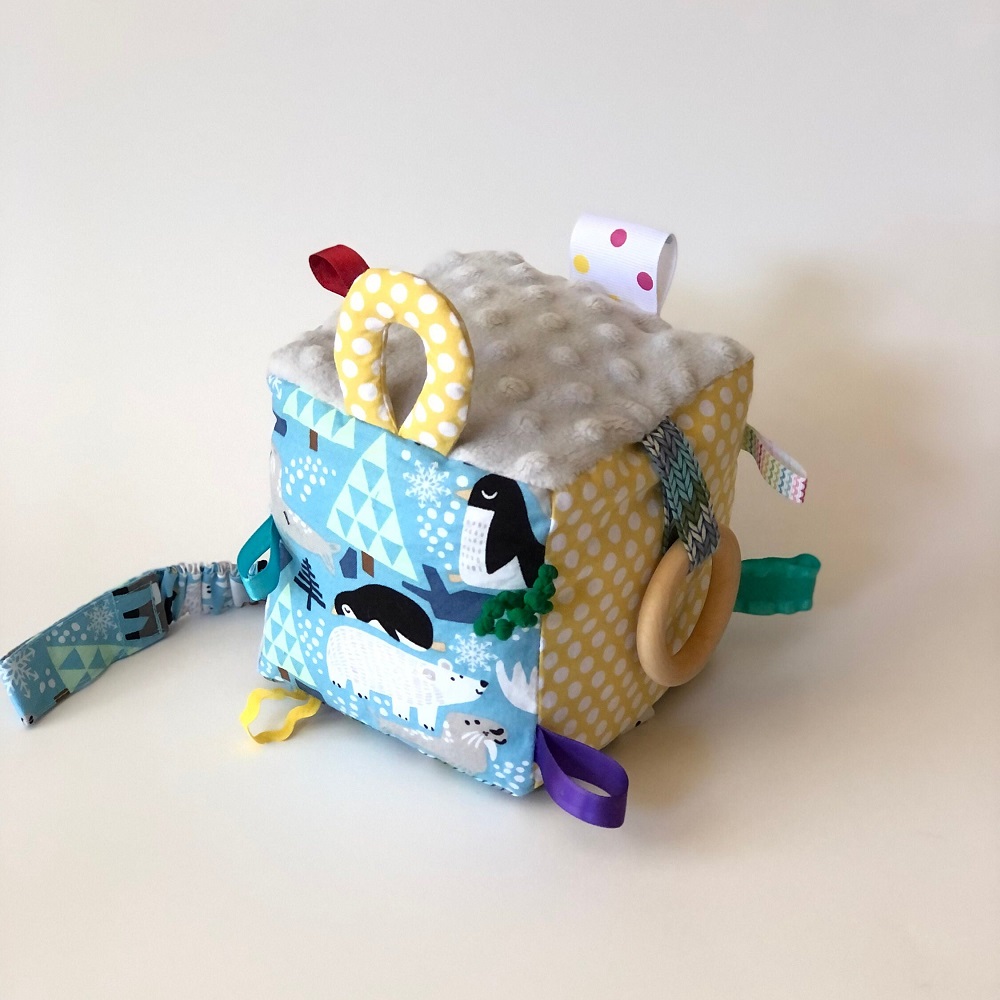
Young children can feel the coolness of the water, the softness of plush toys, or the resistance of floating objects. These interactions promote fine motor skills as they reach for and grasp toys. As babies manipulate water toys, they develop hand-eye coordination and strengthen their muscles. This holistic approach to play incorporates physical and cognitive growth.
Benefits of Using Water Toys
Promoting Physical Development
Using water toys can significantly boost physical development. Floating devices encourage movement, helping babies practice kicking, paddling, and other swimming motions. This activity strengthens their muscles and improves coordination, vital skills for later swimming.
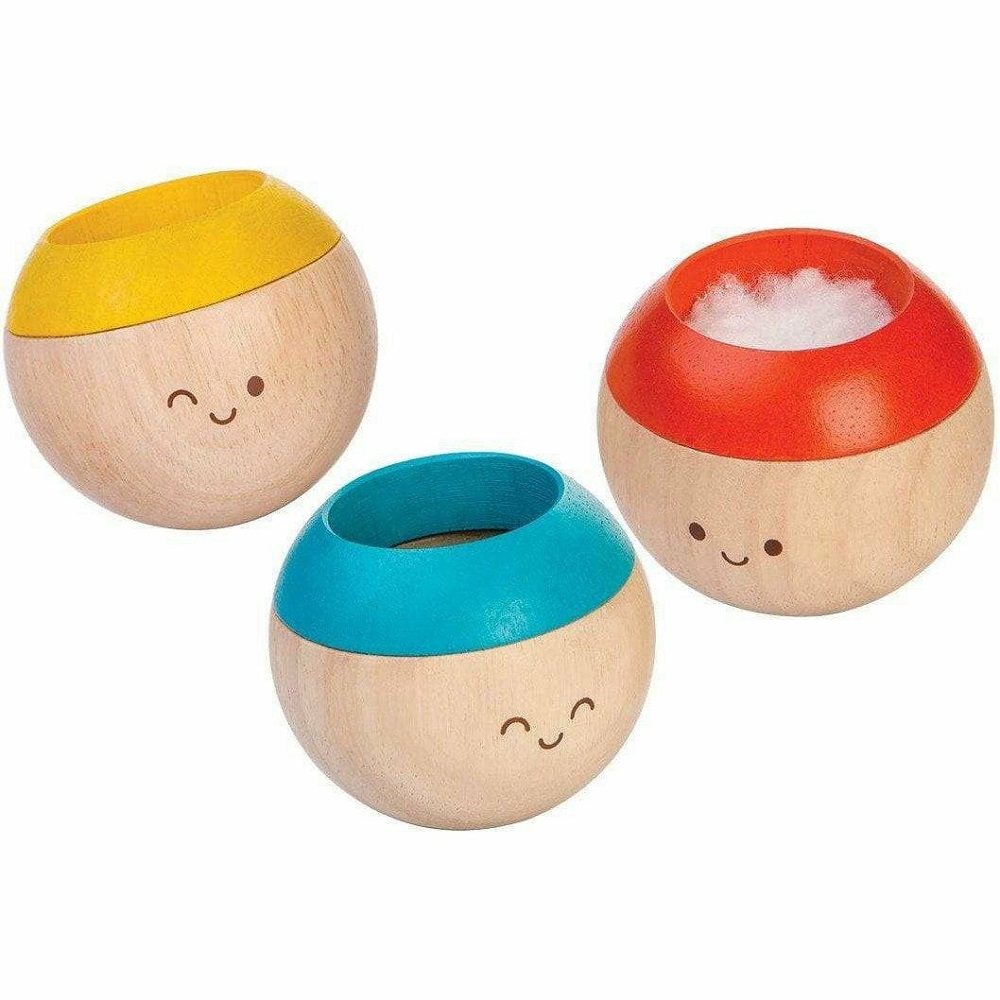
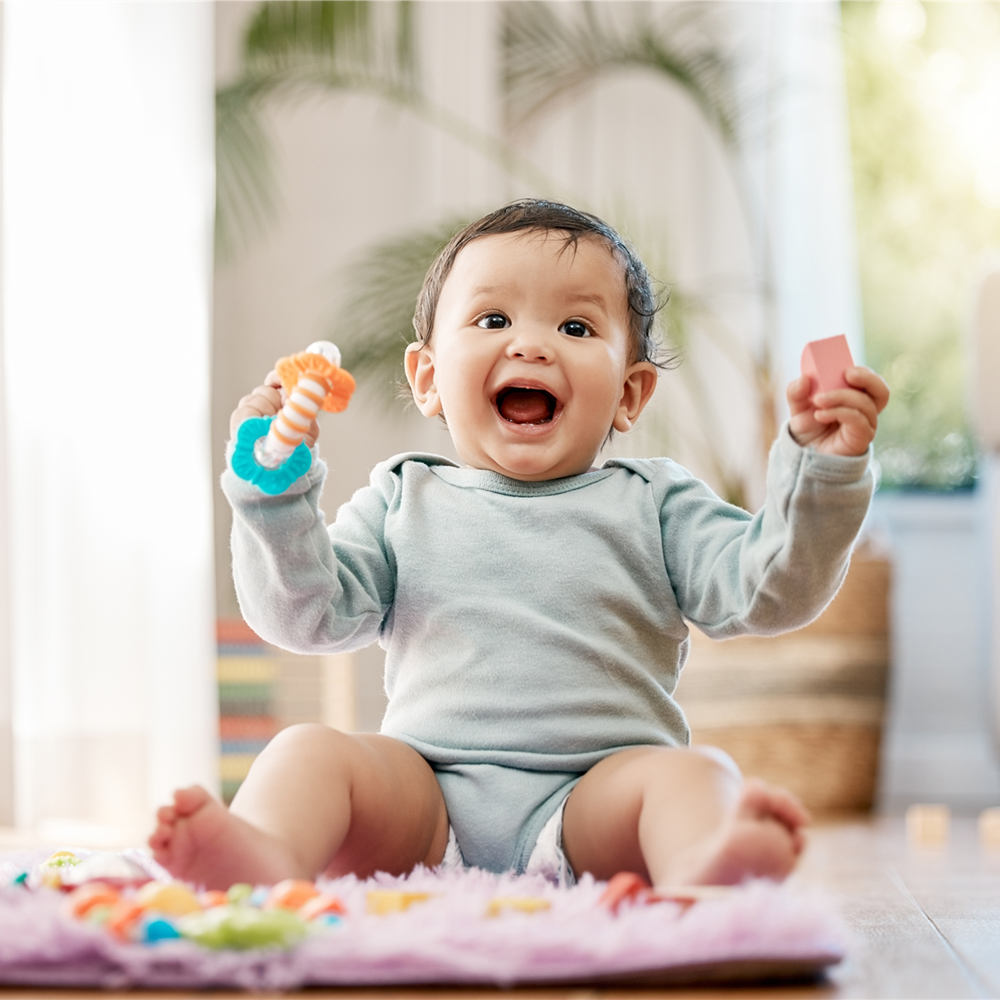
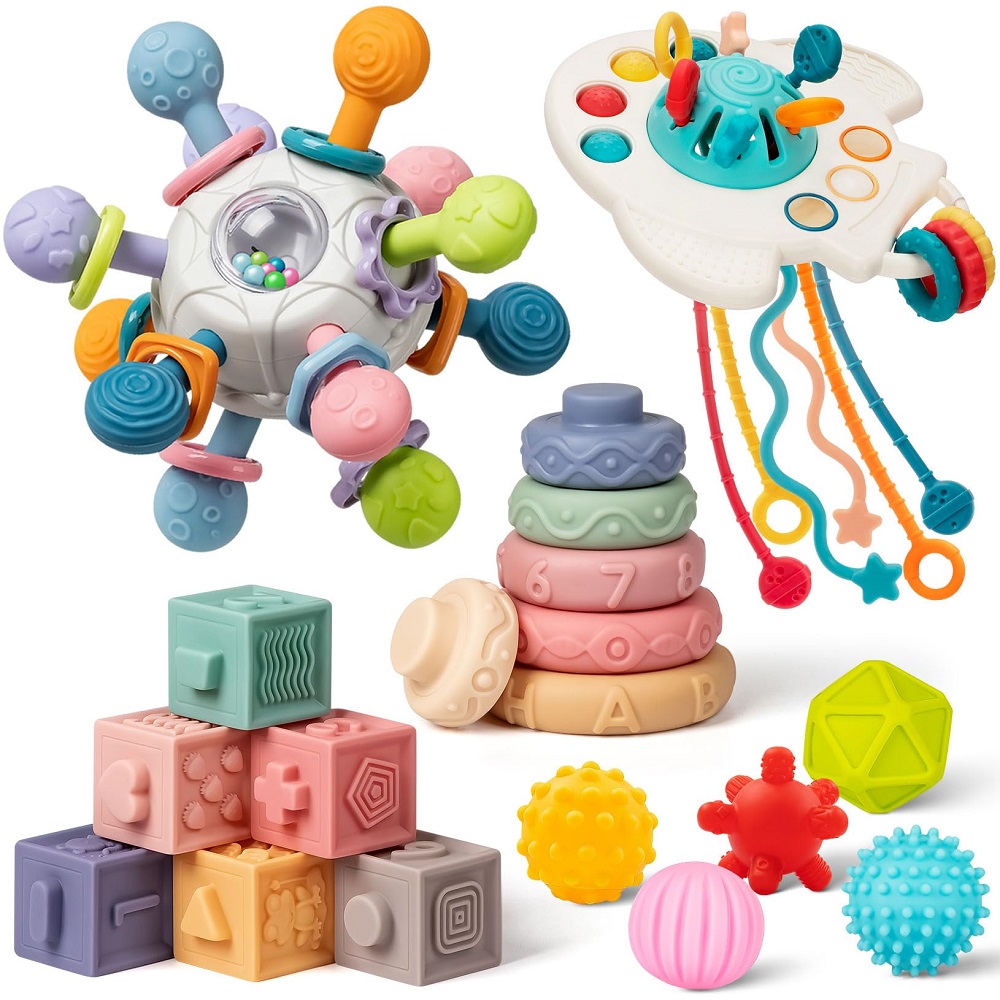
Many water toys are designed for babies to hold and manipulate, allowing them to engage in active play. For example, brightly colored balls or splash toys can motivate babies to reach and throw. This interactive play supports muscle tone and helps babies learn essential movement skills while having fun.
Encouraging Social Interaction
Water play encourages social interaction between babies and their caregivers or peers. Using water toys can create playful scenarios that facilitate bonding. Caregivers can teach babies about sharing and taking turns as they engage in water games.
Group play with water toys can also promote social skills. Babies may learn to cooperate with other children during water activities, helping to improve their emotional development. Positive social interactions in water settings create joyful experiences that strengthen relationships and create lasting memories.
Choosing the Right Baby Water Toy
Safety First
When selecting water toys, safety should always come first. Ensure that the toys are made from non-toxic materials and are free from harmful chemicals. Look for toys designed specifically for infants, as these are often crafted with safety features such as rounded edges and durable construction.
Age-appropriate toys are crucial. For very young babies, consider soft, lightweight toys that cannot pose a choking hazard. Checking for appropriate age recommendations on packaging ensures that the toys suit the developmental stage of your child. Always supervise babies during water play to ensure their safety and enjoyment.
Stimulating Design and Functionality
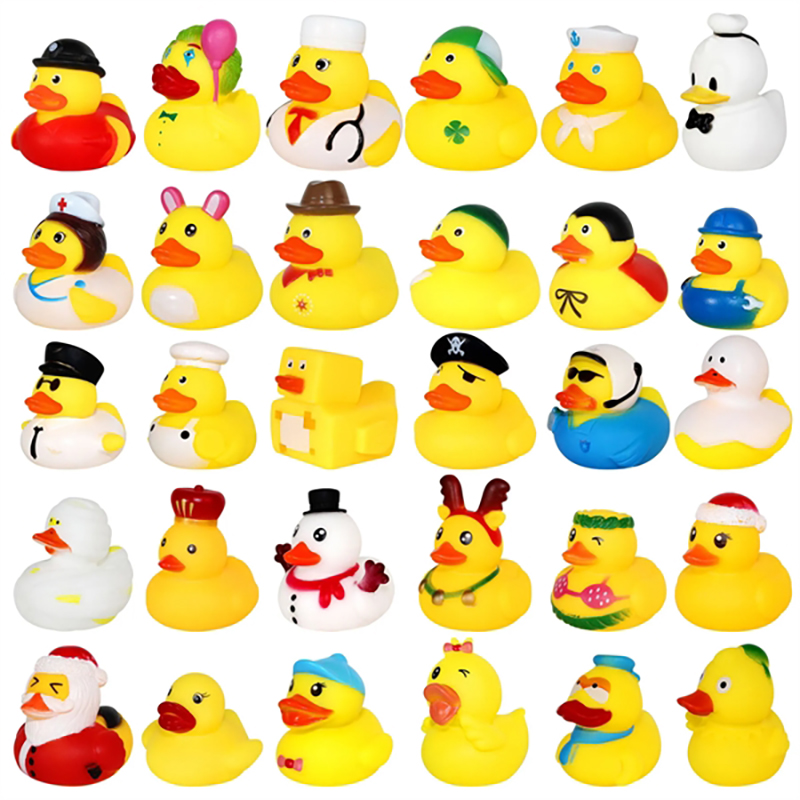
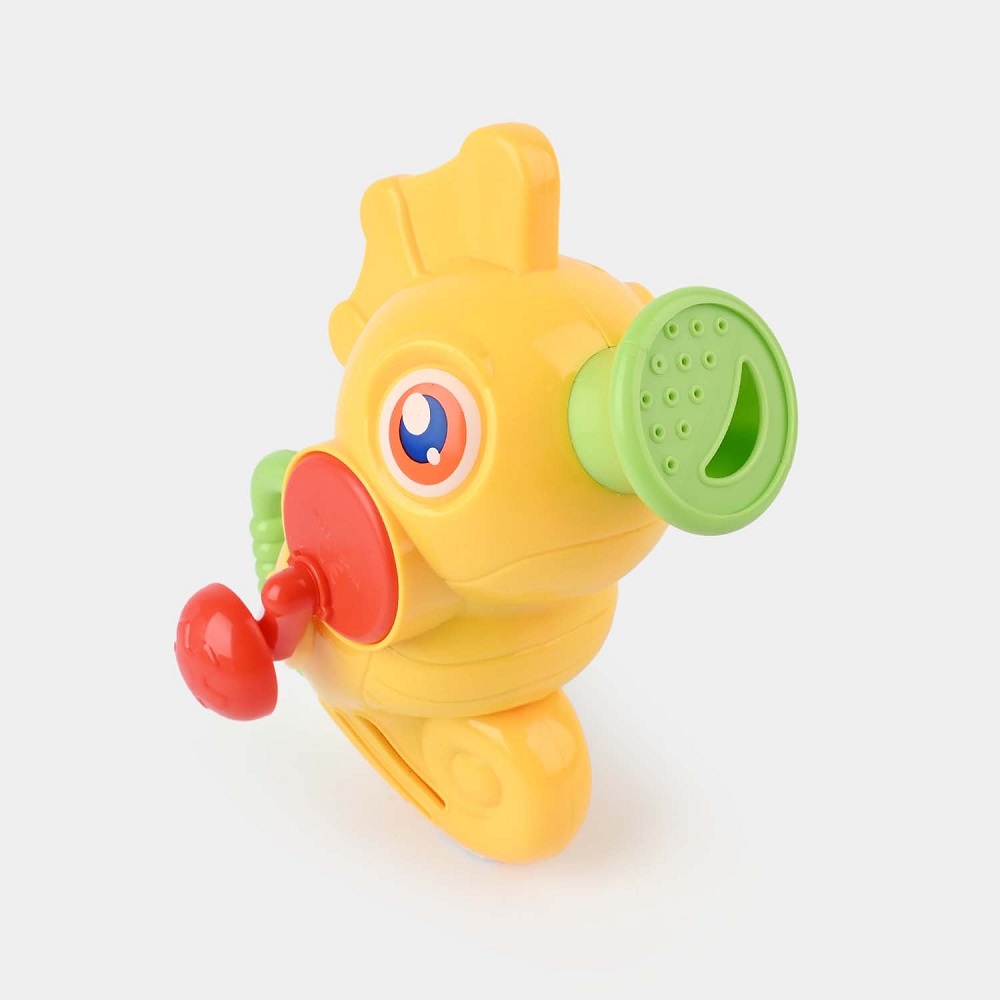
The design and functionality of baby water toys play essential roles in engagement. Bright colors and visually appealing shapes can attract a baby’s attention, sparking curiosity and excitement. Choose toys that float, squirt water, or make sounds, as these features enhance playtime fun.
Consider toys that offer versatility. For example, inflatable floating devices can serve multiple purposes, from providing support while learning to swim to acting as toys that encourage imaginative play. The more versatile the toy, the more various experiences it can help facilitate during water play.
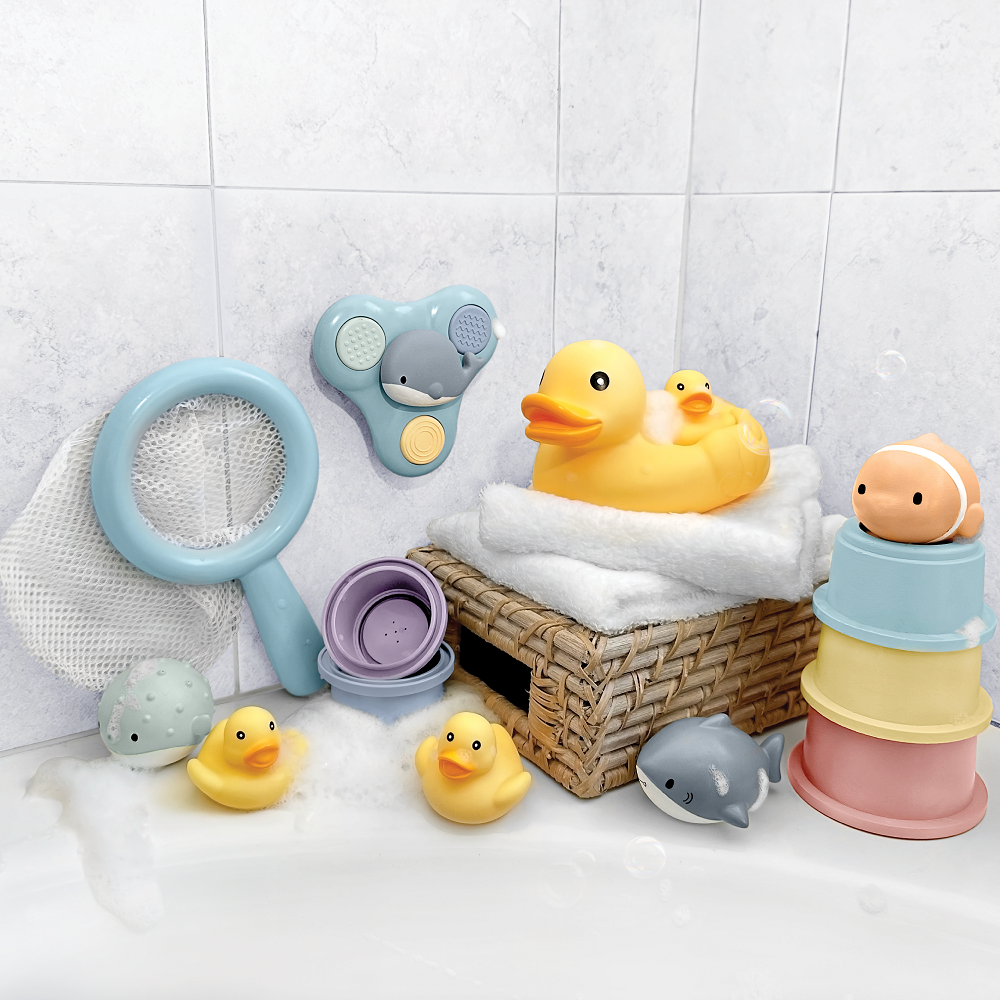
Types of Baby Water Toy
Floating Devices
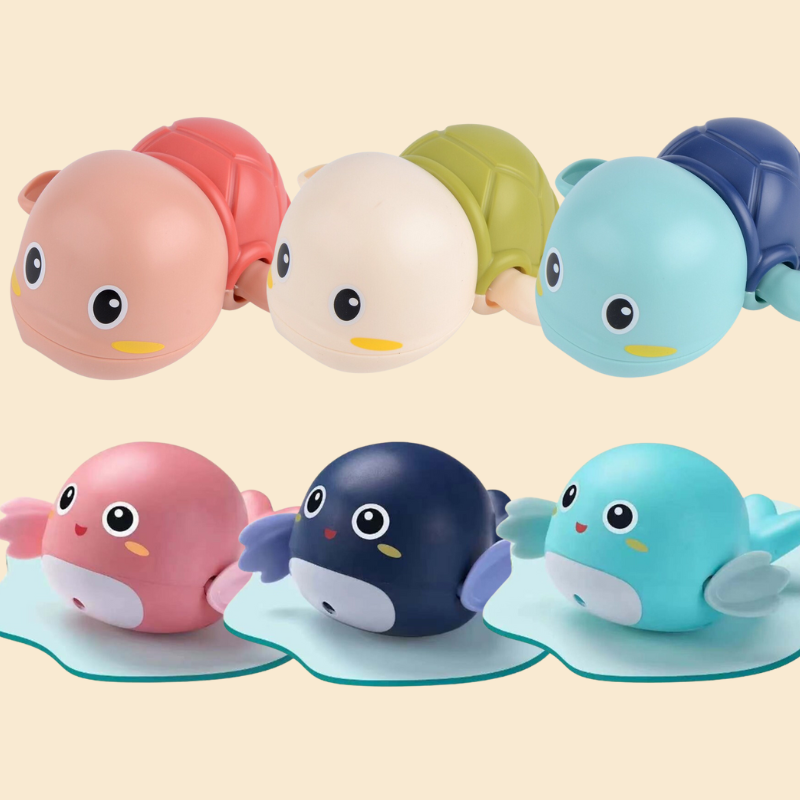
Inflatable floating devices are popular choices for baby water toys. They provide support while enabling babies to explore the water environment. Different designs, such as rings, boats, or loungers, help babies learn to navigate the water safely.
Some floating devices come with built-in safety features like leg holes or back support. These elements offer security while allowing for freedom of movement. When selecting floating devices, ensure they are appropriate for your baby’s age and size, providing a secure fit.
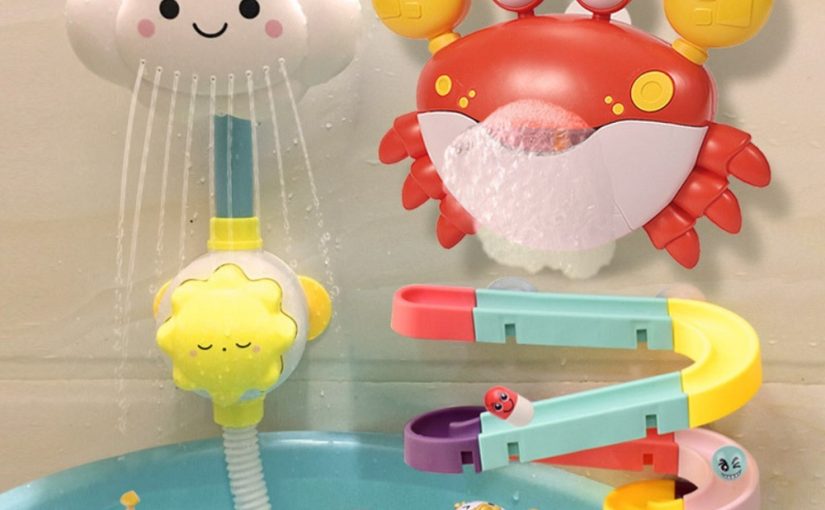
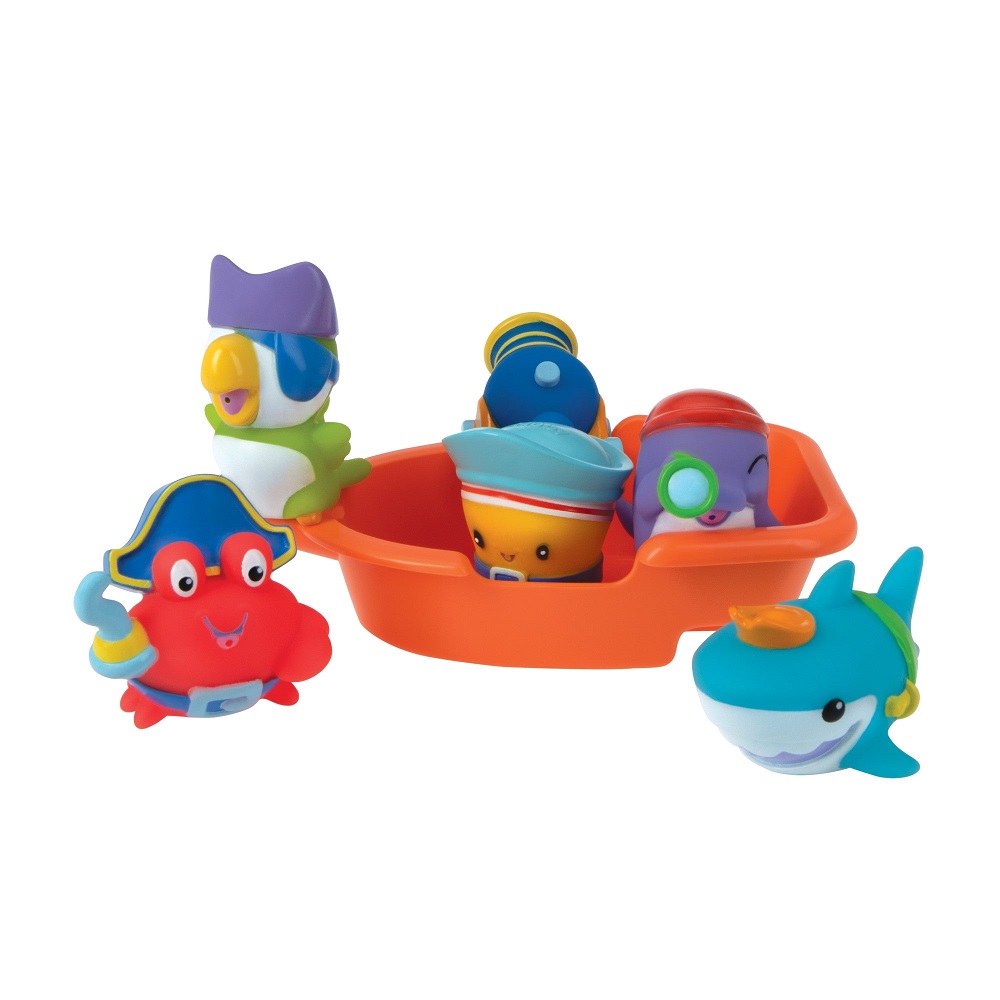
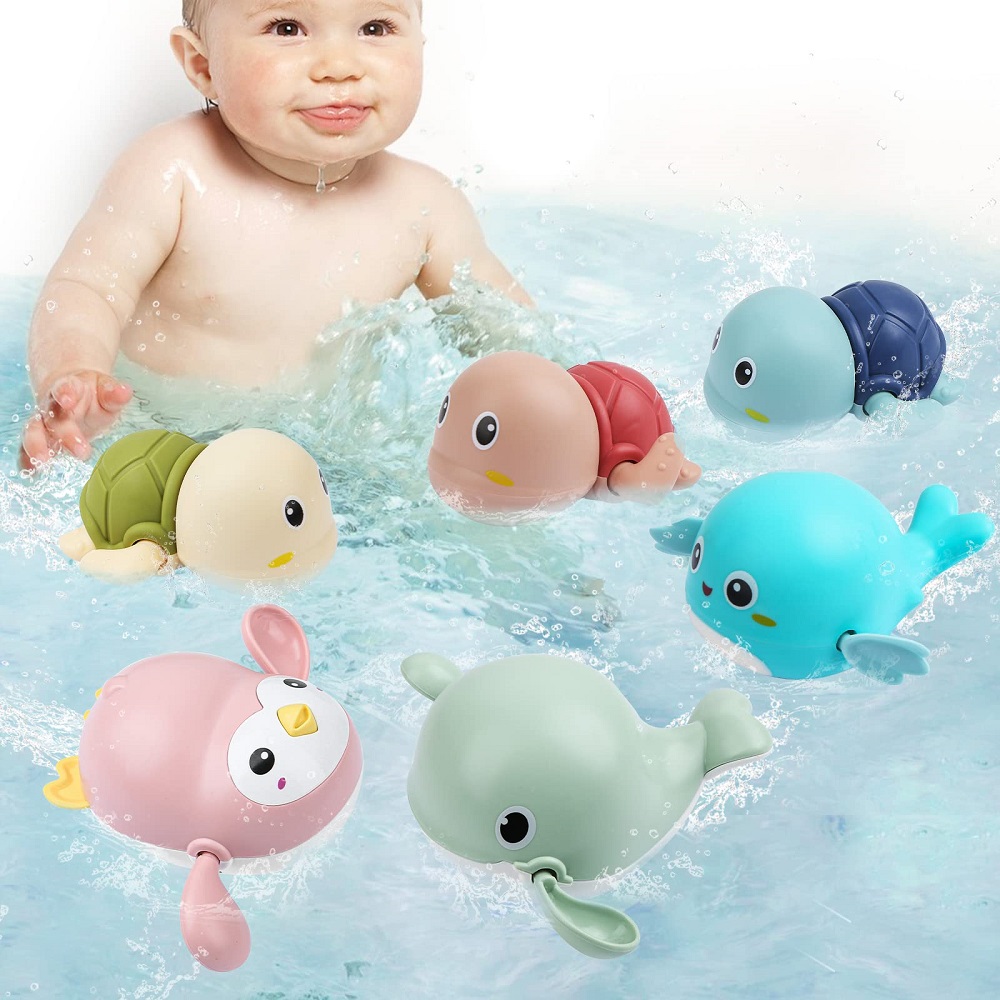
Splash Toys
Splash toys are fundamental to water play, adding excitement and engagement. These can include colorful toys that squirt water, floating animals, or interactive devices that provide sensory stimulation. Splash toys allow babies to explore the water in playful ways, encouraging sensory play through splashing and pouring.
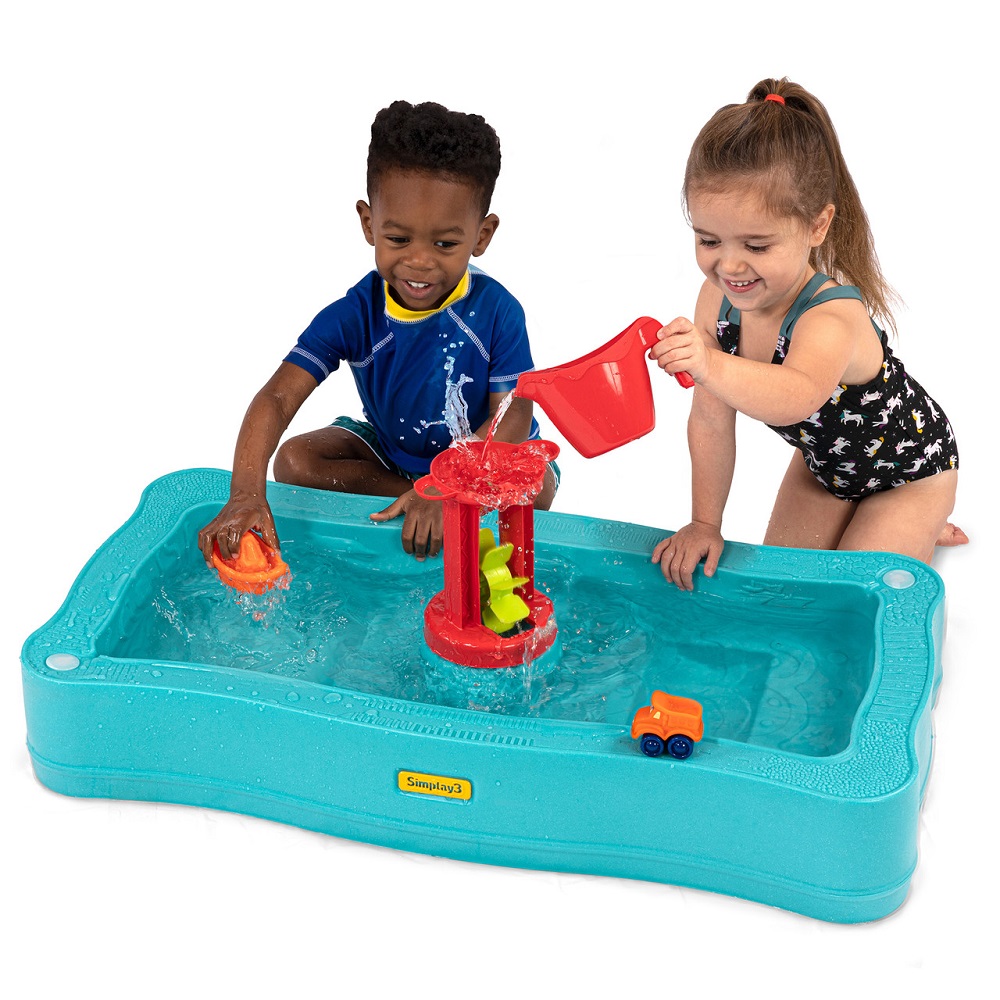
Additionally, consider water tables that incorporate splash toys and accessories. These setups can promote cooperative play where multiple children can engage in shared activities. Splash toys create a fun atmosphere while encouraging exploration and sensory experiences.

Engaging Activities with Baby Water Toy
Fun Games and Activities
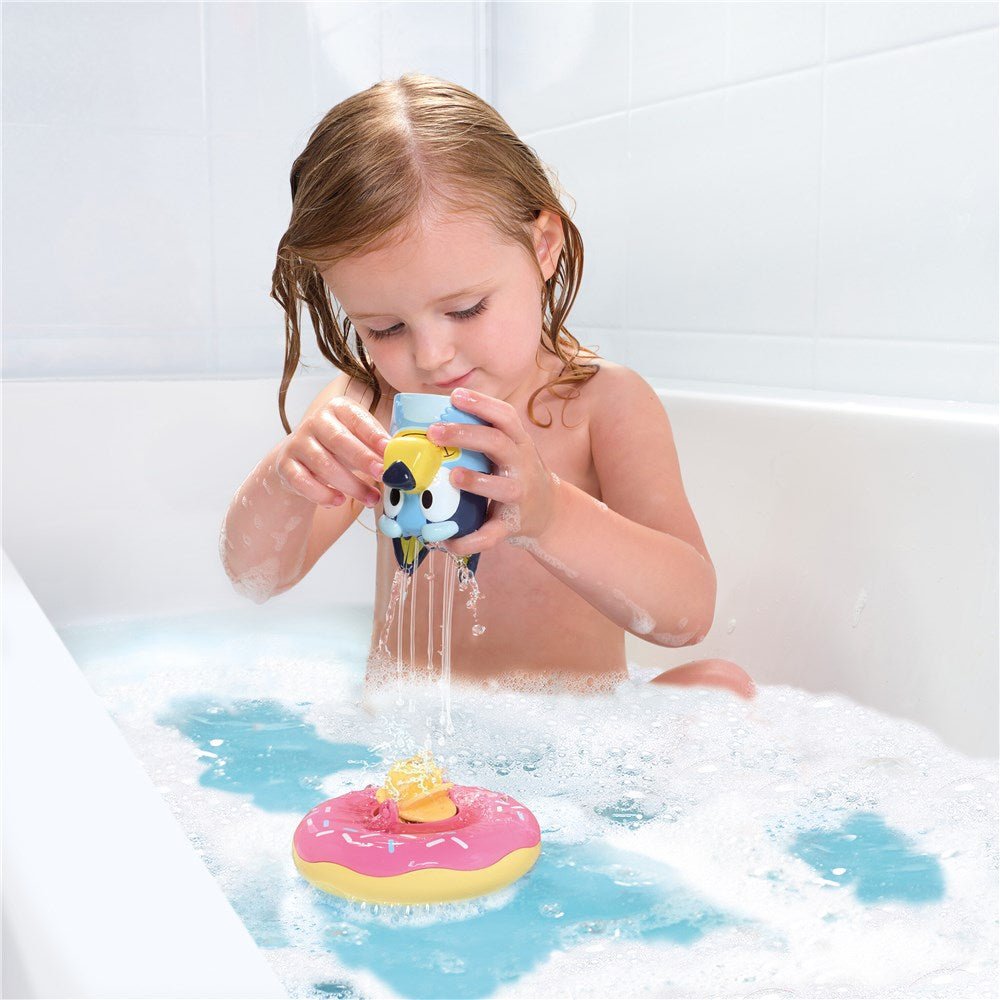
Using baby water toys opens the door for fun games and activities. Start with simple water play, encouraging babies to splash and play with floating toys. You can show them how to pour water from one container to another, helping them develop motor skills while having fun.
Consider playing peek-a-boo with floating toys or gently tossing them into the water for babies to retrieve. These interactive games can collect laughter and joy while fostering a positive relationship with water. Engaging in playful activities allows parents and babies to bond while learning through play.
Exploring Water Sensations
Explore sensations in varying depths of water. For instance, allow babies to sit in shallow water while playing with splash toys. As they become more comfortable, gradually introduce them to slightly deeper water while ensuring safety. This progression helps babies develop confidence in the water while exploring their surroundings.
Using water toys, parents can introduce concepts such as floating and sinking. Discuss with your baby why some toys float while others do not, which can be a fun and educational experience. These simple explorations enhance learning and provide memorable experiences during water playtime.
Maintaining Water Toys for Longevity
Regular Cleaning Practices
Maintaining baby water toys is vital for ensuring their longevity and safety. After each use, rinse toys with clean water to remove any chlorine, salt, or debris. This helps prevent mold and mildew from forming, providing a safe environment for play.
For soft and plush toys, check the care label for washing instructions. Many can be machine washed, while others may require hand-washing to maintain their integrity. Regular cleaning will keep the toys looking new and safe for your baby to use.
Proper Storage Techniques
Proper storage of water toys can also extend their lifespan. After cleaning, store them in a cool, dry area away from direct sunlight. This practice helps to prevent damage from UV rays and ensures that toys remain in good condition for future play.
Consider using bins or mesh bags for storing water toys. This allows air circulation, reducing moisture buildup and promoting drying. Thoughtful storage solutions make organizing easier and help maintain a tidy play area for your baby.
The Joy of Baby Water Play
Building Life Skills
Incorporating baby water toys into playtime leads to invaluable life skills development. As babies navigate water, they learn balance and coordination, essential skills for physical development. Additionally, as they engage in play and exploration, they develop problem-solving abilities and critical thinking.
Social skills emerge during group water play, as babies learn to interact and share with their peers. Cooperation and teamwork form significant aspects of these experiences, fostering emotional intelligence. The lessons learned in water play lay the foundation for future experiences and growth.
Creating Lasting Memories
Ultimately, baby water toys facilitate joyful experiences that will create cherished memories for both parents and children. The laughter shared during water playtime, combined with the confidence gained, leaves lasting impressions. These moments strengthen the bond between caregiver and child, making the experience even more rewarding.
In conclusion, introducing your baby to water through engaging toys can enhance their development in many areas, from physical growth to cognitive and social skills. The right baby water toys can turn an average swim day into a delightful experience filled with learning and joy. By prioritizing safety and choosing engaging toys, you can cultivate a fun-filled environment that promotes water confidence and offers endless enjoyment for years to come. Embrace the joy of baby water play today and create beautiful experiences that your family will cherish forever!