Choosing the right baby toys 3-6 months is essential for their development and safety. This stage marks a period of rapid growth and curiosity as infants begin to explore the world around them. Consequently, toys play a vital role in stimulating their senses and encouraging motor skills. However, safety should always be a top priority when selecting toys for this age group. This article discusses important safety tips for parents and caregivers when choosing toys for their little ones.
Understanding Developmental Milestones
Cognitive and Physical Development
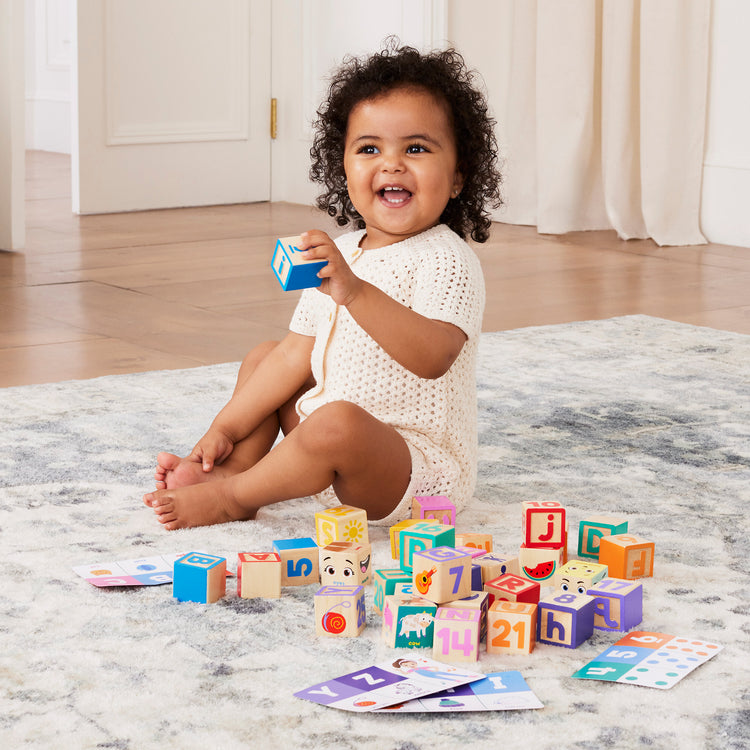
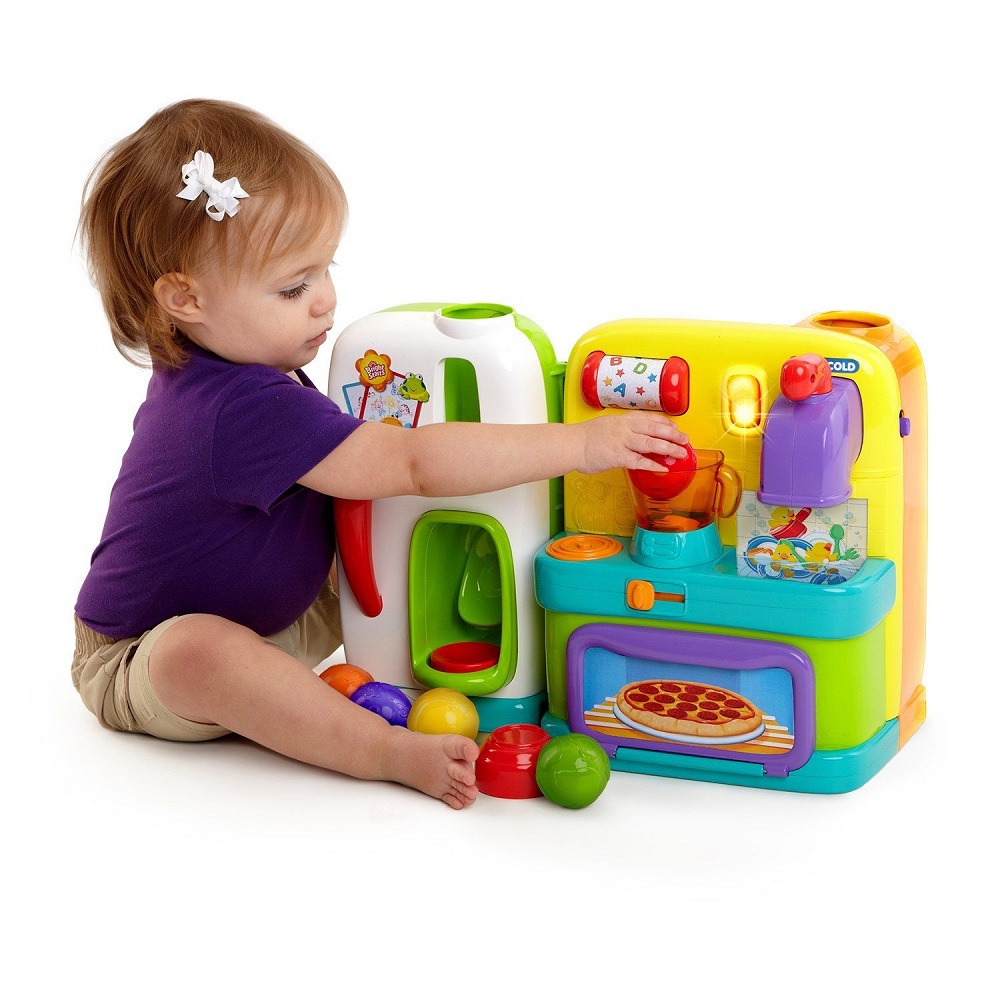
At 3 to 6 months, babies experience significant cognitive and physical changes. They begin to gain better control of their hand movements, leading them to grasp and explore objects. They also start to recognize familiar faces and sounds, marking their developing awareness of the world. Toys that encourage grasping, shaking, and inspecting are particularly helpful during this stage.
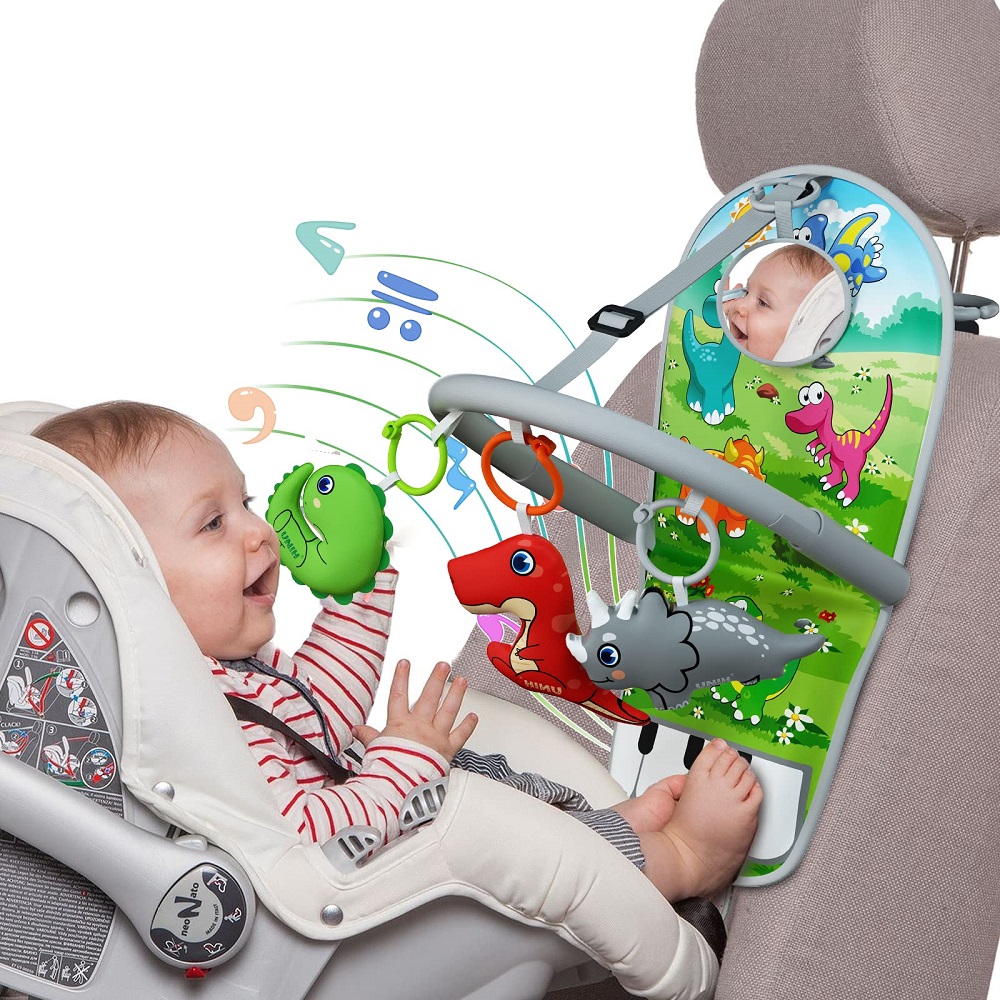
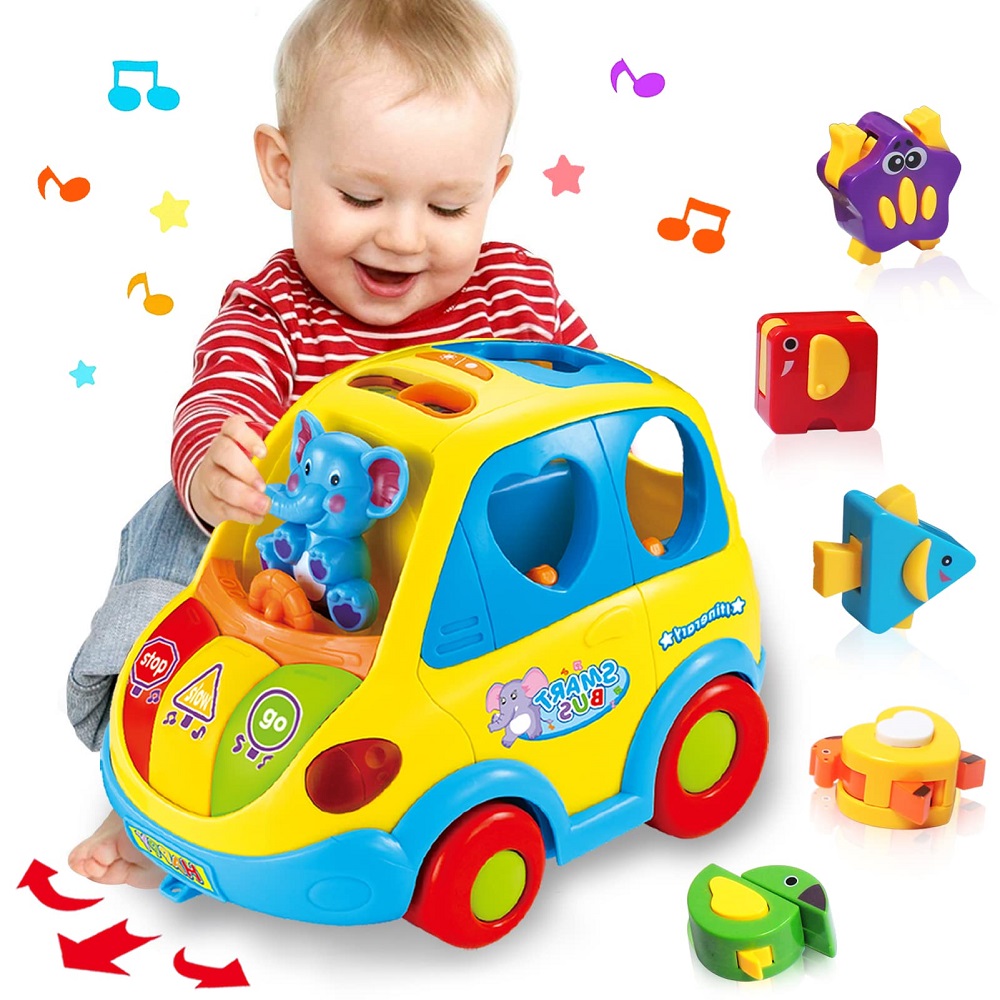
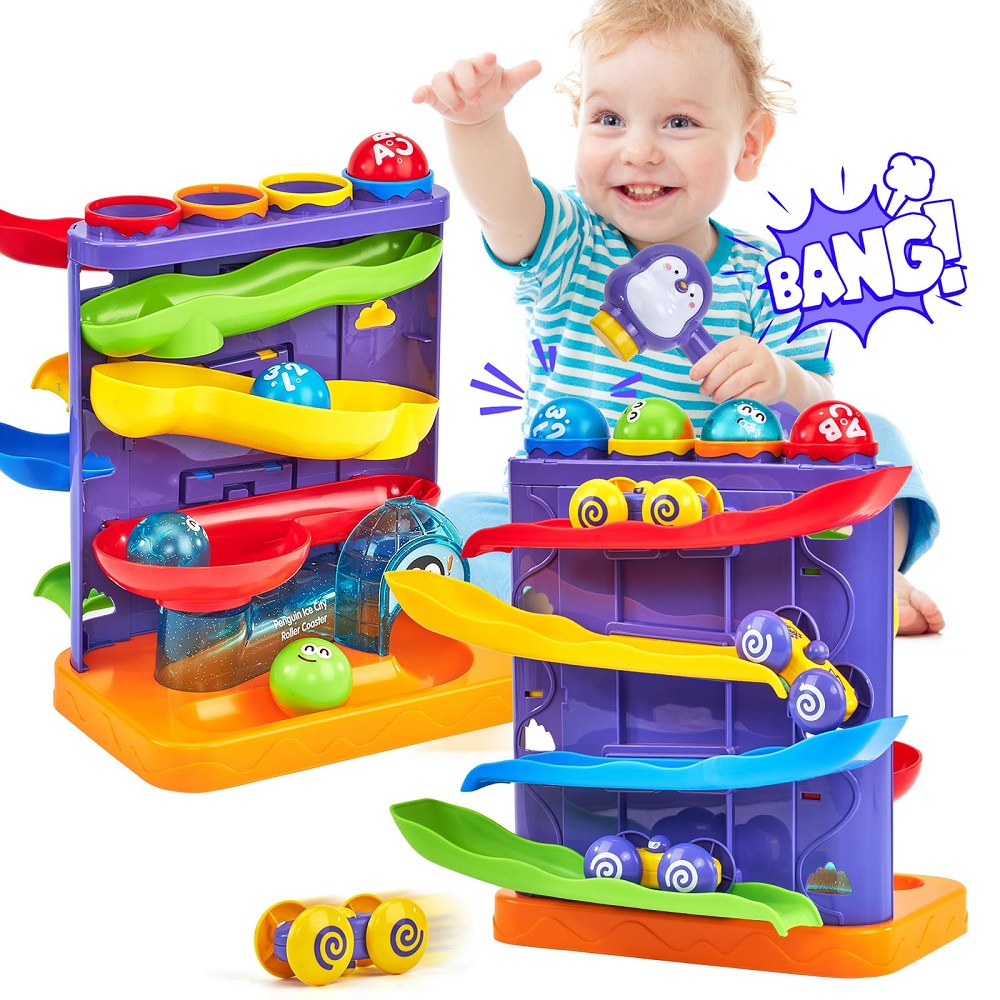
As infants explore their toys, they learn cause-and-effect relationships. For instance, they might shake a rattle and notice that it makes a sound. This kind of play stimulates their cognitive development and helps them understand how things work in their environment. It is essential to choose toys that encourage this kind of exploration for both learning and fun.
Sensory Stimulation
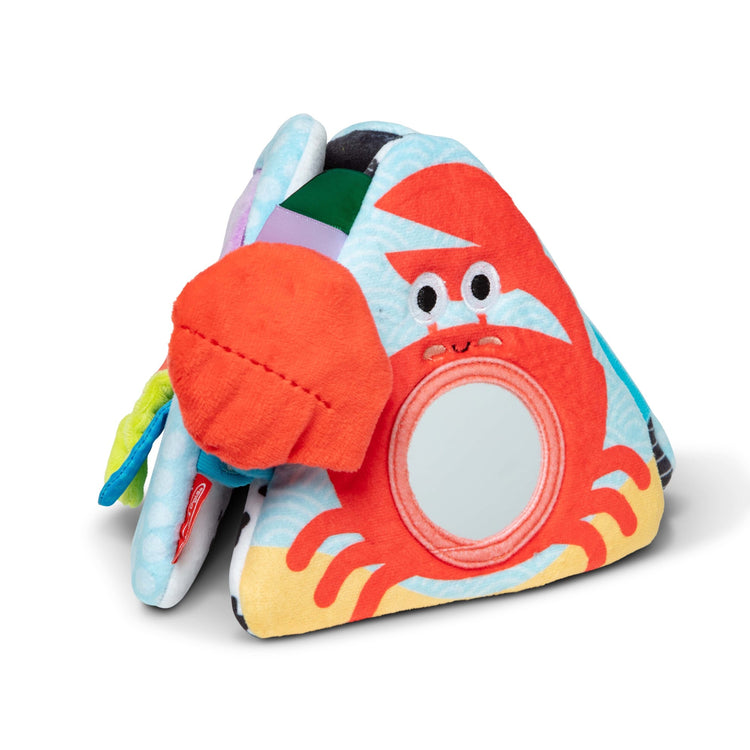
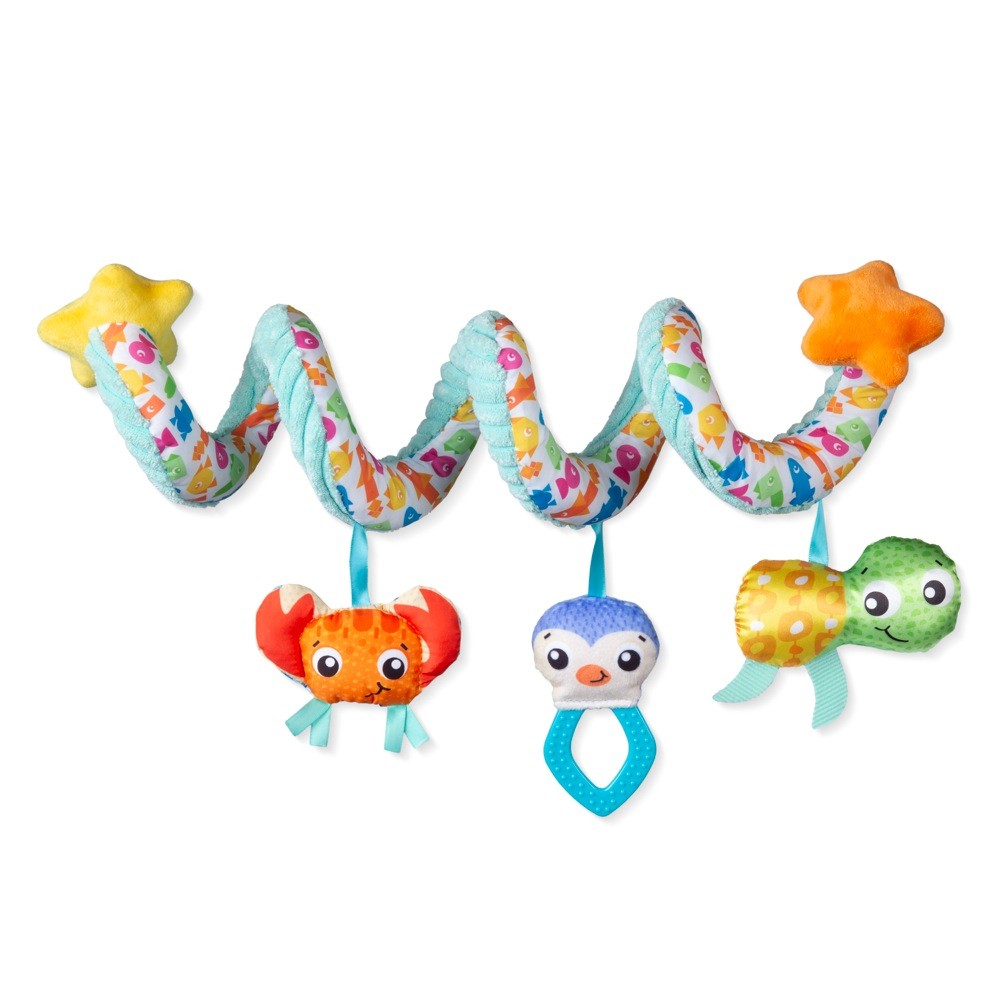
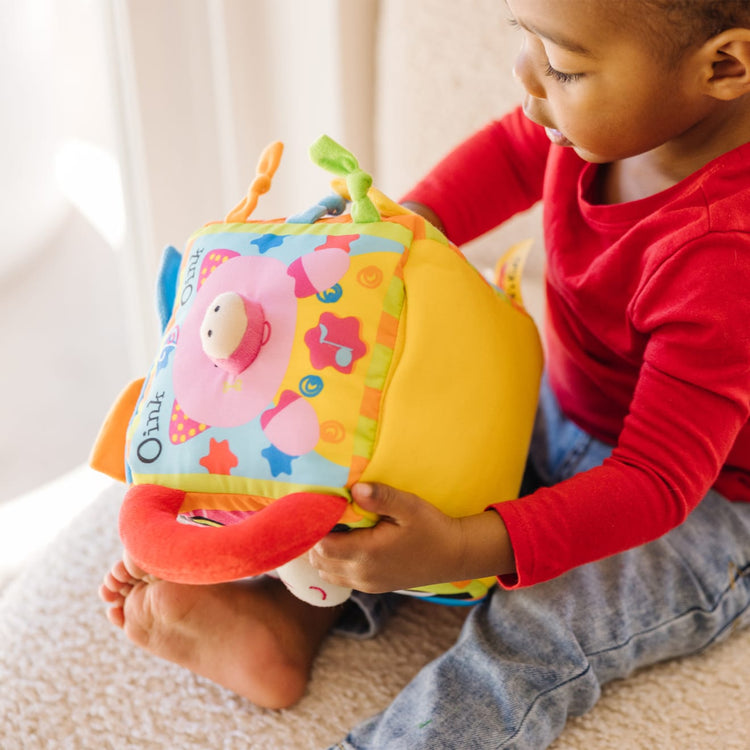
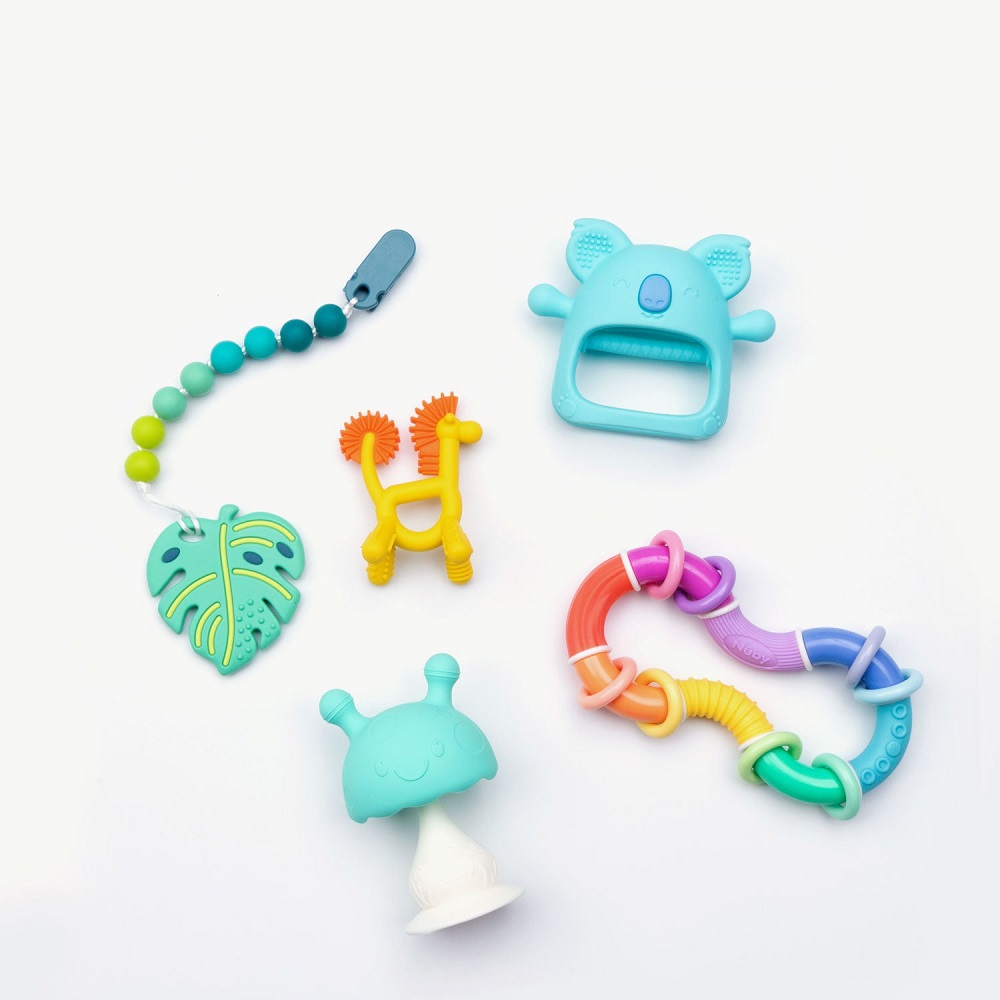
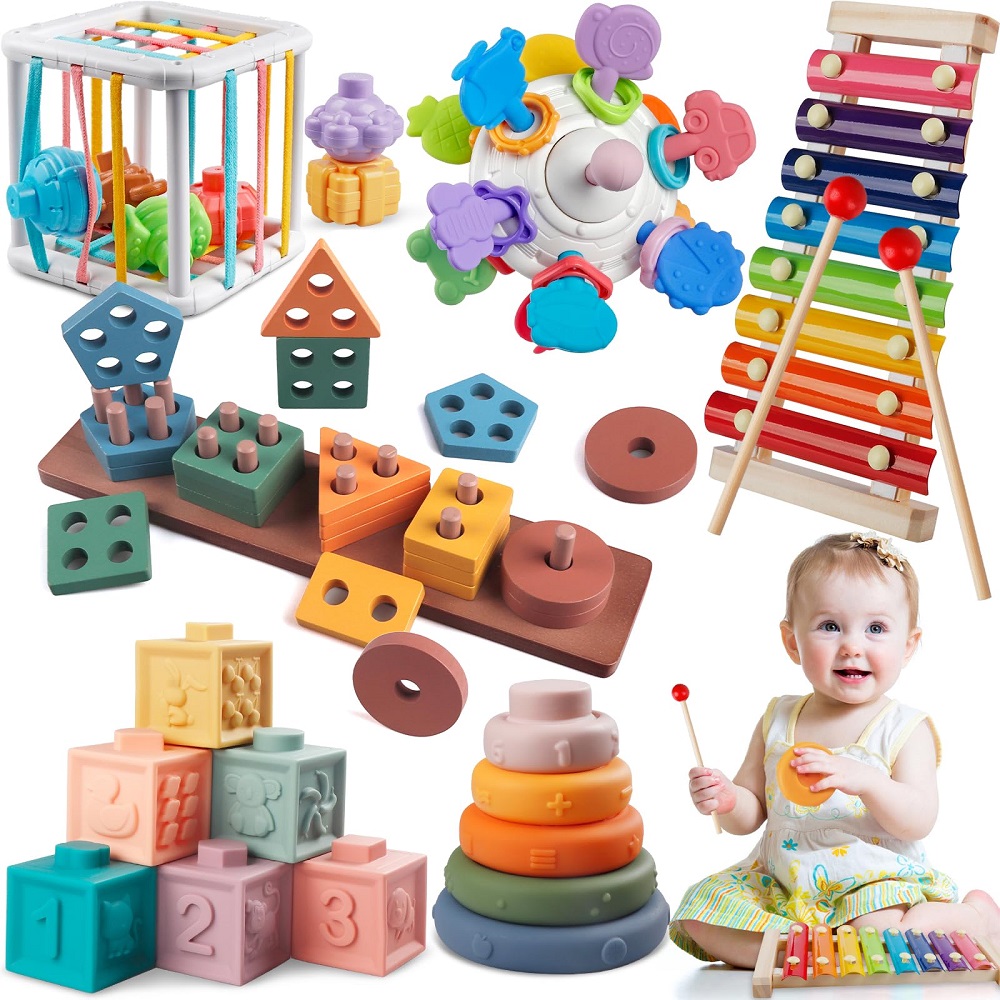
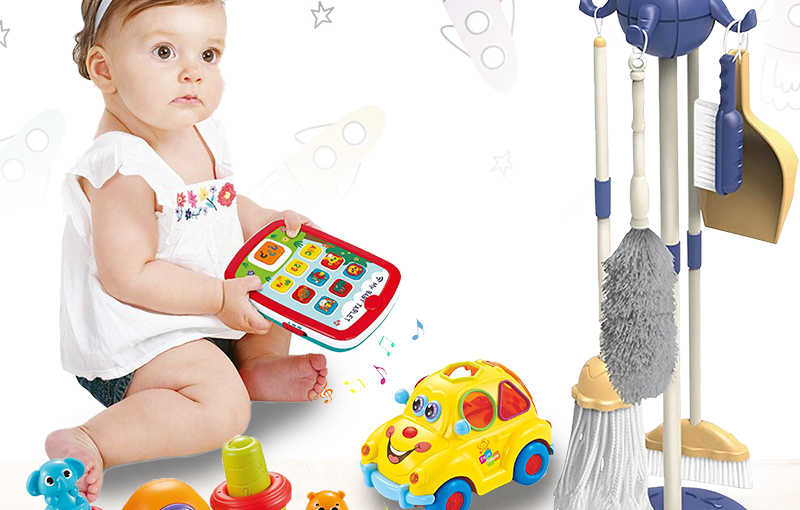
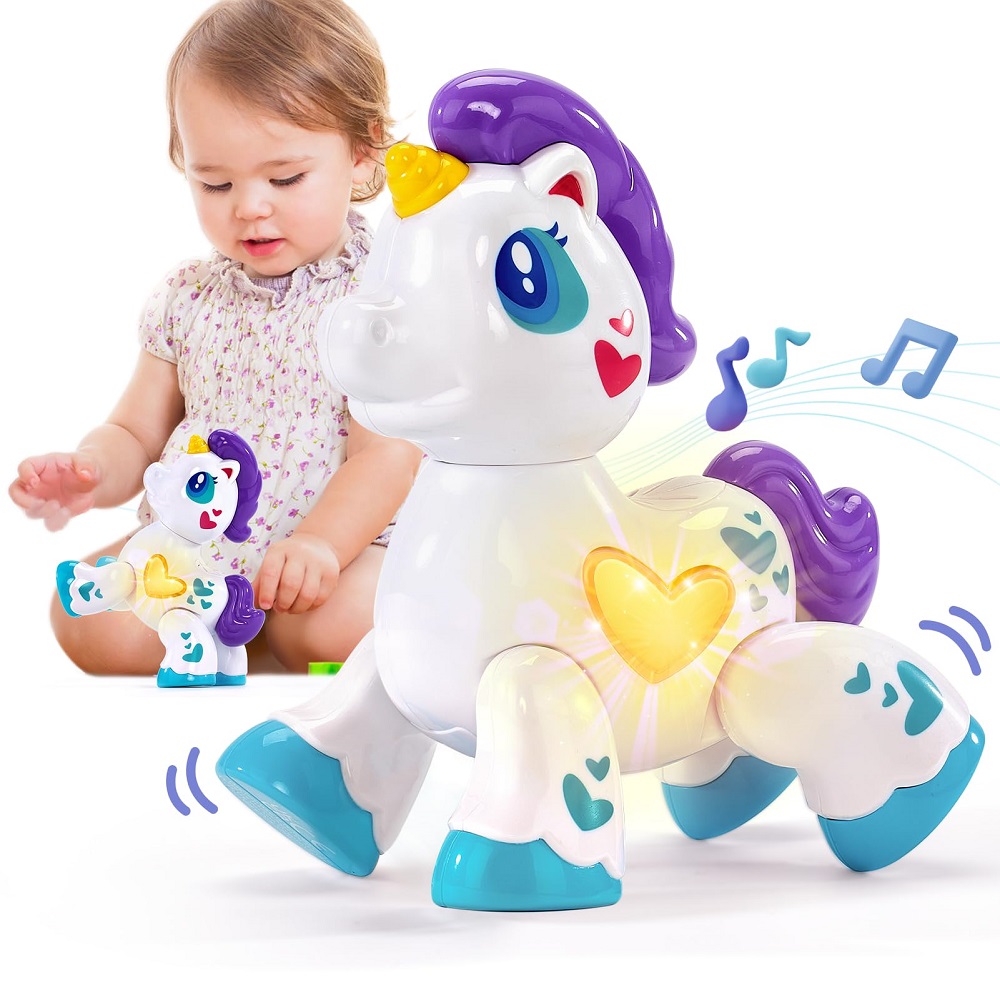
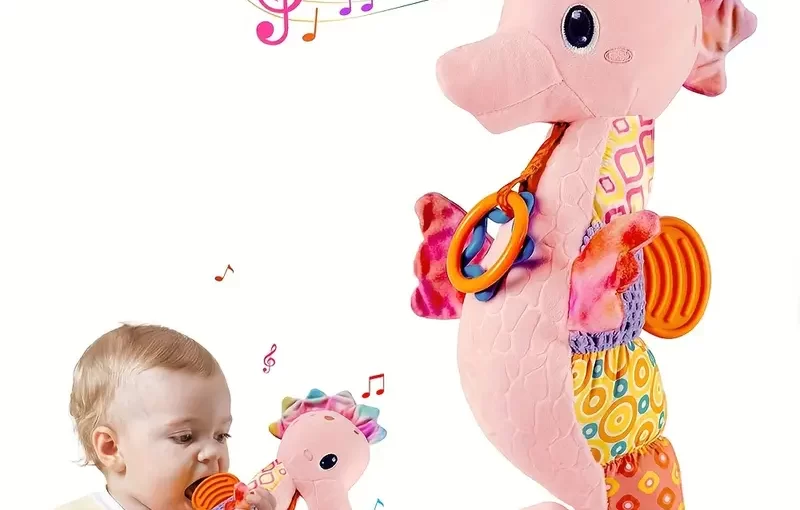
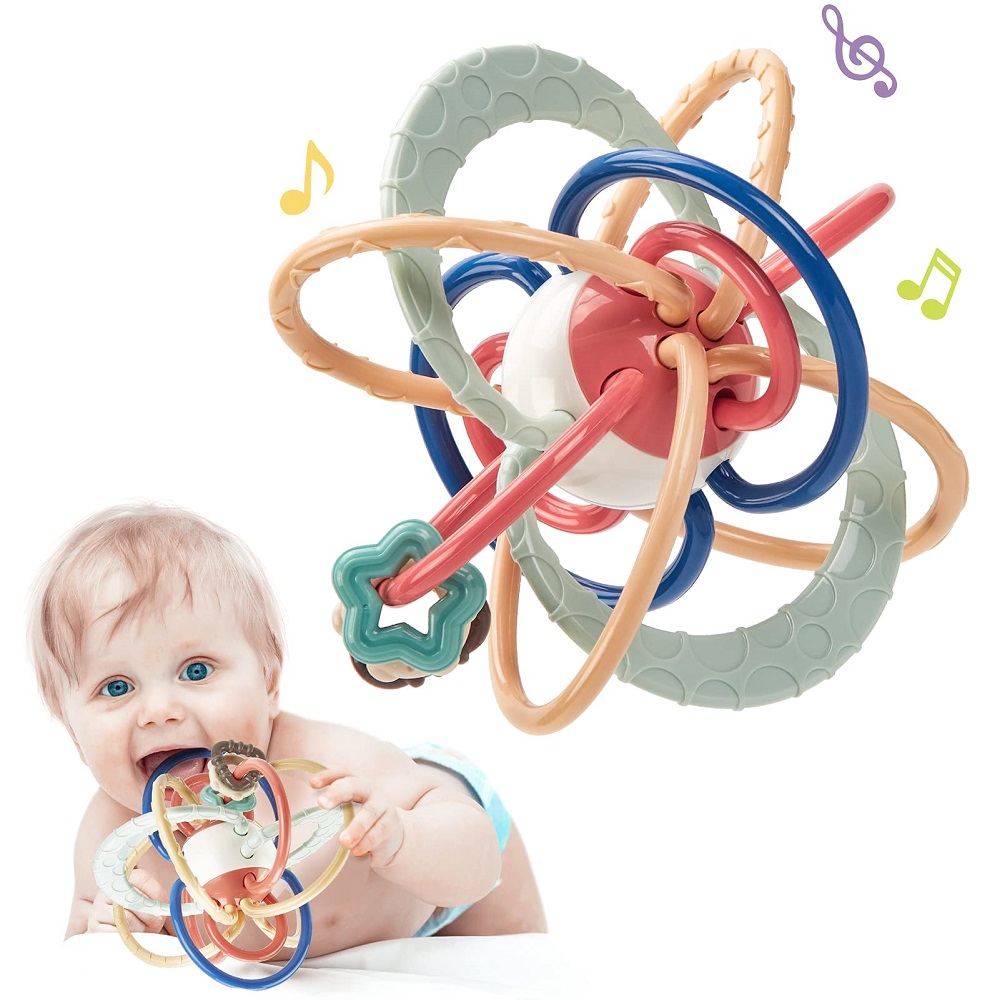
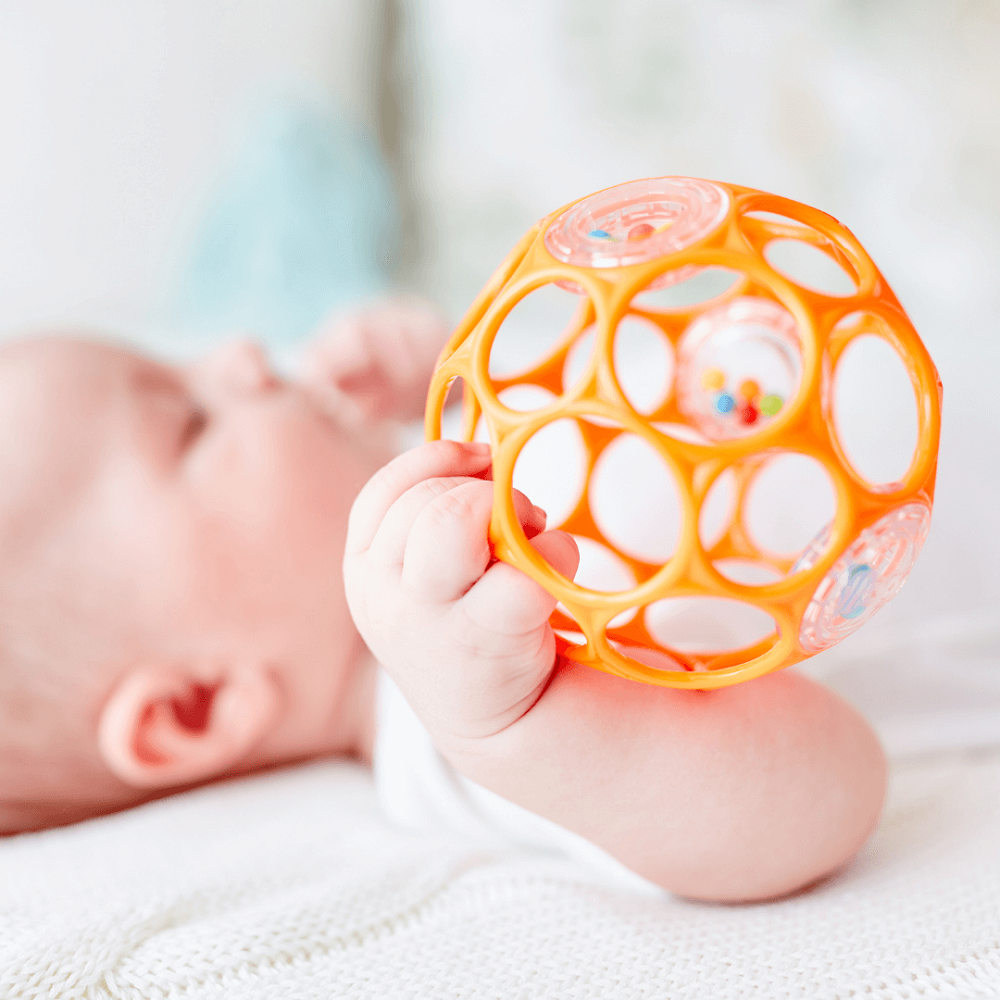
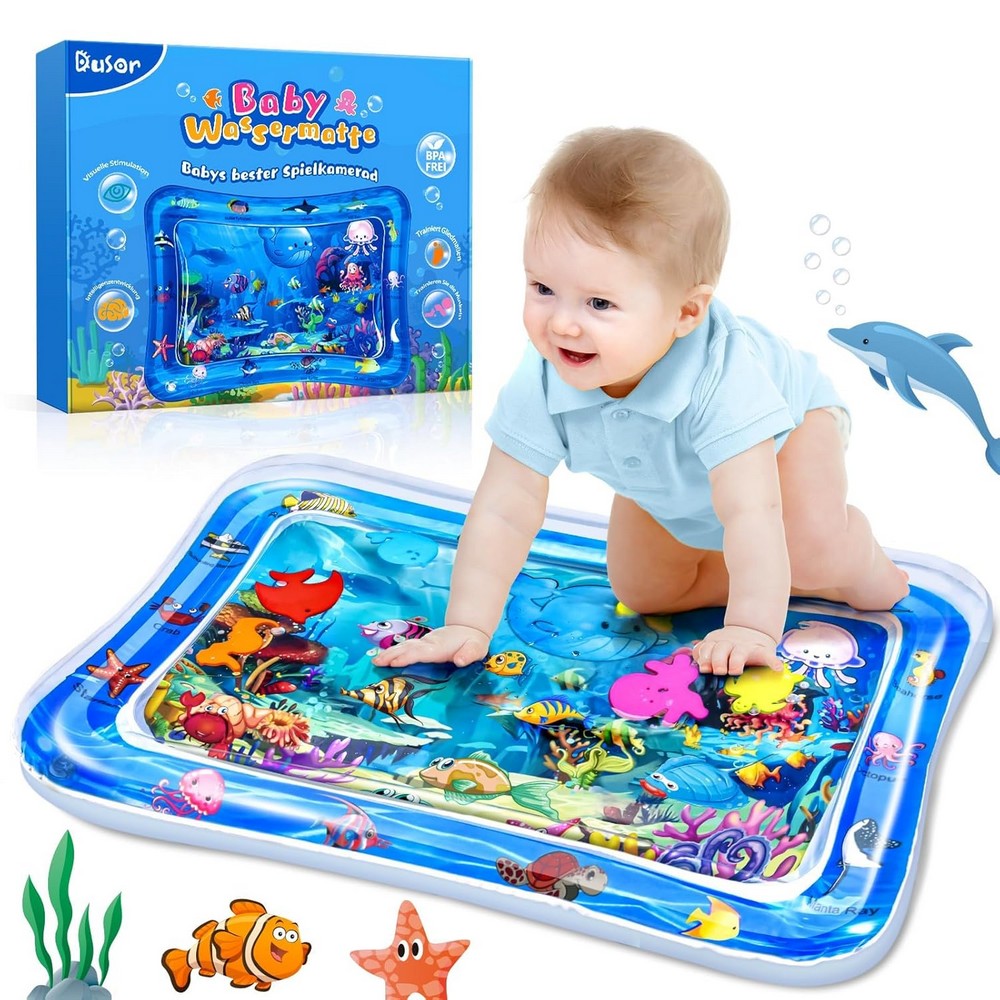
Sensory play is also vital for this age group. Babies use their senses to learn about their surroundings. Toys that include different textures, colors, and sounds can provide sensory stimulation that is crucial for their development. Bright colors attract attention and encourage visual tracking. Likewise, toys that crinkle, jingle, or make sounds can engage auditory senses effectively.
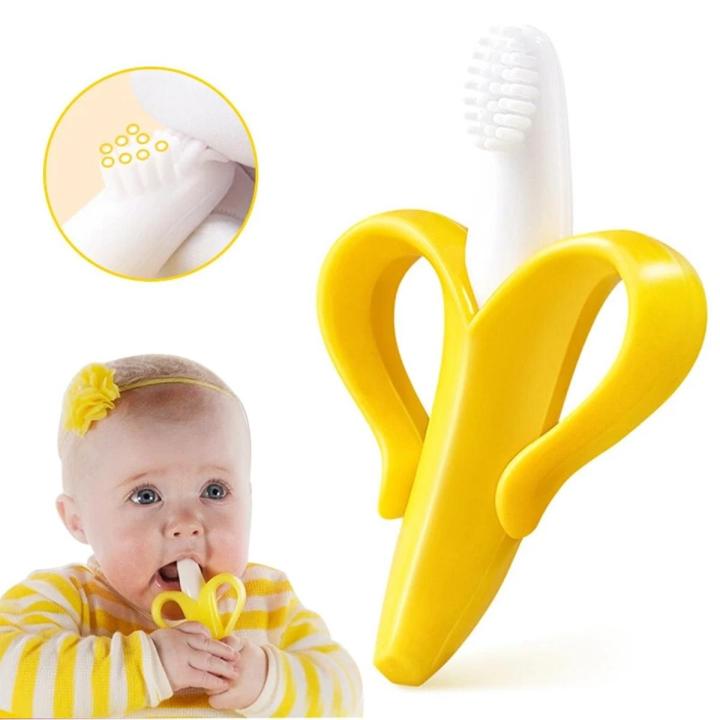
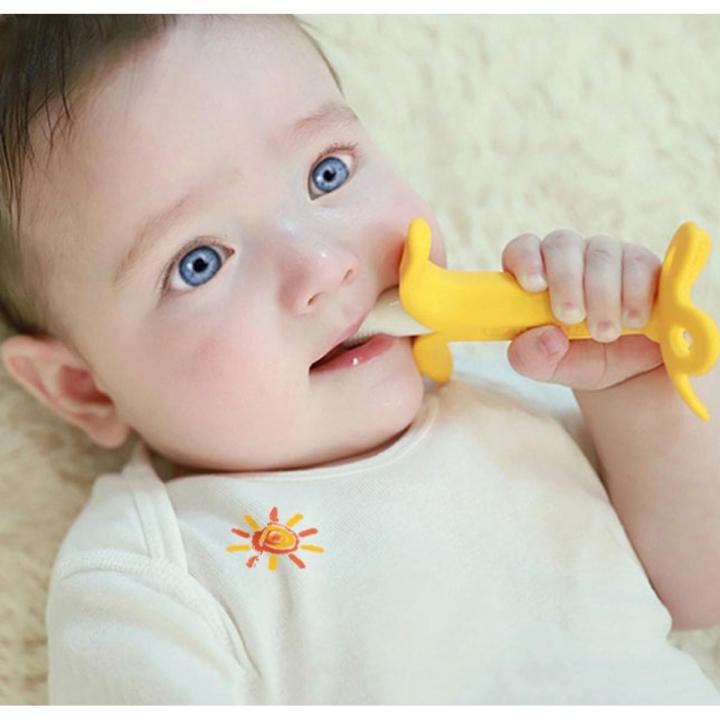
Parents should look for toys that can be safely mouthed since infants often explore objects with their mouths. This mouthing behavior is a natural part of exploration and helps with teething and sensory feedback. Choosing safe materials and designs becomes especially important when selecting suitable toys.
Selecting Safe Materials
Non-Toxic Materials
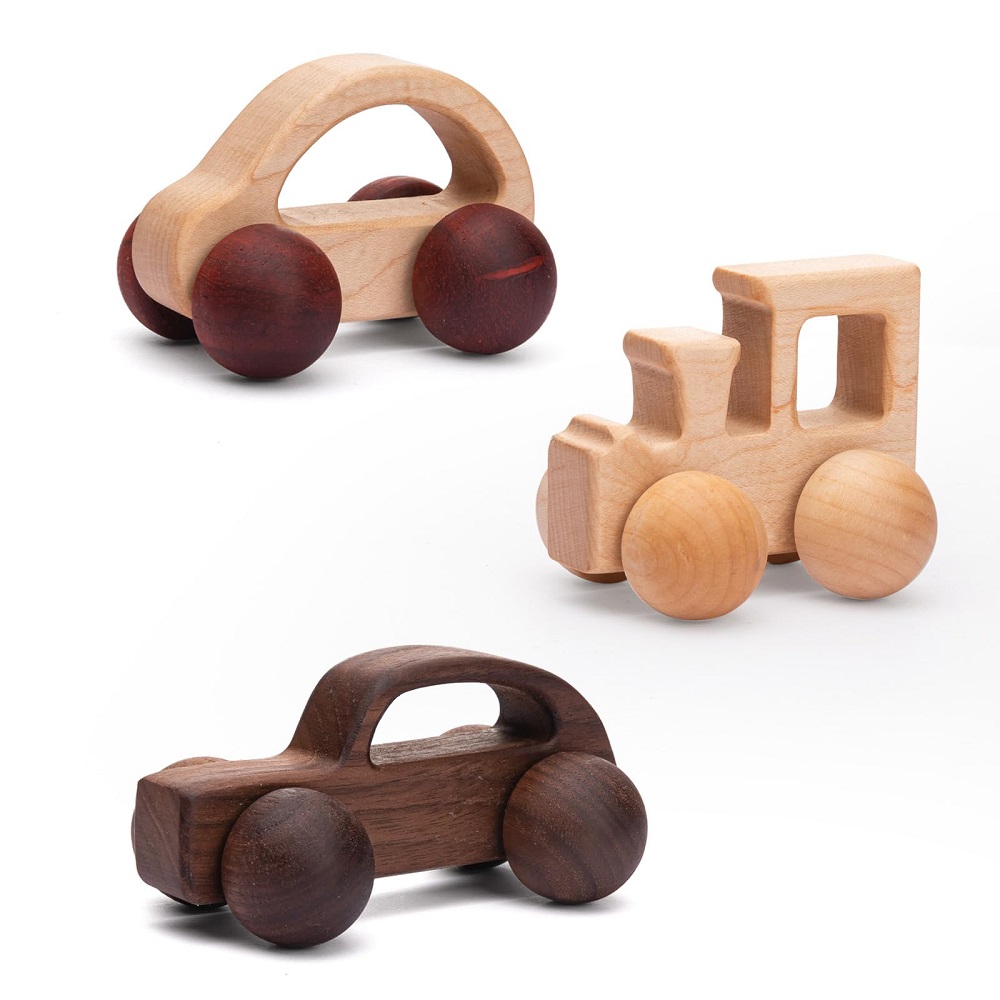
When it comes to baby toys 3-6 months, safety starts with the materials used. Parents should opt for toys made from non-toxic materials that are free from harmful chemicals. This choice includes being cautious of toys that might contain BPA, phthalates, and heavy metals. These substances can pose health risks to infants when they are bitten or chewed on.
Many reputable toy manufacturers provide information about the materials used in their products. Reading labels and verifying certifications ensures that you select toys that meet safety standards. Brands that prioritize safety and transparency are often more reliable in offering safe options for babies.
Easy to Clean
Another important aspect of material safety is the ease of cleaning. Infants often drool and mouth their toys, so it’s crucial to choose items that can be easily sanitized. Look for toys that can be wiped down or are machine washable. This cleaning process helps maintain hygiene and ensures that the toys remain safe for your baby to use.
Parents should check the care instructions before purchasing toys. Some toys may have specific cleaning guidelines that must be followed to avoid damage. Keeping toys clean reduces the risk of bacteria and germs, promoting a healthier environment for the baby.
Avoiding Small Parts
Choking Hazards
One of the most significant safety concerns for infants is choking hazards. Toys should be free from small parts or pieces that could easily break off. Babies at this age tend to put objects in their mouths, which increases the risk of choking. As a rule of thumb, any toy or part of a toy that can fit through a toilet paper tube is too small for infants.
Parents should carefully inspect toys before allowing their babies to play with them. Always check for any removable parts that could pose a choking risk. Even toys designed for the appropriate age group should be scrutinized for safety features and construction.
Regularly Check Toys for Damage
In addition to considering toy construction, parents must regularly inspect toys for wear and tear. During typical play, toys may wear down, leading to potential hazards such as loose parts or sharp edges. Frequently checking for any damage ensures that the toys continue to be safe for use.
If any signs of damage are identified, it is best to remove the toy from the baby’s play area immediately. Replacing worn or damaged toys helps reduce the risk of accidents and ensures that the baby only has access to safe items.

Choosing Age-Appropriate Toys
Follow Age Recommendations
Toy manufacturers provide age recommendations for their products based on safety features, developmental appropriateness, and skill level. Parents should always refer to these guidelines when shopping for toys. Choosing age-appropriate toys ensures that they are suitable for the baby’s developmental stage and helps avoid safety issues.
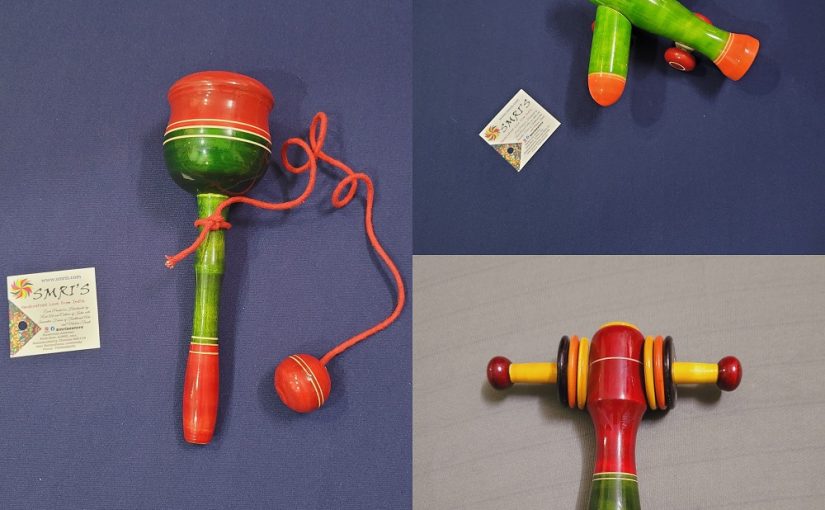
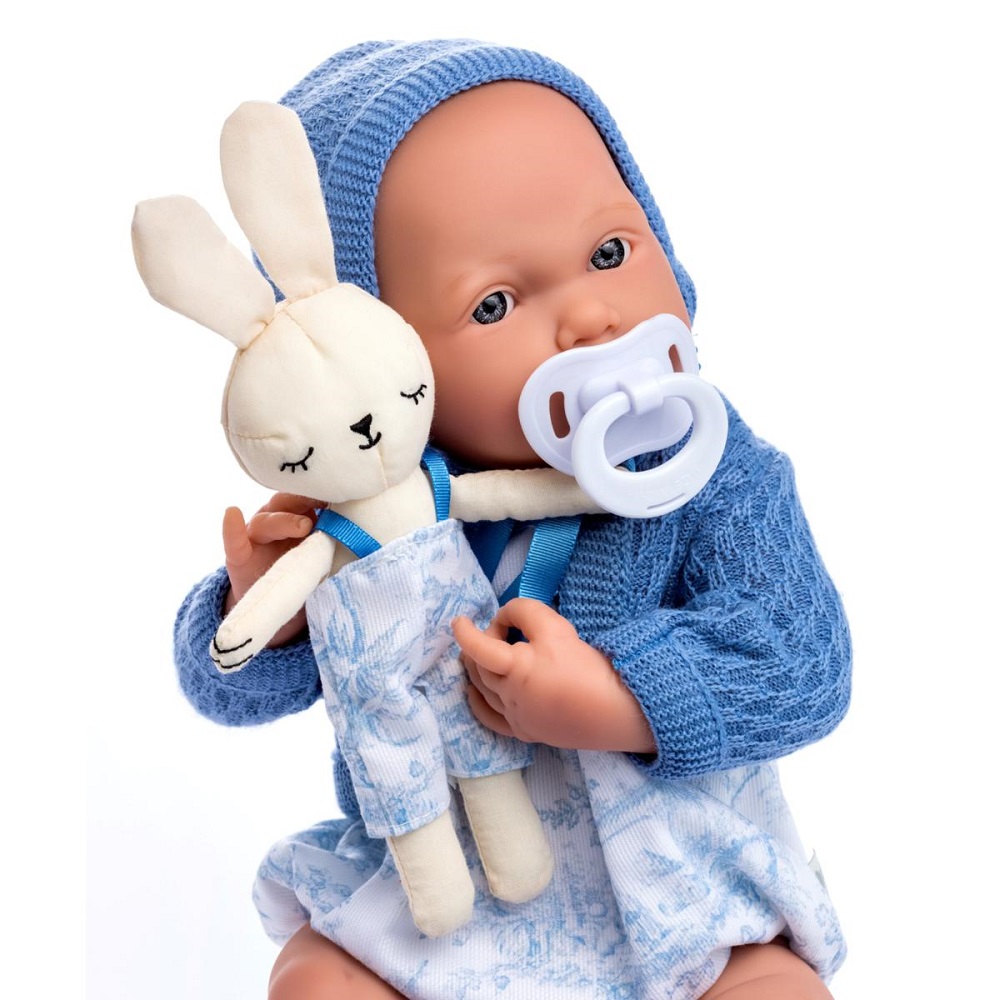
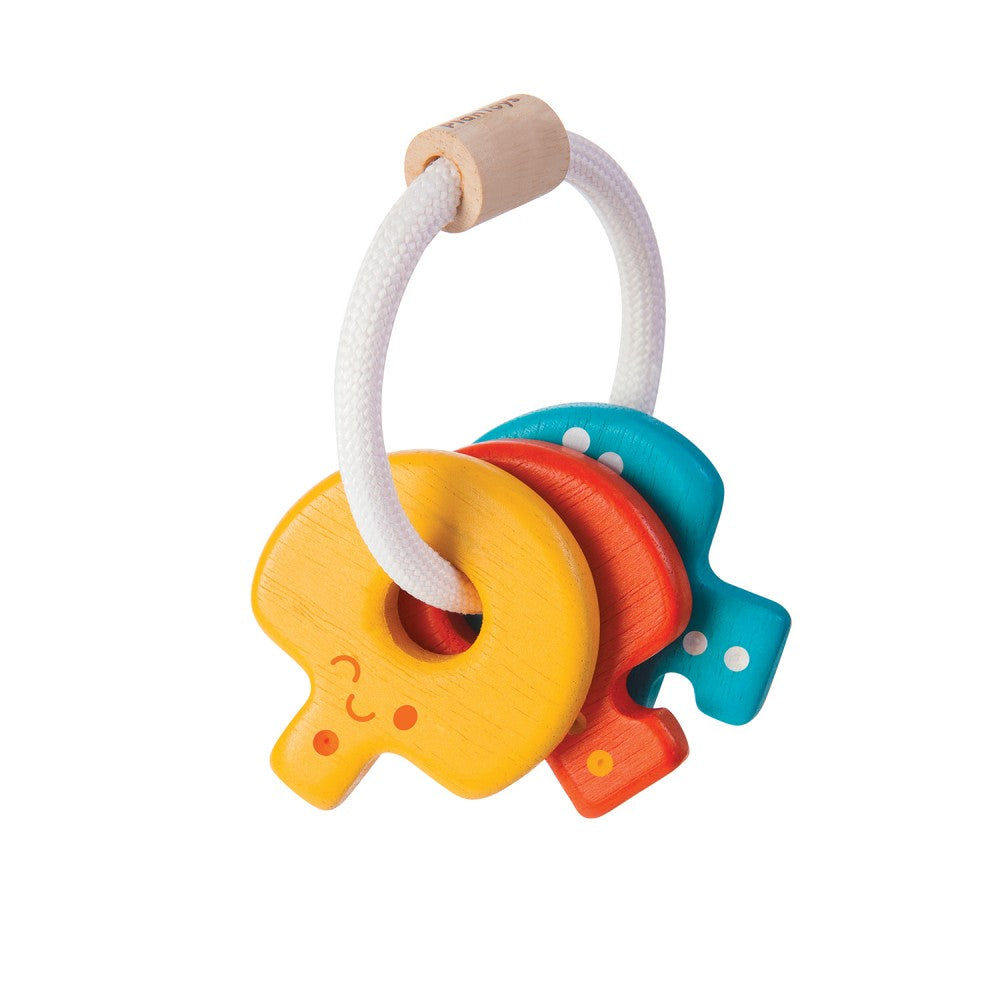
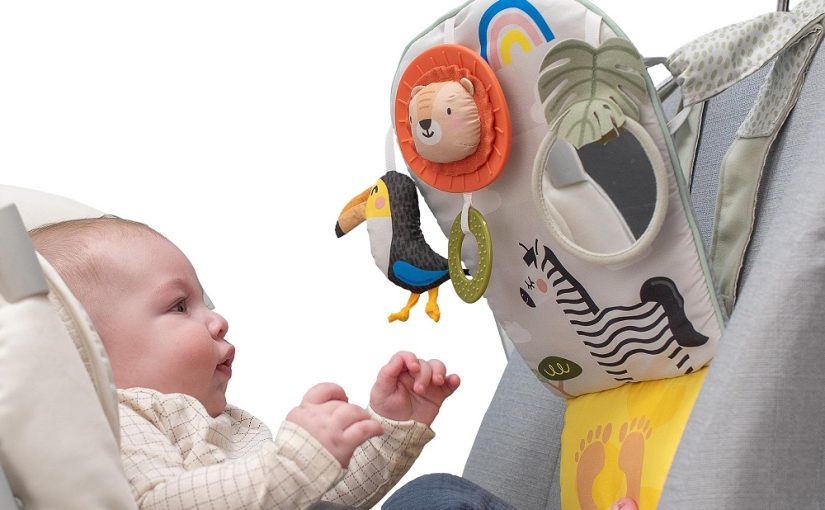
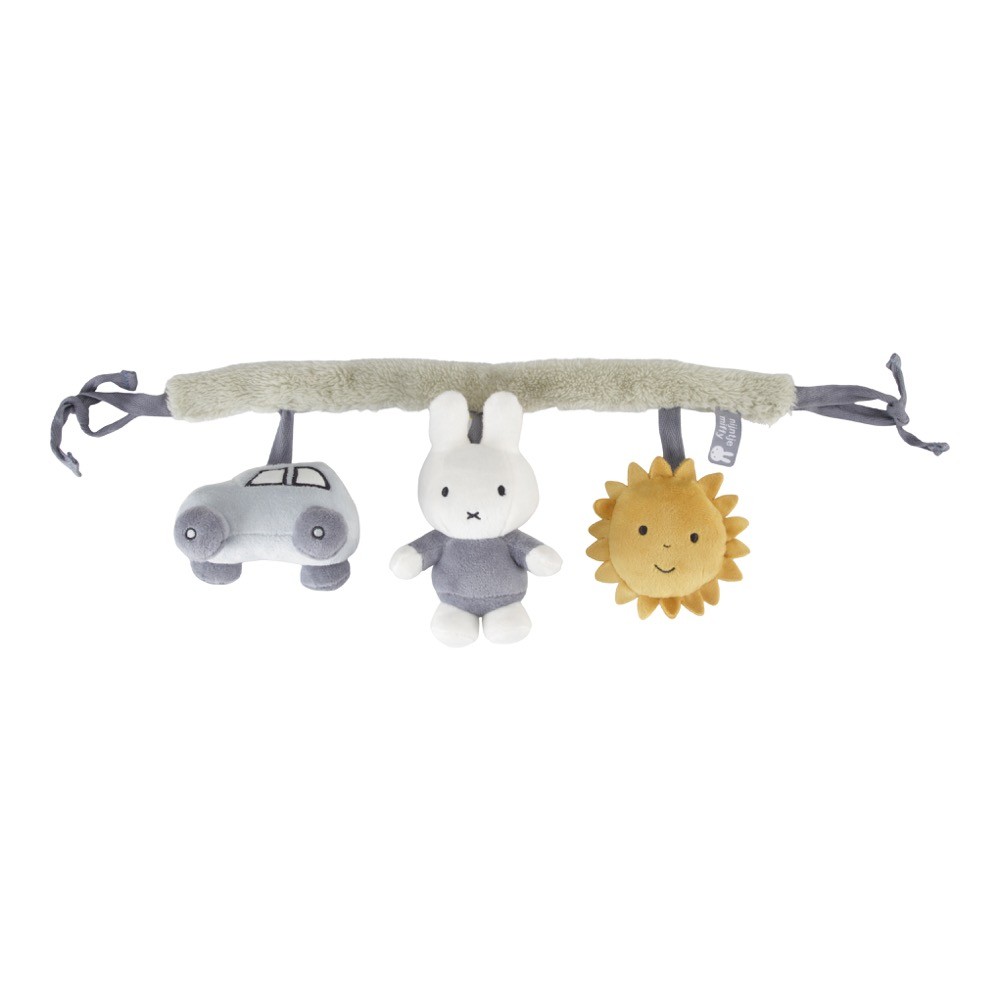
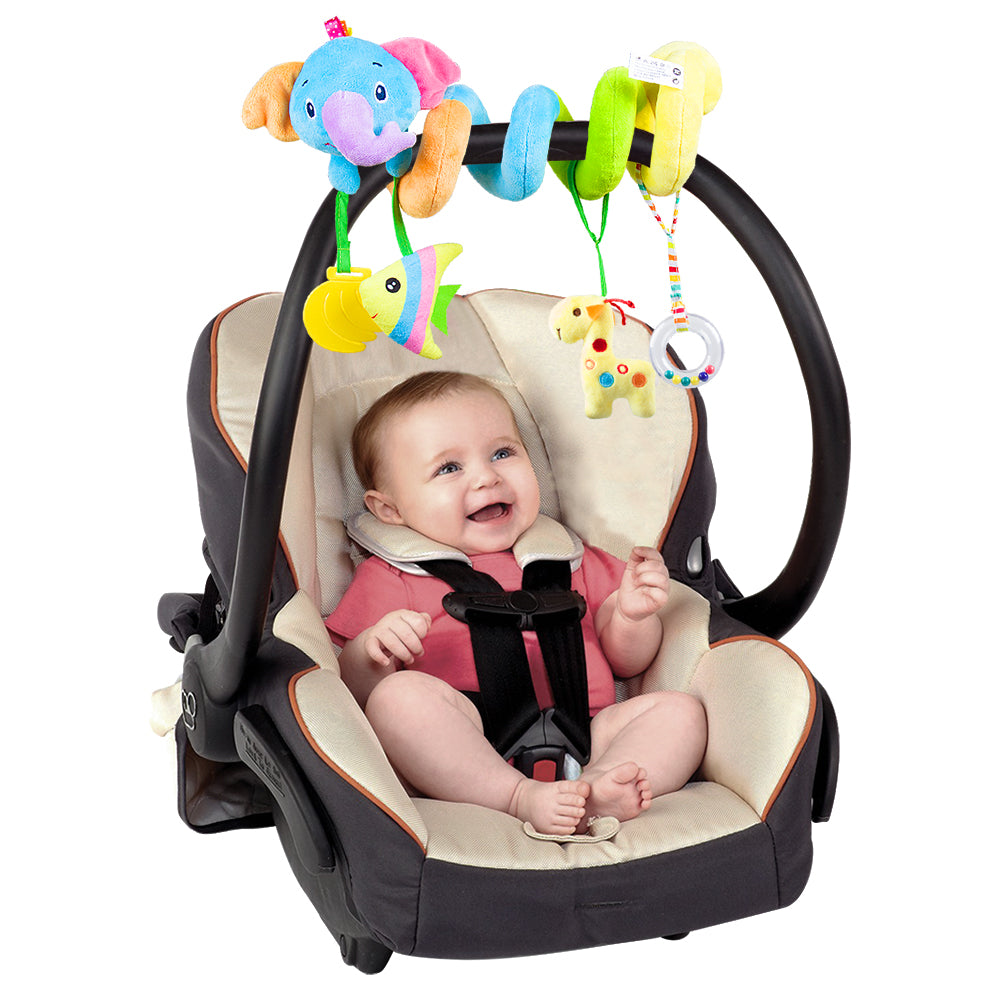
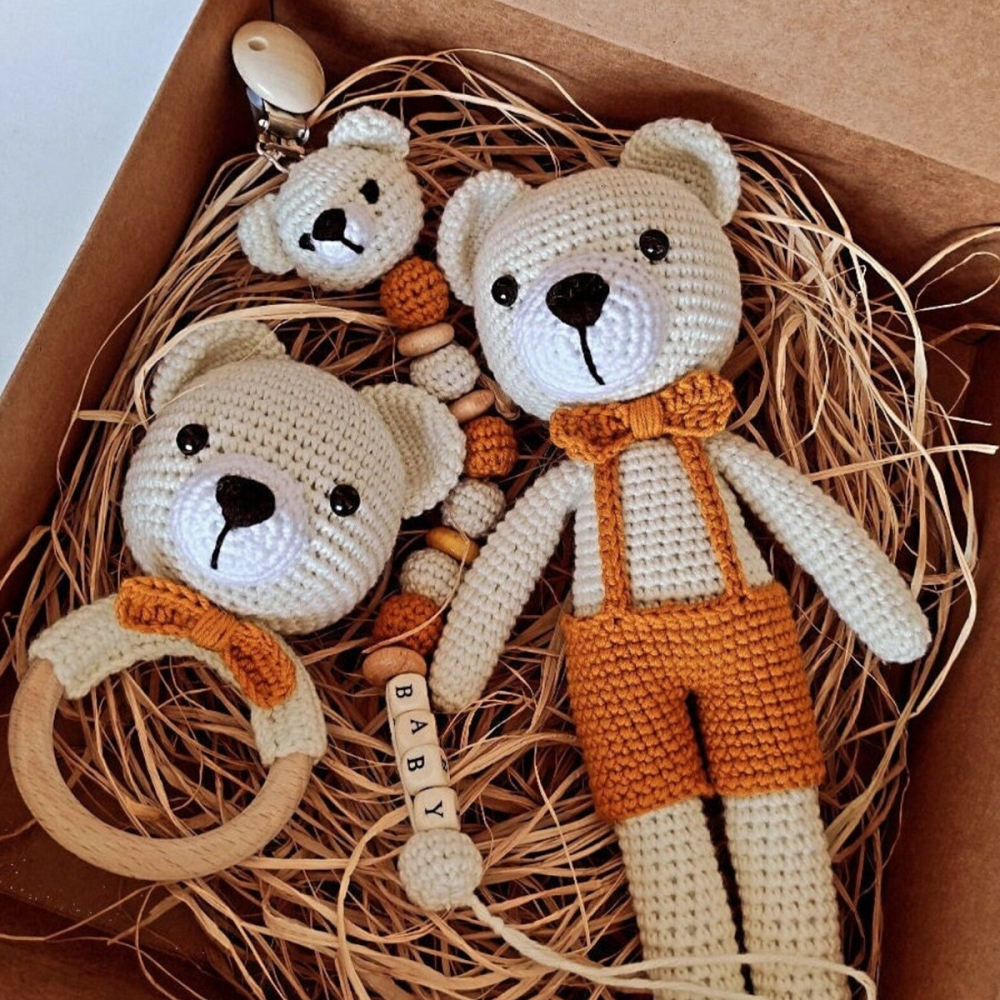
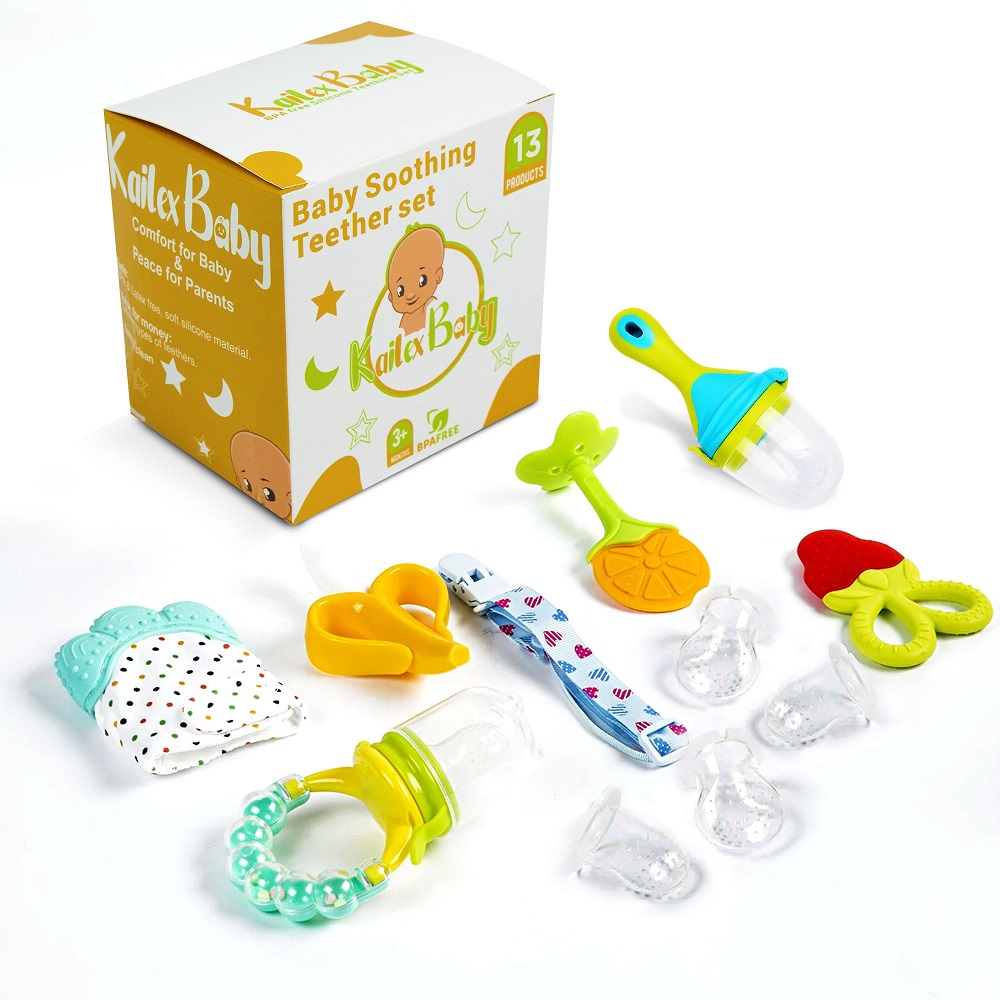
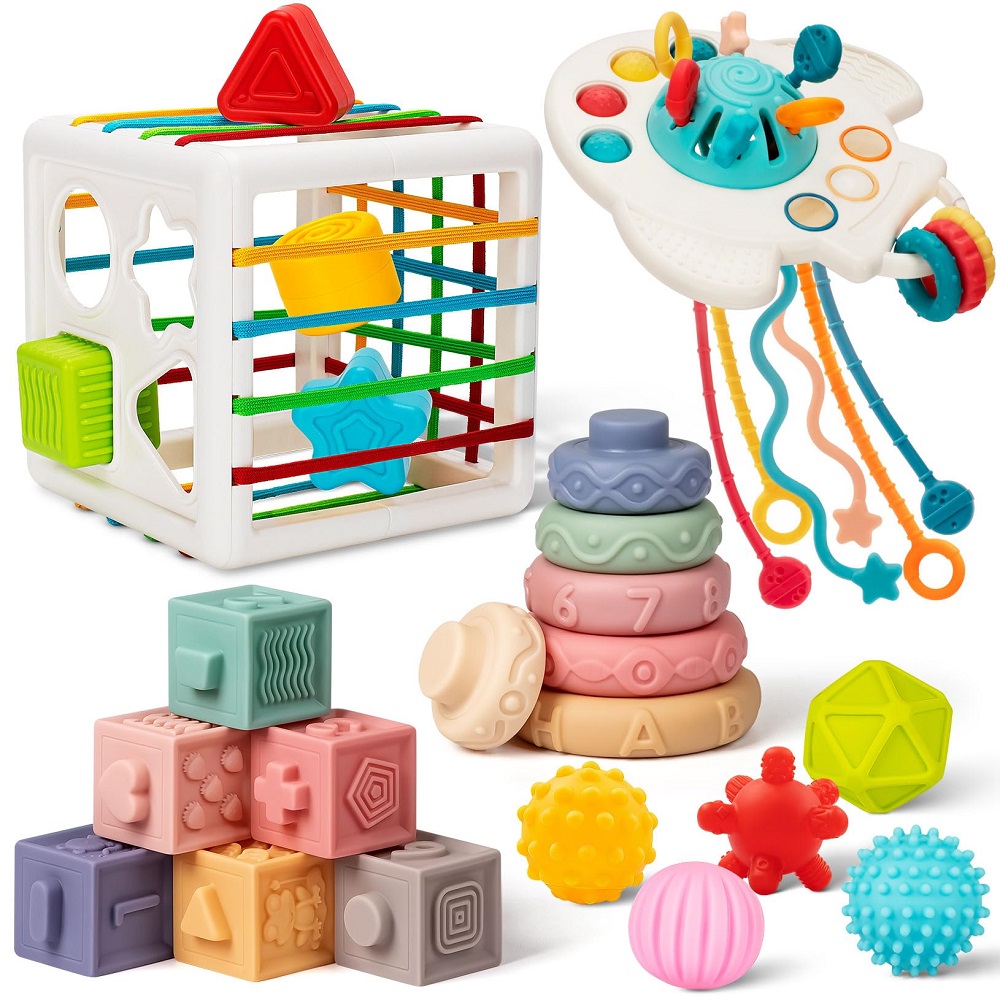
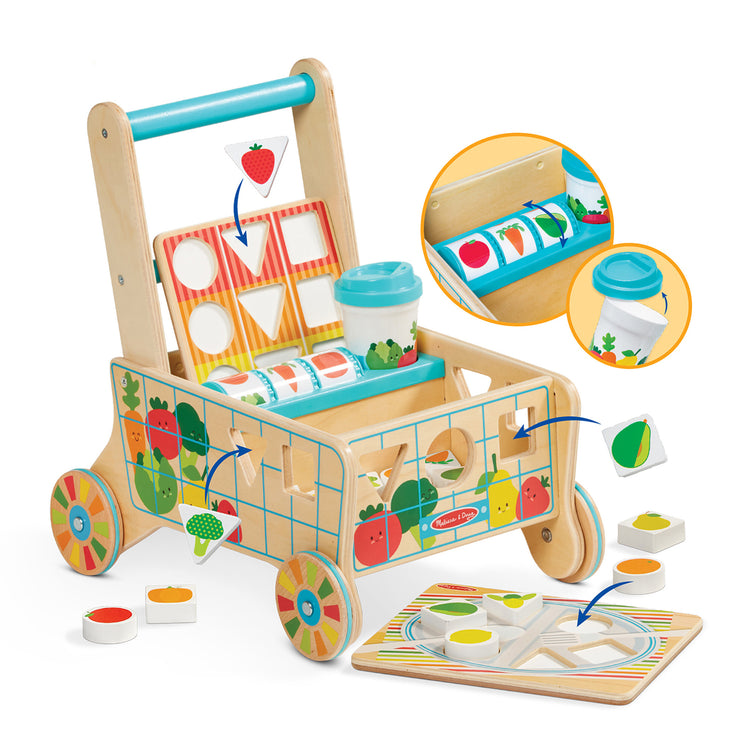
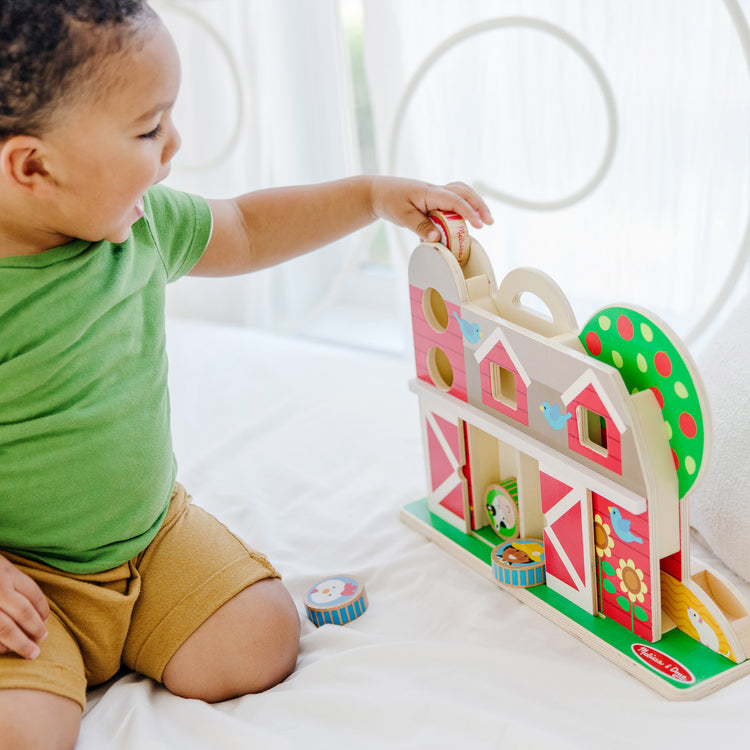
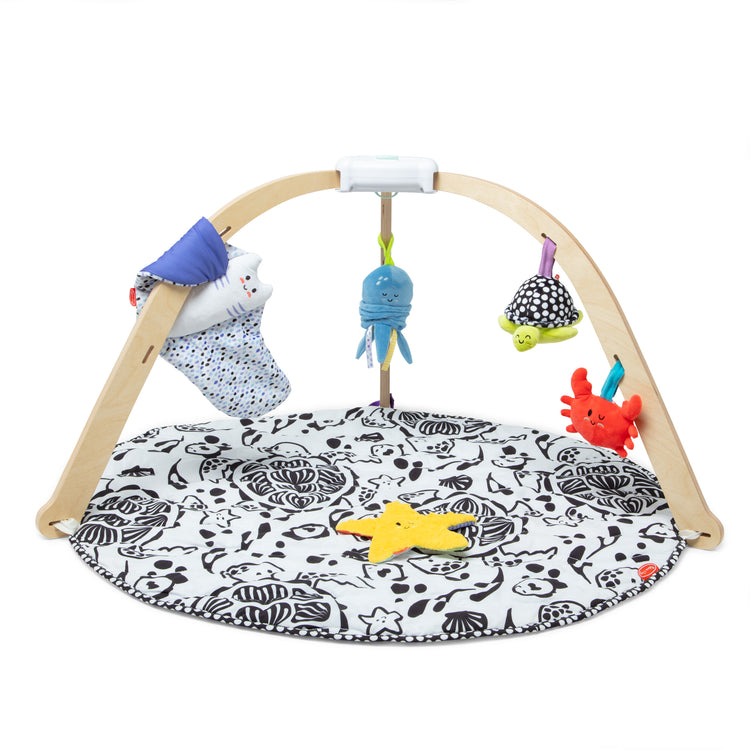
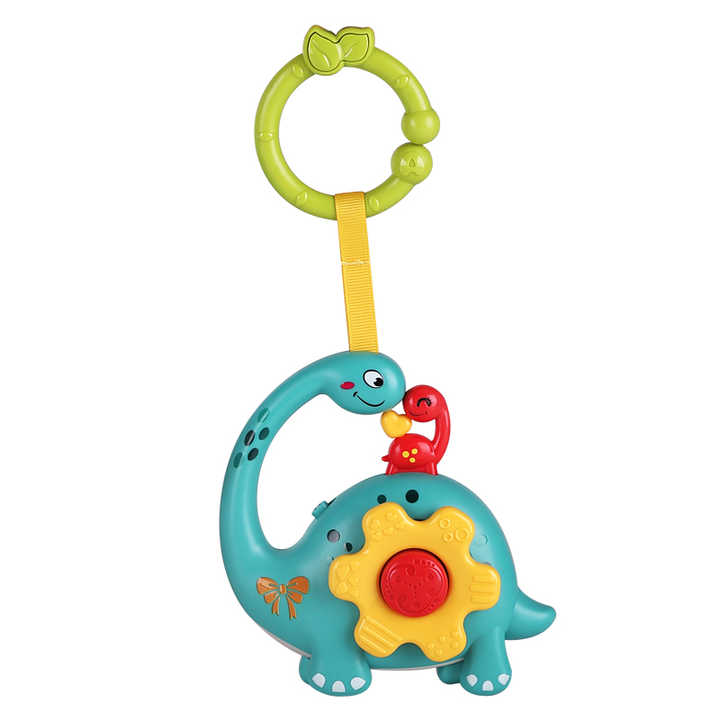
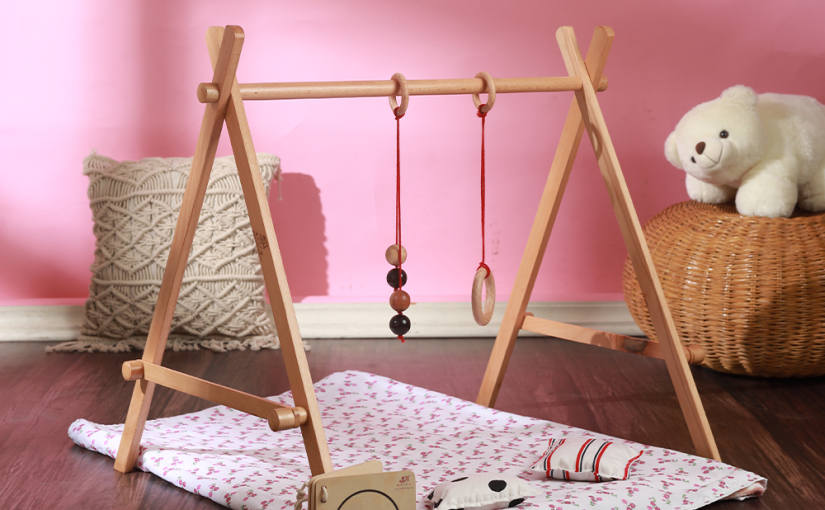
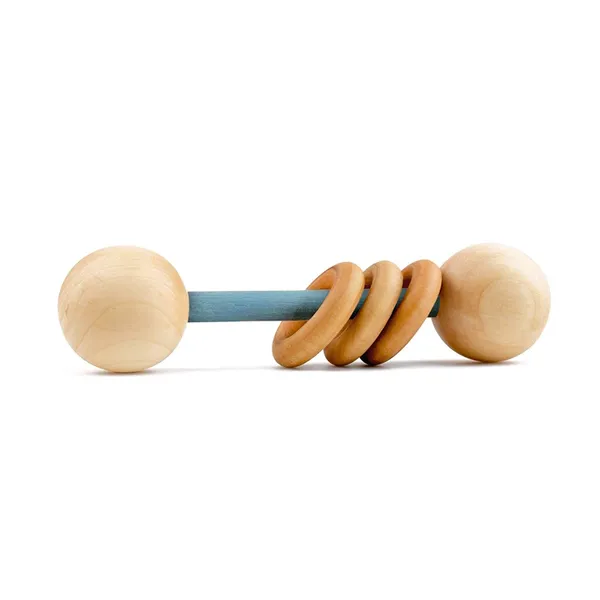
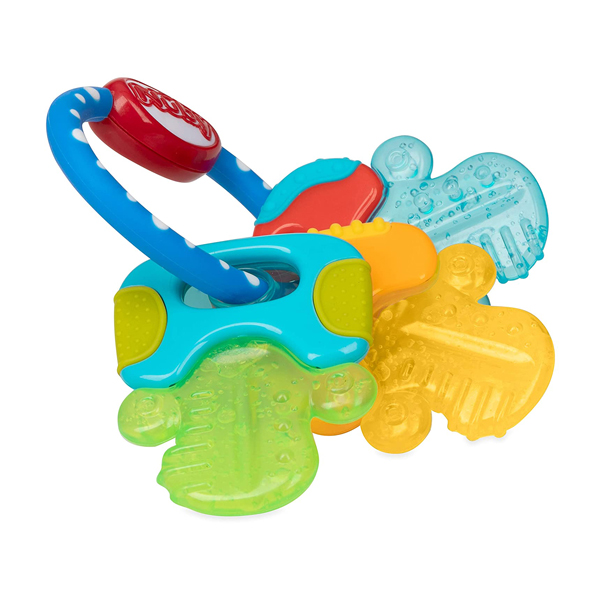
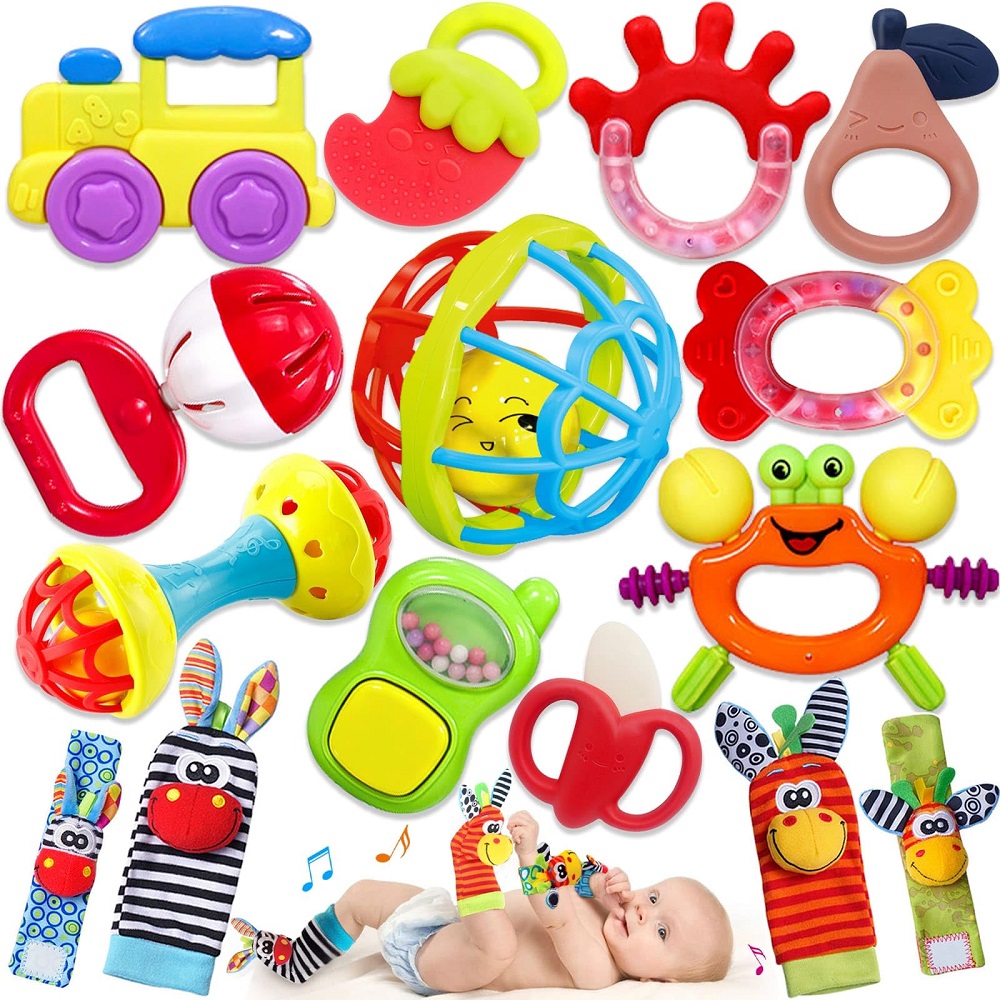
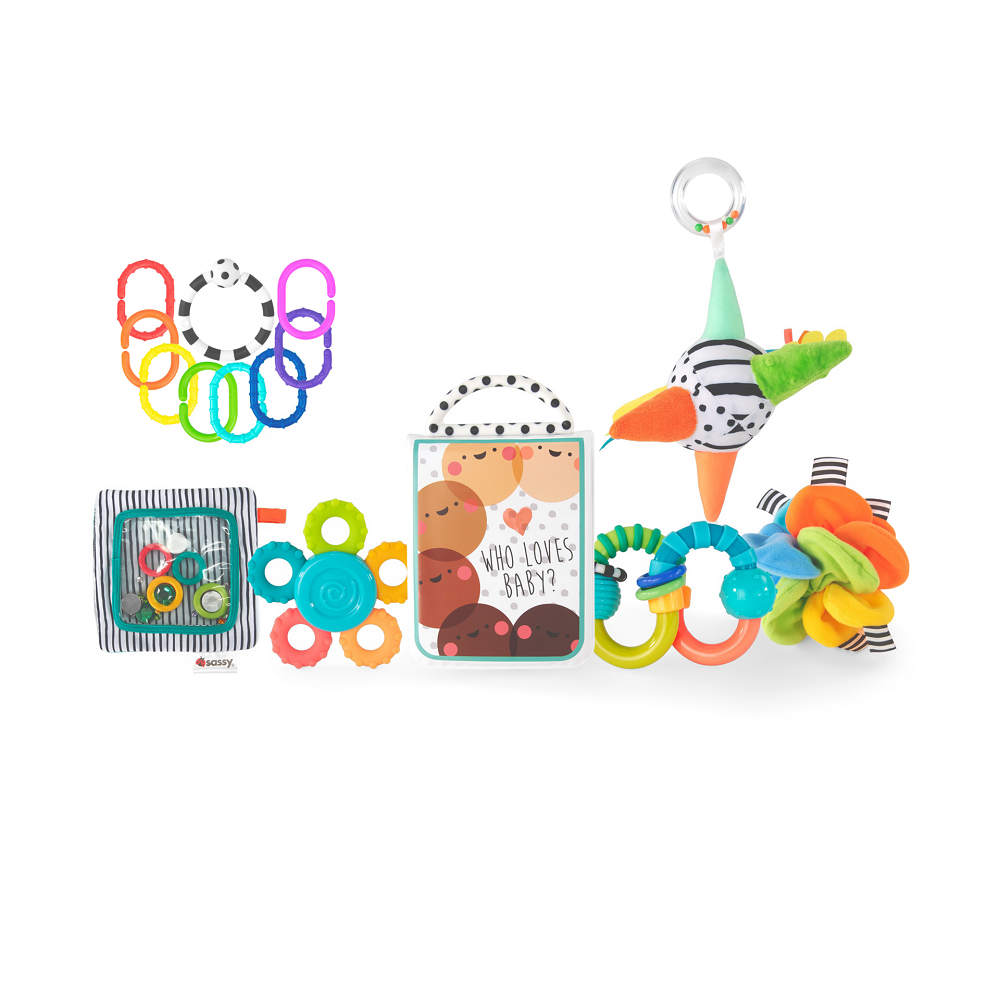
For a 3-6 month old, look for toys that encourage sensory exploration, motor skills development, and imaginative play. Soft rattles, plush toys, teething rings, and sensory balls are excellent choices for this age group. These toys engage babies while providing a safe environment for exploration.
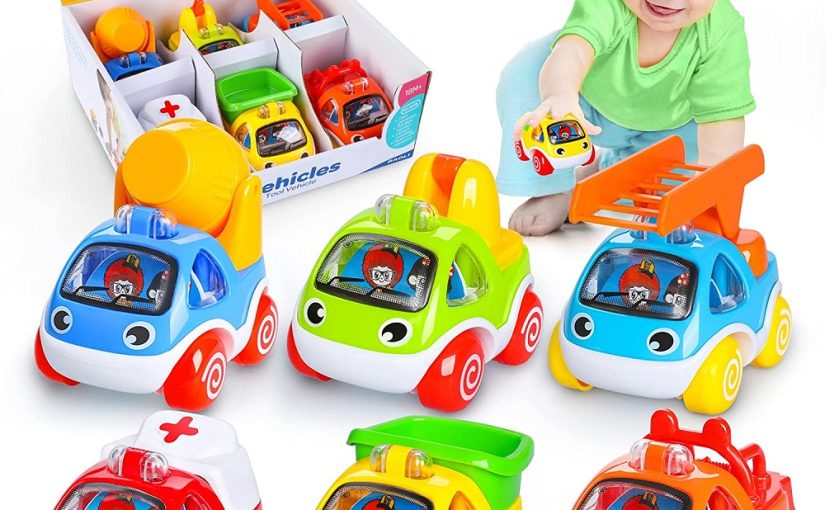
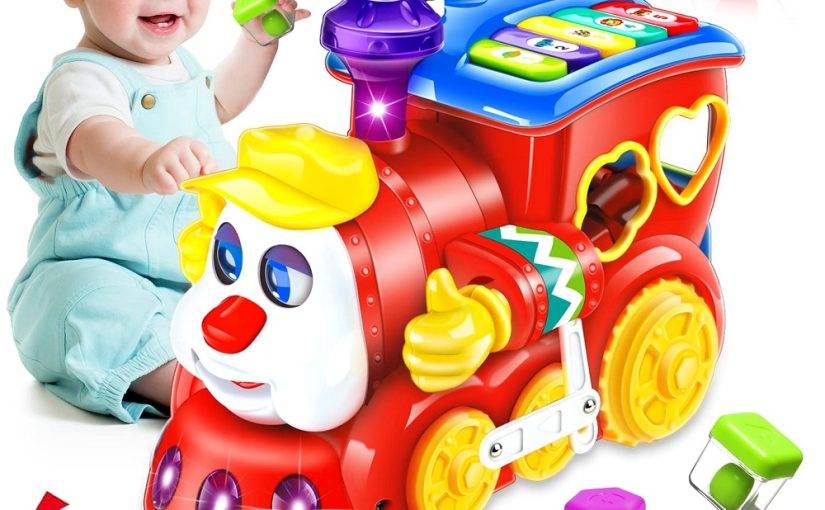
Avoid Complex Toys
While choosing baby toys 3-6 months, steer clear of those that are too complex or advanced for their developmental stage. Toys that require problem-solving skills or manipulation beyond their physical abilities can lead to frustration. Instead, opt for simple, tactile toys that offer straightforward ways to engage and explore.
Starting with simpler toys reduces the likelihood of discouragement and fosters confidence in their abilities. As babies grow, they can gradually transition to more complex toys that match their developing skills and interests.
Monitoring Playtime
Always Supervise Play
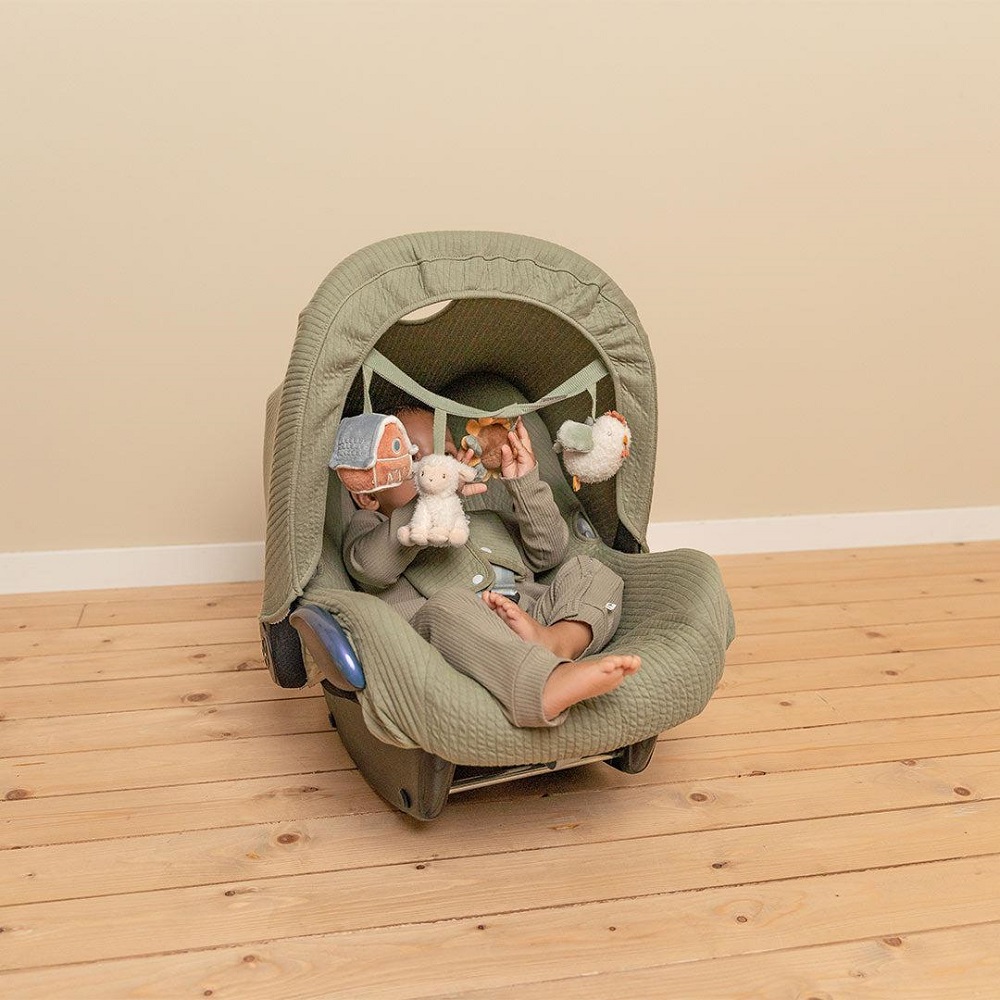
Supervision is crucial when babies are playing with toys. Parents and caregivers should always keep an eye on infants while they explore their toys. This vigilance helps quickly identify any potential hazards and allows for immediate intervention if necessary.
During playtime, observe how your baby interacts with their toys. Understanding their interests and behaviors can help you provide suitable alternatives, ensuring they remain engaged and safe. Being attentive allows caregivers to create a safe environment while supporting the child’s development.
Engage in Play
Engaging in playtime with your baby is another important aspect of safety. Participating in their play offers opportunities to model safe interactions and demonstrate how to use toys correctly. Additionally, this engagement strengthens the bond between caregiver and child, enhancing emotional and social development.
Playing together also allows caregivers to observe preferences and developmental progress. It also provides opportunities to introduce new toys in a familiar and safe context. This shared experience fosters a supportive learning environment during their crucial developmental phase.
Storing Toys Safely
Organized Storage Solutions
Keeping toys safe goes beyond selection and monitoring; proper storage is equally important. Creating organized storage solutions helps prevent clutter and makes it easier to find toys when needed. Use bins, baskets, or shelves to keep toys segmented by type or size.
When organizing toys, ensure they are stored in a way that reduces the risk of accidents. Keep heavier items on lower shelves and avoid stacking toys too high, which can lead to falls. Proper storage helps create a safe play environment and encourages the child to participate in picking up and organizing their toys.
Regular Cleaning and Rotating Toys
In addition to organization, regularly cleaning toys and rotating them is an effective practice. Rotating toys every few weeks keeps playtime fresh and engaging. It also allows caregivers to inspect and clean items that may have been neglected.
When cleaning toys, make sure to follow the proper methods for different materials to avoid any damage. Regularly cleaning toys ensures that they remain safe for play and free from bacteria. This practice helps maintain a hygienic environment for your growing baby.
Making Informed Purchases
Research Toy Brands
When choosing toys for babies, it is essential to research the brands and manufacturers. Some brands prioritize toy safety and adhere to strict regulations regarding materials and designs. Looking for reputable brands ensures that the toys you purchase have been rigorously tested and deemed safe.
Read reviews and testimonials from other parents before making any purchase. These insights can provide valuable information about a toy’s quality and safety. If you have questions or concerns about a specific product, don’t hesitate to reach out to the manufacturer for additional information.
Consider Certifications and Safety Standards
Check if the toys meet specific safety certifications like ASTM International or CPSC standards. These certifications indicate that the toy has undergone thorough testing to ensure it is safe for infants. Prioritizing certified products helps protect your child from potential hazards.
By following these safety tips when choosing toys for babies aged 3 to 6 months, parents and caregivers can create a safe and engaging play environment. Careful selection, monitoring, and proper storage contribute to a well-rounded experience that supports the child’s development.
Providing Safe and Engaging Toy Choices
In conclusion, selecting baby toys 3-6 months requires attention and care to ensure safety. Throughout this developmental stage, toys play a crucial role in stimulating growth and encouraging exploration. By understanding developmental milestones and prioritizing safety, parents can provide toys that foster healthy development while allowing for fun.
Take the time to carefully evaluate toys, focusing on materials, design, and age-appropriateness. Supervise playtime, engage in activities, and practice safe storage habits to create a beneficial environment for infants. By taking these steps, caregivers can help their little ones enjoy their toys safely and effectively. Investing in safe and suitable toys will not only promote enjoyable play but also contribute significantly to overall development.