Essential Materials for Kite Making
Crafting your own kite starts with gathering the right materials. The excitement of personalized kite design ideas hinges on selecting materials that are not only vibrant and eye-catching but also strong and wind-resistant. To embark on this creative journey, let’s dive into the essentials you’ll need for kite-making.
Choosing the Right Type of Paper
Paper choice is crucial for your kite’s performance and durability. Select papers that are lightweight yet strong enough to withstand wind forces. Colored wax paper is a top pick because of its endurance and vibrant hues. It makes the kite more durable against the elements. Additionally, colored tissue paper can add flare with its variety of colors. Ensure you get paper that is sturdy when glued and doesn’t tear easily in the breeze.
Selecting the Best Frame Materials
The frame of your kite is its backbone. Opt for materials that are flexible yet can maintain their shape well. Basketweaving reed, typically 2-3.5 millimeters in diameter, is a prime choice for its flexibility and strength. This material allows for dynamic designs without adding too much weight to the kite. Bamboo is another alternative, revered for its lightness and resilience. It’s crucial to pick a material that is easy to tie securely and holds the paper taut once assembled.
Design Inspirations for Your Kite
The Importance of Shape in Kite Aesthetics
When crafting your own kite, the shape not only impacts its flight but also its visual appeal. Traditional kite shapes like diamonds are popular due to their balanced proportions which enhance stable flight. Exploring other shapes such as circles, ovals, and even creative ones like butterflies and dragons can make your kite stand out. Each shape responds differently to wind, so it’s a blend of art and science. Consider the wind conditions in your area as you decide on a shape. A good rule is, broader and more symmetrical shapes provide steadier flight in varied wind conditions.
Incorporating Colors and Patterns
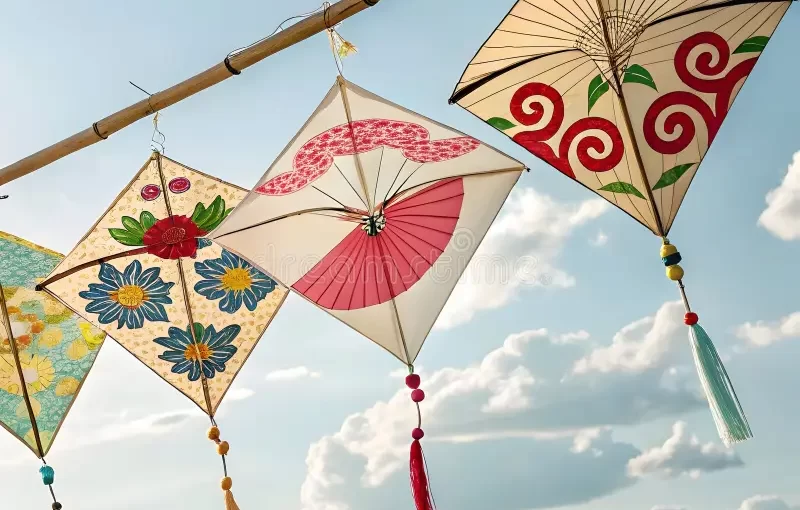
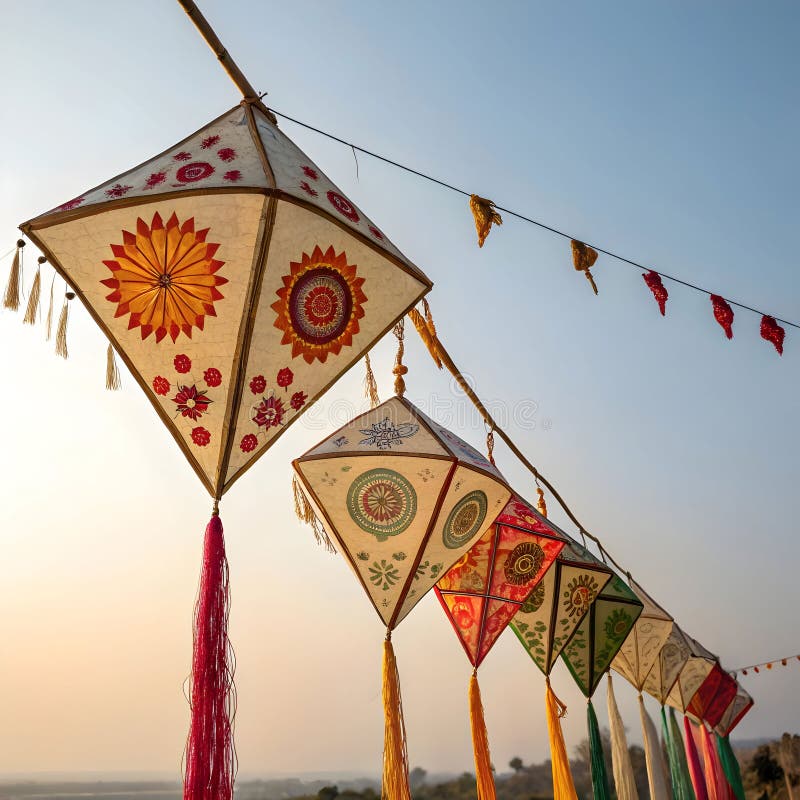
Color and pattern add excitement and personal touch to your kite. Bright, contrasting colors are not only visually appealing but also make your kite more visible in the sky. Patterns can range from simple polka dots to intricate designs like floral or geometric patterns. For striking visuals, layer different colored papers or use translucent tissue to create a stained-glass effect when the sun shines through. These elements not only decorate your kite but can also influence its visibility and trackability in the sky. Finally, remember to consider durability; vibrant colored wax paper offers both beauty and resilience against weather conditions.
Step-by-Step Guide to Constructing Your Kite
Building the Frame
Begin with the frame, as it’s the foundation of your kite. Cut the basketweaving reed to your chosen shape and size. Next, tie the ends of each reed together securely. Use heavy-duty thread and make tight knots to ensure the frame holds during flight. You might add additional reed pieces across the frame for extra stability, depending on your design.
Attaching the Paper to the Frame
Once your frame is ready, it’s time to cover it with paper. Choose wax paper for durability or tissue paper for a more vibrant look. Cut the paper so it’s one inch larger than the frame on all sides. Notch the edges of the paper every half inch. Then, fold these over the frame’s edge and secure them with a glue stick. Press firmly to make sure the paper adheres well to the frame.
Adding Decorative Elements
Now for the fun part – adding color and personality to your kite. Layer different shades of tissue paper to create depth or apply patterns for a unique look. Use a glue stick to attach your designs onto the base paper. Experiment with various materials and textures to give your kite a unique touch. Ensure that all elements are well-glued and can withstand the wind. After all, the sky is your canvas, and your kite is the masterpiece!
Tips for Designing Different Kite Shapes
Designing your kite involves imagination and understanding how shapes affect flight. The shape of your kite can give it character and help it soar.
Creating Ovals, Circles, and Tear Drops
To start with simple designs, ovals, circles, and tear drops are great. These shapes are often stable in the air and easy to make. For an oval kite, focus on symmetry to ensure balanced flight. For circles, they might be trickier to fly, but they stand out due to their unusual shape. Tear drops can make for swift, eye-catching kites, especially with tail streamers.
- Draw your shape on the paper before cutting.
- Use your frame material to create the outline.
- Bind the ends of the frame tightly with thread.
- Attach your colored paper on the frame and secure it.
These steps will help you form the basic shapes for your kite.
Making Complex Shapes like Butterflies and Bugs
For more adventurous kite design ideas, try complex shapes like butterflies and bugs. These designs require more effort but are worth the work.
- Plan your design with interconnected ovals and teardrops.
- Construct the frame with extra care, ensuring all joints are secure.
- Decorate with multiple layers of colorful paper.
- Fine-tune the balance, so your kite can fly well.
Remember to keep the kite’s weight in mind. Too much decoration can make it heavy. Use lighter materials and fewer layers if needed. With these tips, you’ll create stunning and unique kites that will turn heads in the sky.
Assembling and Securing Your Kite
Crafting a kite requires careful assembly and secure joints to ensure it flies high and steady. Each step must be precise to give your kite durability and the best chance at sailing across the sky.
Tying the Frame and Securing Joints
Start by tying the frame with your chosen material, such as basketweaving reed or bamboo. Ensure all knots are tight so your kite maintains its shape. If needed, add extra reed pieces across the frame for more support. These joints are the heart of your kite’s structure; they must be strong.
Use a heavy-duty thread and loop it several times to reinforce the ties. Check the knots and secure any loose ends to prevent the frame from coming apart. Your kite’s performance in the air depends on these connections, so take your time with this step.
Attaching the Kite String Correctly
The kite string is crucial for control and flight. Attach it to the front face of the kite, finding points that keep it balanced. Use a needle to loop thread through the paper and frame for a secure attachment. The number of points can vary, but typically two to three are sufficient.
Once tied, bring these strings together about twelve inches from the kite to form a ‘pyramid’ of strings. Then, tie your longer flying string to this central point. The string’s placement can change based on your kite’s shape. Experiment with different locations until you find the one that provides the best stability and control.
Remember, patience and precision are key in this stage. Securely attaching the string will help you control the kite smoothly when it’s up in the air.
Decorating Your Kite
After setting up your kite’s frame and attaching the paper, it’s time to add flair. Decorating is where you can express your creativity and make your kite unique. There are various ways to enhance your kite’s look, from simple color applications to complex layered designs using different materials. The main goal is to create a design that is not only eye-catching but will also hold up against the winds and the wear and tear of flying.
Ideas for Layering Materials
Layering materials can give depth and a stunning look to your kite. Start with your base layer of paper; this could be your colored wax or tissue paper. From there, add shapes cut from different paper types. Overlay translucent tissue for a stained-glass effect. Or, use lightweight fabric for a soft texture. Play with patterns and colors—bold and bright colors catch the eye, while light hues add a delicate touch. As you layer, think about the weight you’re adding. Too much can affect your kite’s flight.
Techniques for Durable and Attractive Designs
For your kite to look great and last, use tried and trusted techniques. Seal your designs with a glue stick, ensuring all edges are pressed down firmly. If you’re using fabric, a small amount of fabric glue will hold it in place. Reinforce any heavy elements with clear tape on the underside. Glue and tape not only secure your design elements but also add to the kite’s overall durability. And remember, less is often more; a simple, well-executed design can have a big impact in the sky.
As you apply these decorating tips, visualize how your kite will look soaring above. Your creative kite design ideas should bring to life a flying masterpiece that is a joy to see and fly. Now that you’ve made your kite visually appealing, the next step is to test and adjust it for the perfect flying experience.
Testing and Flying Your Kite
Once your kite design ideas have come to life, testing and flying become the exciting next steps. It’s not just about getting the kite into the air. It’s about ensuring smooth takeoff, steady flight, and controlled landings. Practice patience here as adjustments are often necessary.
Adjustments for Optimal Flying
Adjustments may include tweaking the balance or altering the string attachment points. You may need to move the knot where the strings join, forward or backward, to find the kite’s center of lift. A well-balanced kite should climb steadily and remain stable. If your kite spins or dives, try adjusting the tail length or adding more tails for stability. Keep making small changes until your kite flies smoothly.
How to Handle Your Kite in Different Winds
Different wind conditions will affect your kite’s performance. In light winds, you might need to run faster to launch the kite. For strong winds, be cautious, as they can strain the kite. Hold the string firmly and be ready to reel in if the kite pulls too hard. In gusty winds, your kite may jerk or dance wildly; gentle tugs on the string can help regain control. Always fly in open spaces, away from obstacles and others. With the right adjustments and handling, your kite can provide hours of flying fun.


![BIRD KITES [SINGLE-LINE] - Elmers Flag and Banner](https://elmersflag.com/wp-content/uploads/2020/01/OwlFlying.jpg)