Introduction to Paper Kite Crafting
Paper kites provide hours of fun and outdoor activity for people of all ages. They are simple in design, yet so joyful to see soaring up in the sky. Crafting a paper kite is not only an engaging project that sparks creativity, but it’s also an opportunity to learn about aerodynamics and the forces of wind. In this guide, we will walk through the easy steps to create your own paper kite from scratch. This DIY activity is perfect for a sunny day and is a hands-on craft that can involve friends and family. The materials needed are usually found at home, making it very convenient to begin your kite-making journey. How to make a paper kite? So let’s get started with the basics of paper kite crafting, ensuring that by the end of this, you’ll be ready to watch your hand-crafted kite take flight.
Materials Needed for Your Paper Kite
Gathering the proper supplies is the first step in crafting a paper kite. You’ll need some basic items you likely have around the house. Let’s look at what you’ll need, focusing on how to choose the right paper and reinforcements to make sure your kite is both sturdy and able to fly.
Choosing the Right Paper and Reinforcements
Select lightweight and flexible paper for your kite’s body. Standard construction paper or a light cardstock works well. Avoid heavy or rigid materials that can’t catch the wind easily. Next, find a suitable reinforcement. Bamboo skewers or straws serve as a lightweight framework. They give your kite shape and stability. Tape or glue is crucial for securing the paper and frame. Finally, a roll of string or twine is necessary to control your kite. Make sure your string is strong enough to handle gusts of wind but light enough to not weigh the kite down.
Step-by-Step Guide to Making a Paper Kite
Turning a piece of paper into a kite is a delightful and creative way to spend an afternoon. You don’t need much—just some common household items and a breezy spirit! Follow these steps to craft your own paper kite and watch it take flight.
Assembling the Kite Frame
- Choose Your Paper: Start with a lightweight paper, like construction paper or a light cardstock.
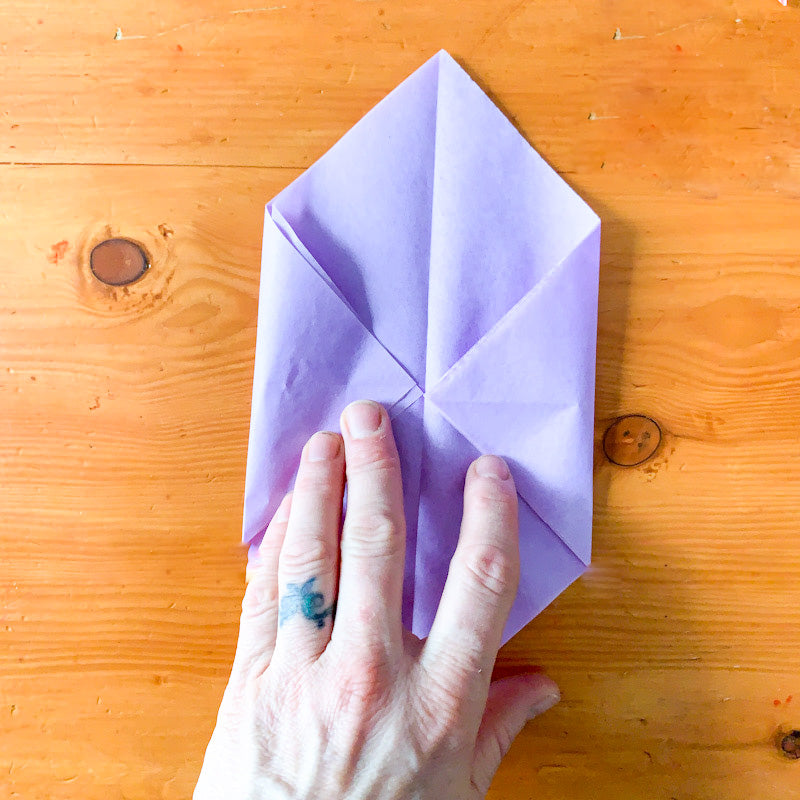
- Fold the Paper: Fold your chosen paper in half along the longest edge to mark the centerline.
- Cut the Paper: Cut the paper to create the kite shape, usually a diamond or a basic elongated quadrilateral.
- Attach the Frame: Place bamboo skewers or straws along the longest fold for support. Use tape to secure these in place, ensuring they’re tightly bonded to the paper.
Attaching the Kite String
- Reinforce the Kite: Strengthen the top of the kite with extra tape to avoid tearing.
- Punch a Hole: Near the reinforced top, punch a hole for the string.
- Attach the String: Thread string through the hole and secure it with strong knots. Ensure the knot is tight and secure.
- Test the String: Gently pull on the string to check its strength and stability.
Decorating Your Paper Kite
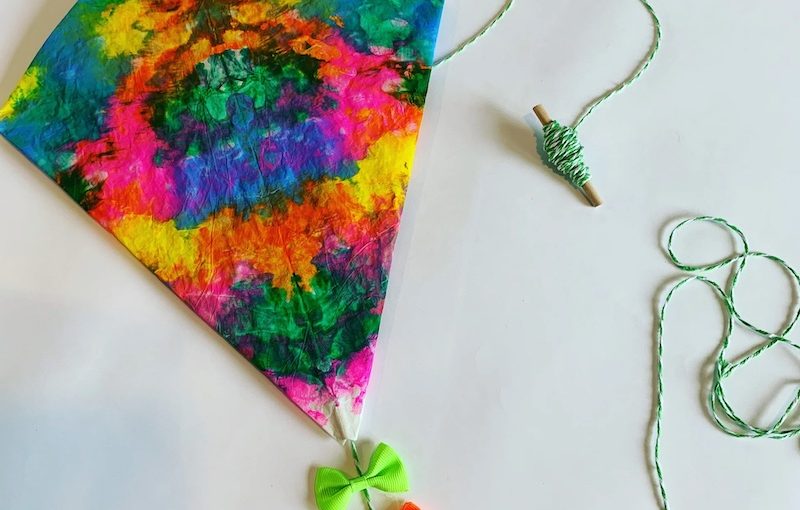
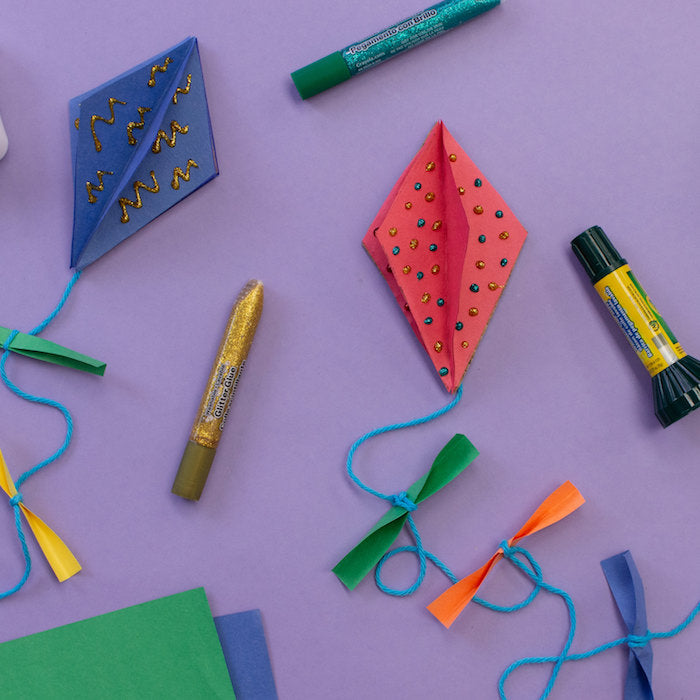
- Get Creative: Use markers, stickers, or paints to decorate your kite. Bright colors and bold patterns look great in the sky.
- Add a Tail: Cut strips of fabric or ribbons to make a tail. Attach these to the bottom of the kite to help stabilize it while flying.
- Final Touches: Review your kite for any needed adjustments or additional decorations.
Your paper kite is now ready! It’s not just about making a kite but enjoying the process and the satisfaction of watching your creation soar high in the sky.
Tips for Making a Sturdy Paper Kite
Once you’ve mastered the basics of paper kite crafting, creating a kite that is durable enough to withstand stronger winds and longer flight times is the next step. A sturdy kite will provide more satisfaction and can be used multiple times, making it worth the extra effort during the crafting process.
Reinforcing Key Points
To make your kite more robust, focus on reinforcing the places where it’s most likely to tear or break. Use extra tape at the kite’s top point, where the string attaches, and along the edges where the paper meets the frame. This prevents the paper from ripping when the kite flutters and dives in the breeze. Use clear packing tape for strong hold. If you’re using bamboo skewers for the frame, avoid sharp ends. Sand or cut them down to prevent them from poking through the paper.
Ensuring Symmetry and Balance
A kite’s flight depends on its symmetry and balance. Make sure the left and right sides are identical when constructing your kite. This balance helps your kite fly straight and stable. Use a ruler to measure and compare sides. The string should be tied at a precise point so the kite leans neither left nor right. This point is often slightly above the kite’s center. Experiment with string placement for the best balance. Little adjustments can make a big difference in how well your kite flies.
Building a paper kite that is sturdy and well-balanced can be a rewarding challenge. With careful attention to key reinforcement points and maintaining symmetry throughout your construction, you’ll craft a flying masterpiece that can enhance any outdoor adventure.
Creative Variations for Paper Kite Designs
The joy of crafting paper kites comes from the ability to tailor them to your personal style. By exploring different papers and tail designs, your kites can reflect your creativity and even the specific flying conditions you anticipate. Let’s dive into some unique characteristics that can make your paper kite a true one-of-a-kind creation.
Using Different Types of Paper
Selecting various paper types can impact both the appearance and flight of your kite. While lightweight papers like tissue or crepe paper can add a wispy, delicate look, they may not be as durable. On the other hand, using a sturdy but still light cardstock or a colorful magazine page can give your kite a distinct aesthetic without compromising on performance. Remember to maintain a balance between weight and strength. Light papers catch the wind easily but may tear quickly, whereas thicker papers offer more durability but may need stronger wind to lift.
Adding Unique Tails to Your Kite
A kite’s tail is not just for show; it adds stability and can be a canvas for creativity. Consider using materials from around the house such as ribbons, fabric strips, or even upcycled plastic bags cut into long ribbons. Try mixing colors, patterns, and textures to create a tail that stands out. Light materials work best, as they won’t weigh down your kite. For a fun twist, try adding small bows or streamers at intervals along the tail to make it more dynamic in flight.
By experimenting with different types of paper and tail designs, you can create not only beautiful kites but also ones that fly well and stand out at your local park. Remember, the most important part is to have fun and let your imagination take to the skies!
Flying Your Paper Kite: Dos and Don’ts
After crafting your paper kite, flying it successfully is the next exciting step. However, there are some important dos and don’ts to consider when you take your creation out for its maiden flight.
Selecting the Perfect Location
Finding the right place to fly your kite is crucial. Look for open fields or parks away from trees, power lines, and buildings. These can block the wind or catch your kite. Beaches are also great spots, with steady breezes and no obstacles. Remember, a wide-open space is best to enjoy uninterrupted flying.
Handling with Care
While flying your paper kite, delicate handling is key. Launch your kite with the wind hitting the back. Don’t let go of the string too quickly or pull it too hard. This could cause the kite to crash. If the wind is strong, let out more string slowly, allowing the kite to climb. On days with lighter wind, you might need to jog a bit to get your kite aloft. Always avoid abrupt movements, as they can damage your kite or cause it to dive.
Enjoy your paper kite, and always fly with care and attention to the wind and your surroundings.
Where to Find Kite Making Kits
If you’re eager to dive into kite making but lack the supplies, don’t worry. Kite making kits are an excellent resource for beginners and experienced crafters alike. They provide all the necessary parts, so you can jump right into the fun without hunting for individual items.
Options for Beginners to Advanced Crafters
For starters, search for ‘Kite Making Kits’ online or head to your local hobby shop. Many kits are designed with the beginner in mind, offering pre-cut materials and easy-to-follow instructions. Amazon, eBay, and Etsy are great places to find a variety of kits.
If you’re a beginner, look for kits that include pre-cut paper or fabric, frames, strings, and tails. These make the process simple and enjoyable. For those who are more advanced and seeking a challenge, consider kits where you can build the frame and tailor your kite with more creative freedom.
Craft stores often have kits, which might come with extra features like waterproof papers or colorful markers. Retailers such as ‘The Twiddlers’ and ‘Crayola’ offer themed kits that allow children to color and personalize their kites.
Teachers and party planners might opt for bulk packs, like the ‘Painting Kite Kits’, which are ideal for group activities and can be found on platforms such as Amazon.
Always consider the durability and ease of assembly when choosing a kit. Check reviews and recommendations to ensure you’re getting a quality product that will soar effortlessly into the sky and bring hours of joy.


