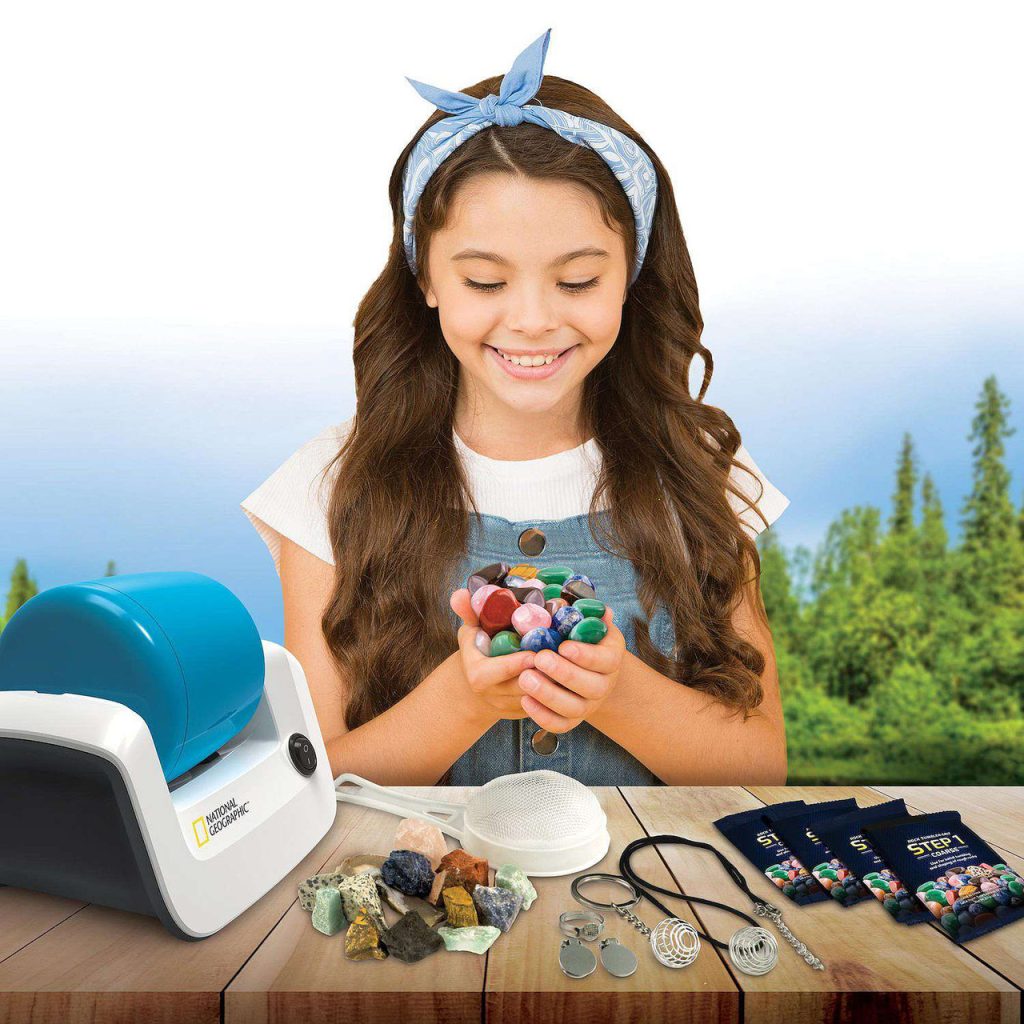
The Basics of Rock Tumbling
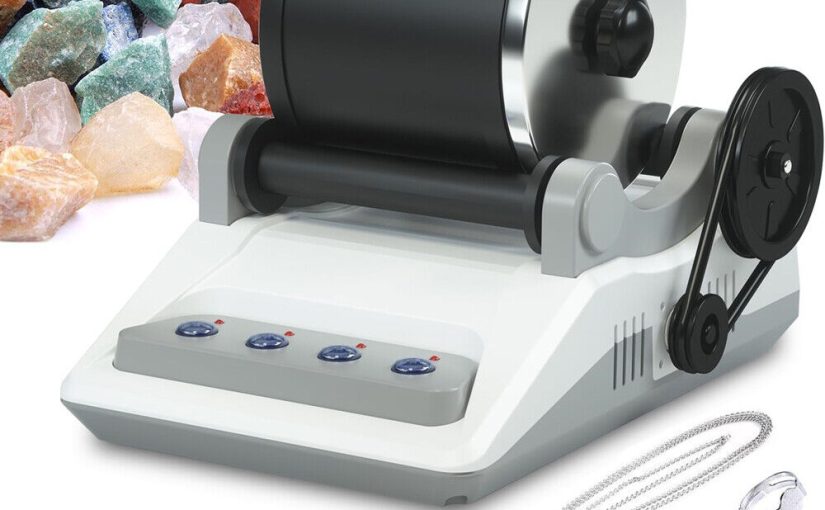
Rock tumbling is both an art and a science. In essence, rock tumbling involves the process of smoothing and polishing rough stones. The goal is to imitate the natural wear of rocks found in water bodies like rivers and seas. When engaging in rock tumbling, enthusiasts use a machine known as a rock tumbler for adults. This device mimics the natural erosion process through constant movement. Typically, the process takes several weeks. During this time, rough edges gradually wear away. The result is beautifully polished stones, which hobbyists use for jewelry, decoration, or collection. Rock tumbling is not a quick hobby. Patience is key, as is the use of the proper tools and techniques. The type of rock tumbler you choose will greatly impact your results. To begin, it is important to understand the rock tumbling process. First, start with rough, unpolished rocks. Place them in the tumbler along with abrasive grit and water. Over time, the tumbler’s movement causes the rocks to grind against the grit. This grinds down the rocks’ surfaces. As you progress, it’s vital to change the grit to finer grades. This move ensures a smoother finish. After the final polishing stage, rocks emerge with a shiny, smooth surface. For adults looking to get into rock tumbling, or for those seeking to upgrade their current setup, identifying the right rock tumbler is crucial. It must align with one’s level of experience, intended use, and expectations from the hobby.
Features to Consider When Buying a Rock Tumbler
When selecting a rock tumbler for adults, certain features make a huge difference in your tumbling experience. We’ll help guide you through the key aspects to consider.
Size and Capacity
Begin by considering how much you plan to tumble at once. Size and capacity influence how many rocks you can polish simultaneously. Small tumblers are great for beginners or those with limited space. Larger models handle more rocks, making them ideal for seasoned enthusiasts.
Motor Quality and Noise Level
A rock tumbler’s motor should be reliable and built to last. You want one that runs smoothly and quietly. High noise levels can be disruptive, so look for tumblers with noise-reducing designs. Remember, tumbling is a long process, and a noisy motor can become a nuisance over time.
Construction and Durability
The build quality of your tumbler affects how long it will last. Durability is key. Choose a rock tumbler made from rugged materials, able to withstand constant use. This investment pays off in the long run, especially for avid hobbyists.
Ease of Use and Maintenance
Lastly, ensure your rock tumbler is user-friendly. It should be simple to operate and easy to clean. Avoid tumblers with complex parts that are hard to assemble. Proper maintenance ensures a longer lifespan for your equipment. Repairs and parts replacements should be straightforward, with minimal downtime.
Types of Rock Tumblers
When diving into the world of rock tumbling, picking the right type of rock tumbler for adults is essential. There are two main categories to choose from: rotary and vibratory tumblers. Each has unique features and benefits suited for different tumbling experiences. Understanding the differences can help you make an informed decision.
Rotary vs. Vibratory Tumblers
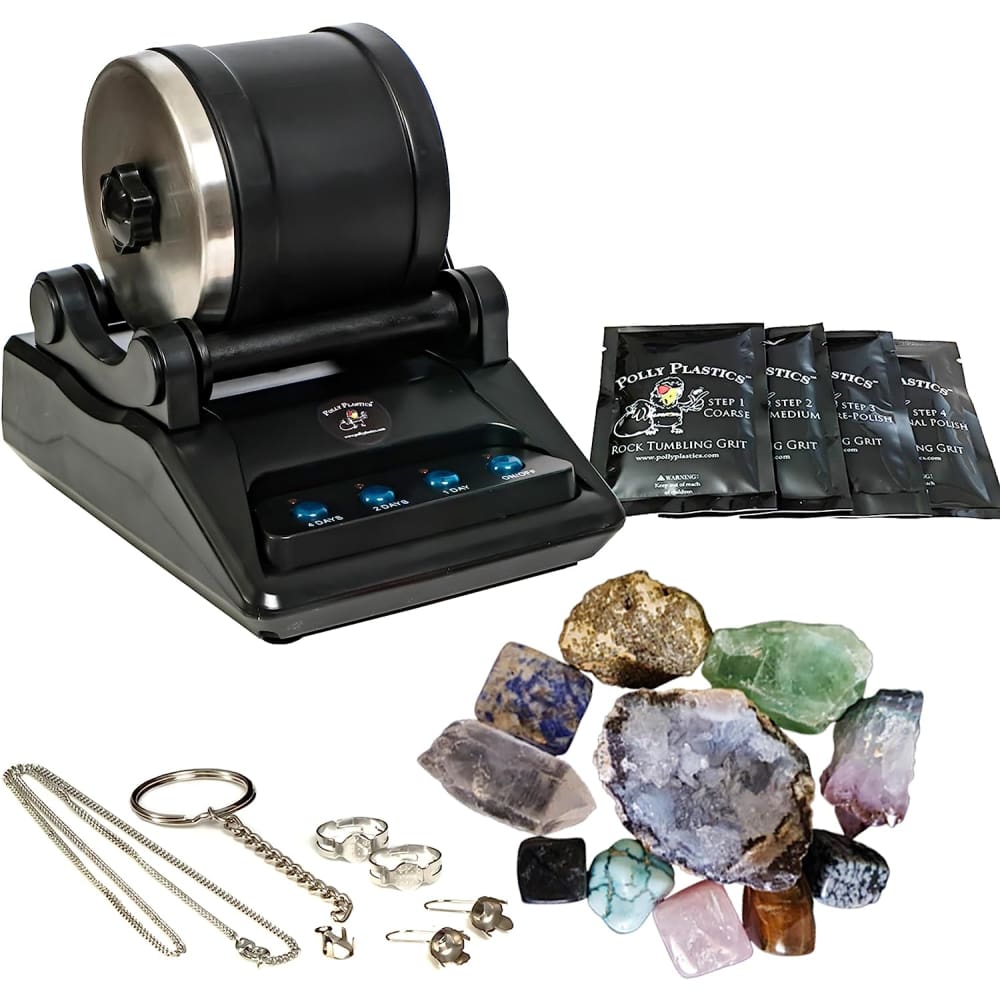
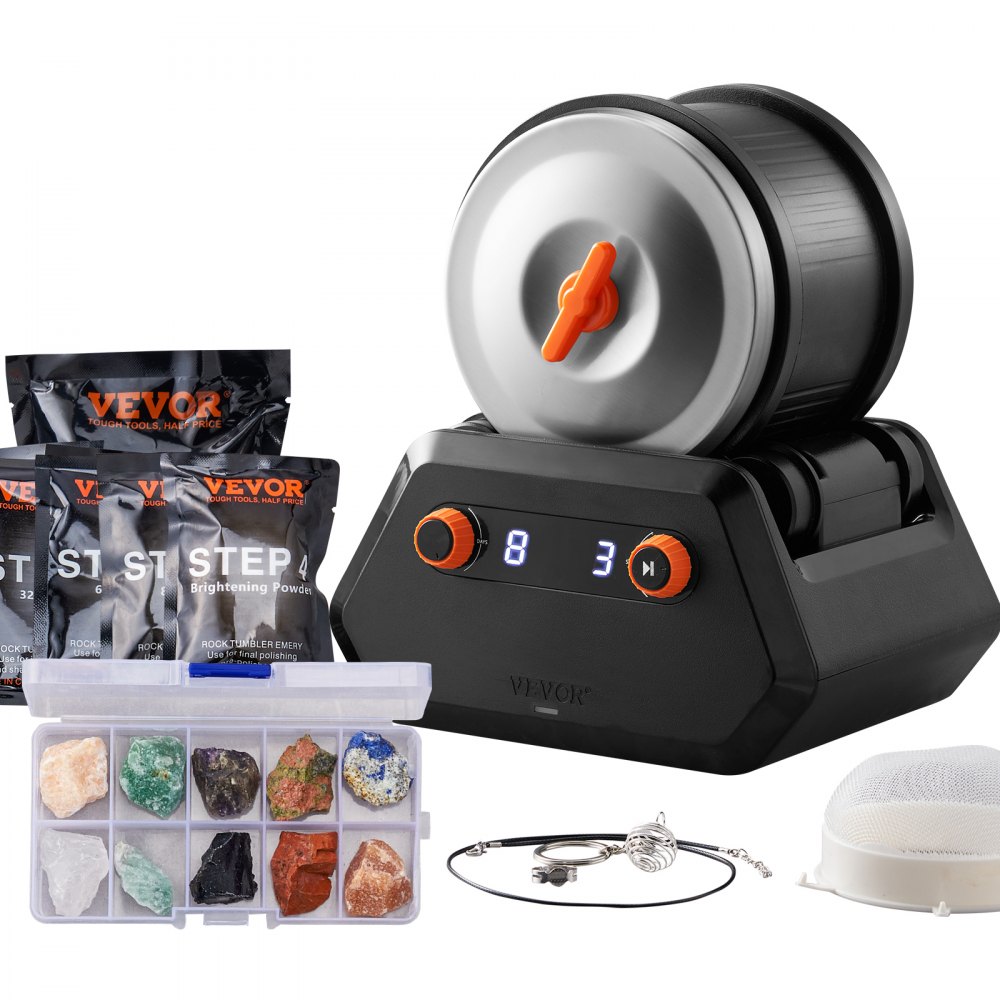
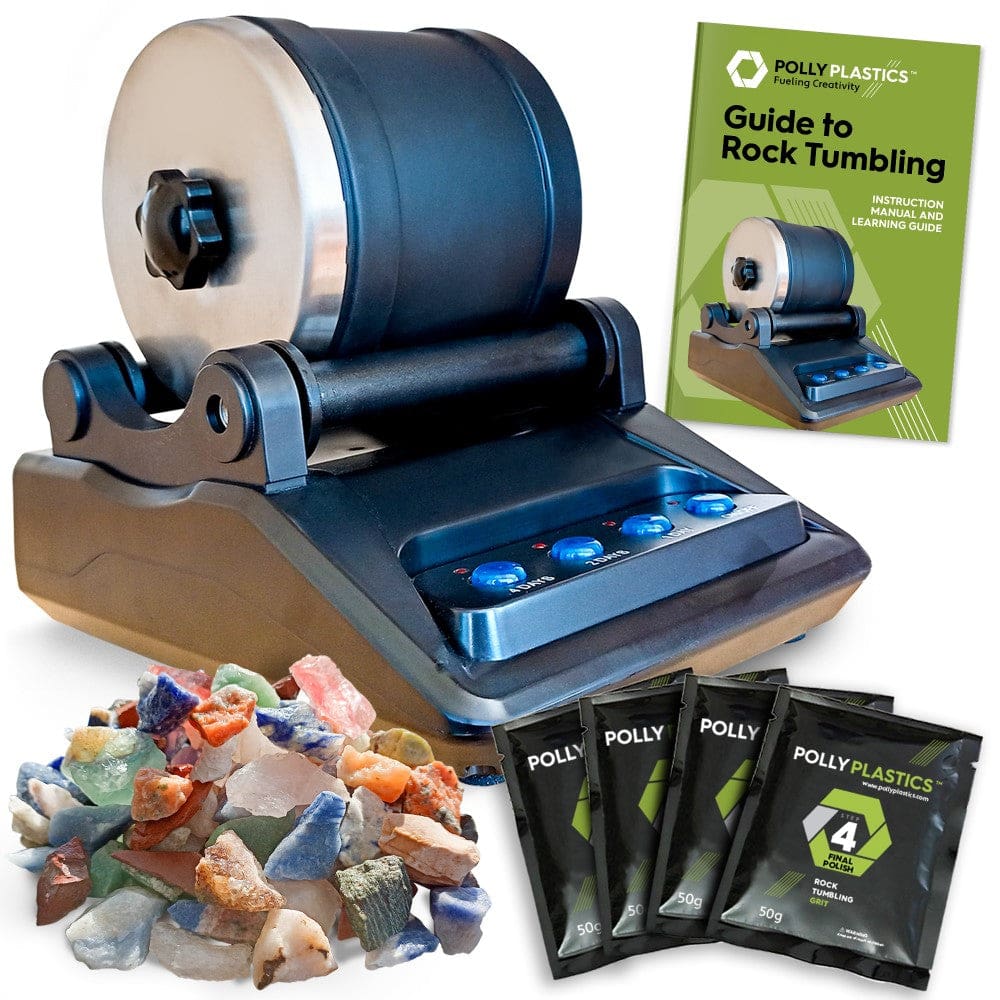
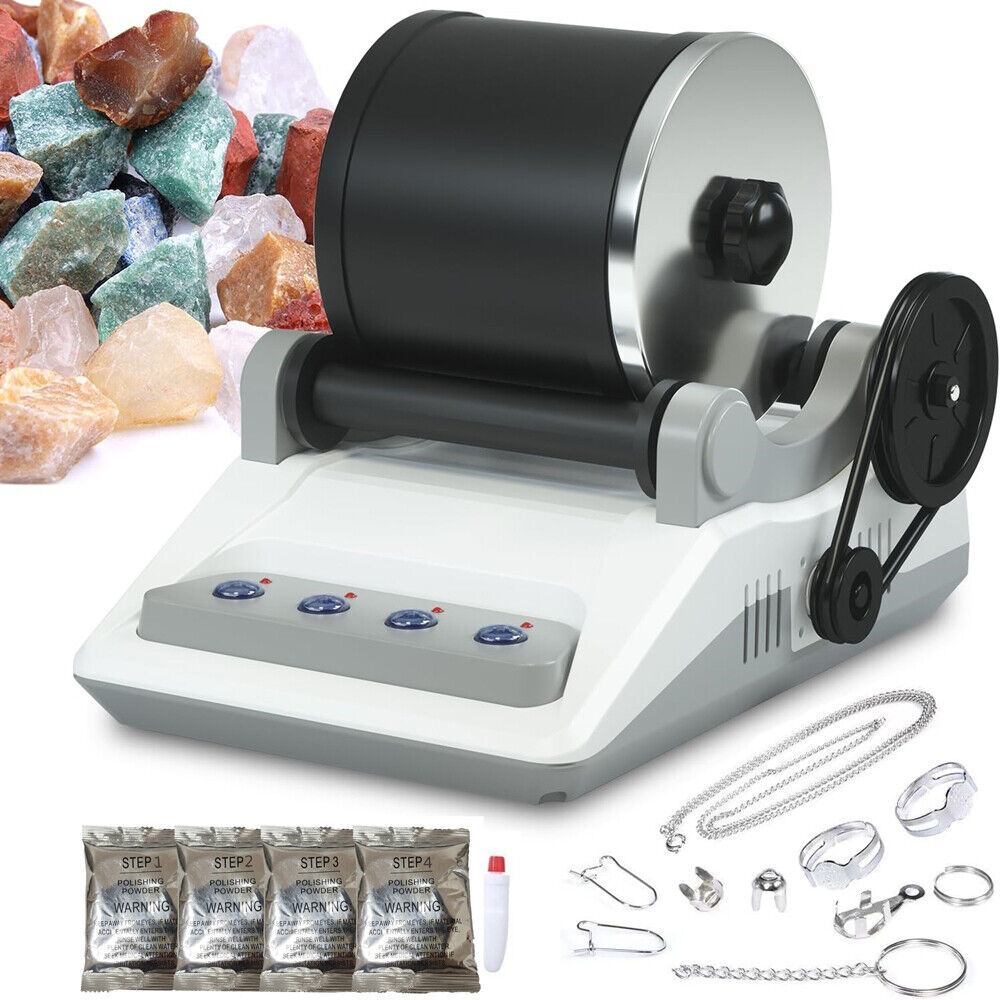
Rotary tumblers are the traditional choice for many beginners. They use a simple rotation mechanism to tumble rocks with grit and water. Over time, this action mimics the natural smoothing process found in rivers or beaches. Rotary tumblers are affordable and straightforward. They work well for coarse and fine grinding, shaping stones into rounded forms. These tumblers are perfect for those starting out or anyone on a budget.
Vibratory tumblers, on the other hand, shake the container holding the rocks and grit. This shaking causes the rocks to rub against each other and the grit. Vibratory tumblers tend to work faster than rotary styles and are often quieter. They are excellent for polishing already-shaped stones and for fine-tuning the shine. However, they might be more expensive. Experienced hobbyists who want to work quickly often prefer vibratory tumblers.
The Best Rock Tumblers on the Market in 2025
Finding the ideal rock tumbler for adults can be a challenge. In 2025, the marketplace offers a variety of tumblers, each boasting new features and improved designs. It’s crucial to select one that aligns with both your skill level and your rock tumbling goals. After considering size, durability, and ease of use, you’ll want to know which models stand out.
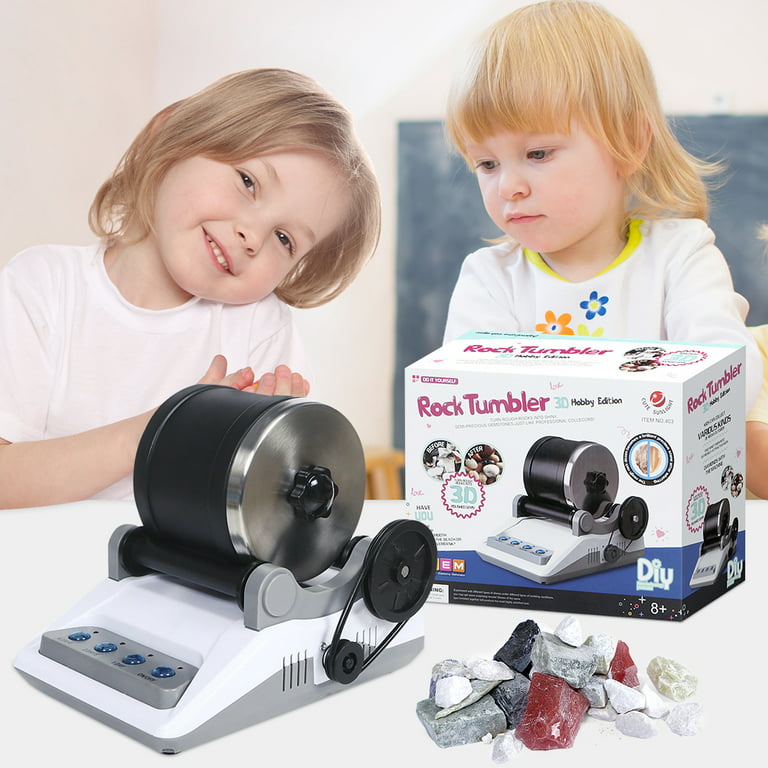
Rotary Tumblers for Beginners
Beginners should look for rotary tumblers. These models are user-friendly and affordable. They work best for those new to the hobby. Rotary tumblers provide everything needed to start the hobby with success. They help shape rough rocks into polished gems over several weeks. Some popular rotary tumblers include compact designs, ideal for limited spaces. They are perfect for initial coarse grinding and achieving smooth, round stones.
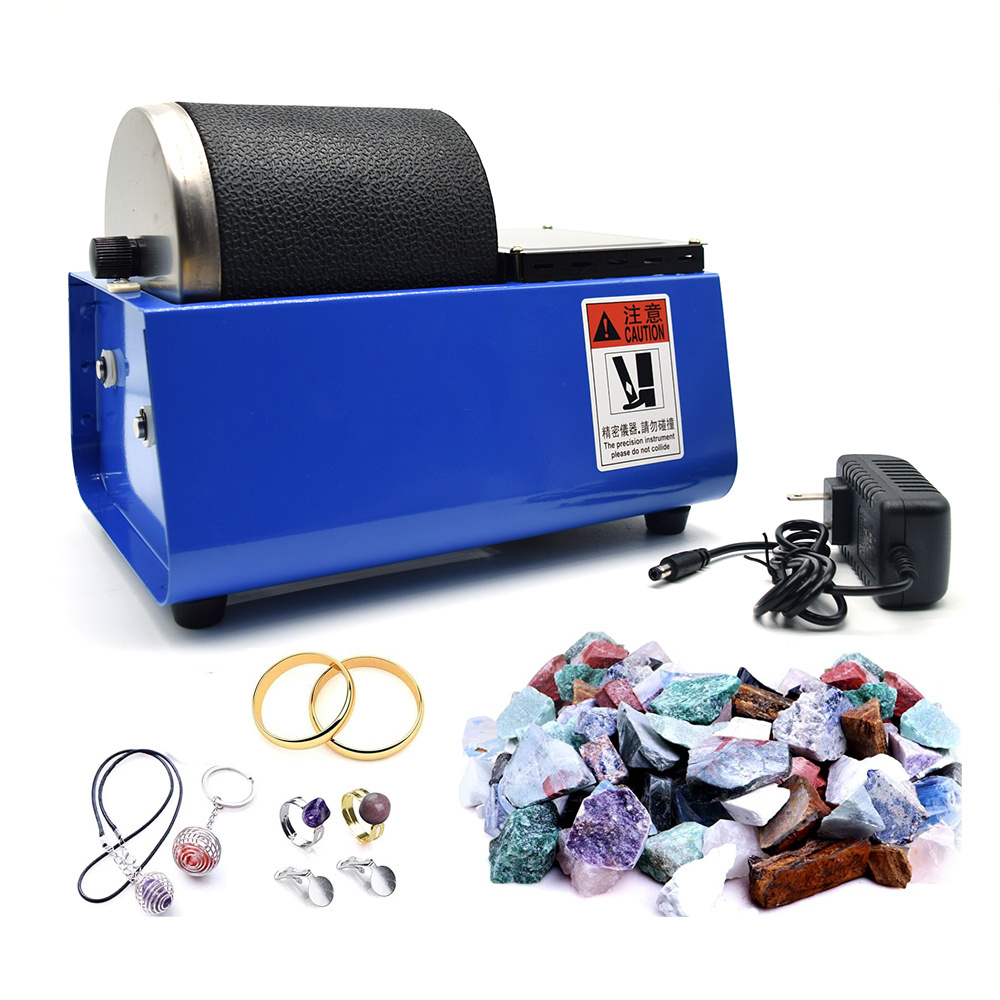
High-End Tumblers for Experienced Users
For those with more experience, high-end tumblers offer advanced features. These tend to be vibratory tumblers known for their speed and efficiency. They are often quieter and faster than rotary models. Vibratory tumblers are great for polishing stones already shaped. They bring out a high shine quickly. Many experienced users opt for these models due to their preciseness and quicker results. Some high-end models also feature durable construction and designs that make maintenance simple.
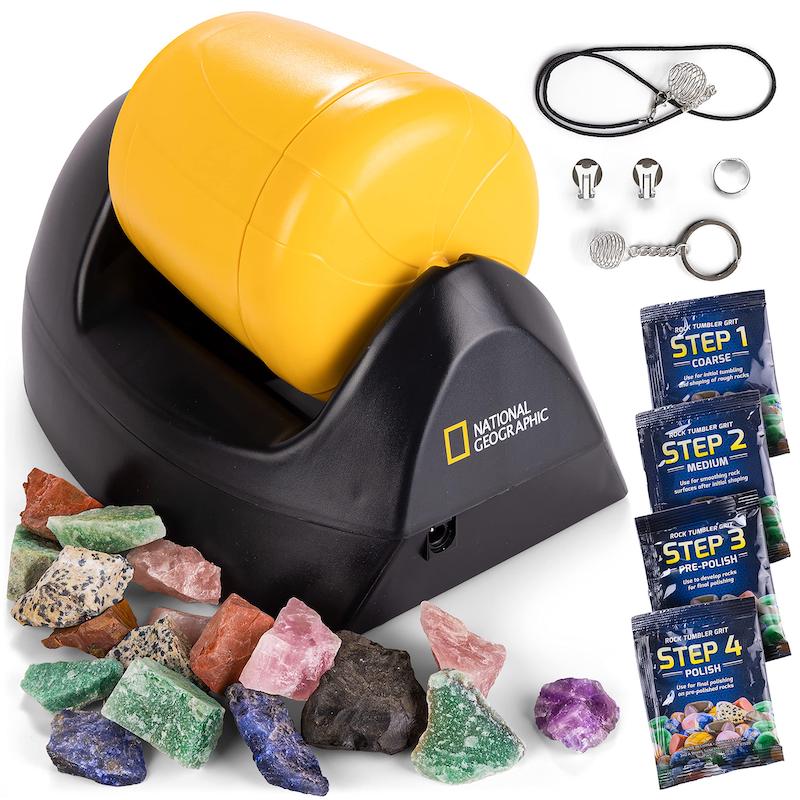
Accessories and Supplies for Rock Tumbling
Having the right rock tumbler for adults is just the starting point. For successful tumbling, you also need various accessories and supplies. They impact the outcome of your polished stones significantly.
Grits and Polish Compounds
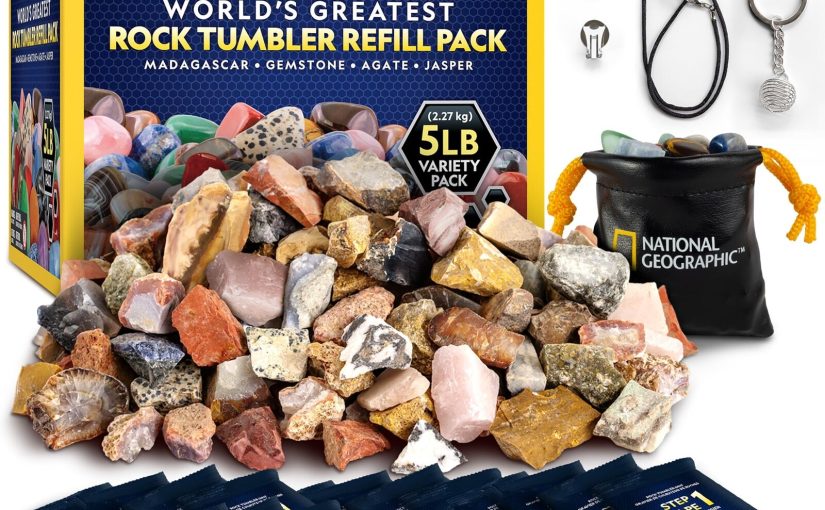
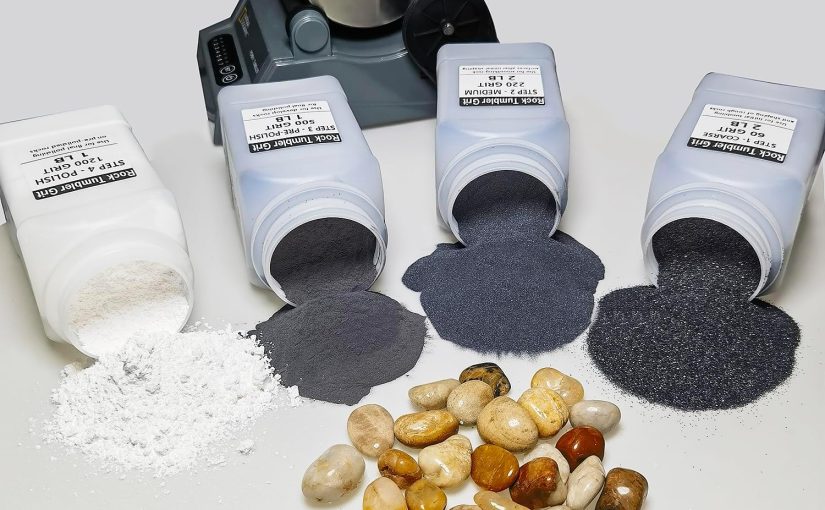
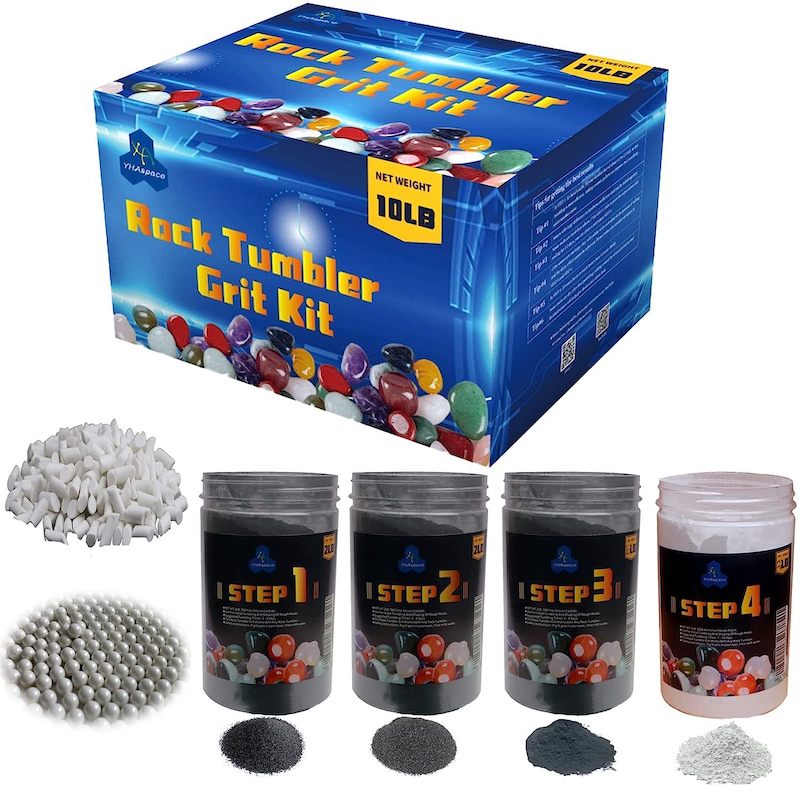
You can’t tumble rocks without grit. Grit is the abrasive material that wears down the rough surfaces. There are different grits for different stages of tumbling. Coarse grit is for initial grinding. Medium grit helps further smooth the stones. Fine grit polishes the rocks in the later stages. Finally, polish compounds give stones a dazzling shine. Invest in quality grits and polishes for the best results.
Tumbling Media and Fillers
In addition to grit, tumbling media and fillers are crucial. They fill gaps between rocks, cushioning them during tumbling. This prevents damage to your stones. Media comes in shapes like plastic pellets or ceramic cylinders. They also help in evenly distributing grit across the rocks. Use the appropriate media and fillers to ensure a smooth, even polish.
Tips for Successful Rock Tumbling
Aside from acquiring the ideal rock tumbler for adults, mastering the art of rock tumbling requires more than just the essential equipment. Success in this hobby is tied to several best practices that ensure you achieve the most satisfying and beautiful results. Below are some of the most effective tips for successful rock tumbling that hobbyists, both seasoned and beginners, should be aware of.
Selecting the Right Rocks
Choosing suitable rocks is the first step to successful tumbling. Not all rocks are created equal, and they don’t all respond the same way to tumbling. Look for rocks with a similar hardness, as they will polish at the same rate. Avoid mixing hard and soft rocks, as softer stones may be worn away when tumbled with harder ones. It’s also important to inspect rocks for deep cracks or flaws, which could cause them to break apart during the tumbling process.
Finding rocks with a good shape is crucial too. Aim for rocks that already have a somewhat rounded shape. These will require less grinding and shaping, which not only saves time but also reduces the amount of grit and electricity used. Additionally, remember that the visual appeal of the resulting polished stones will often depend on the initial shape and texture of the rocks you choose.
Perfecting the Tumbling Process
Once you have the right rocks, the tumbling process itself is all about precision and patience. Always follow the manufacturer’s guidelines for your specific rock tumbler model. Start with a coarse grit and tumble your rocks until they are nicely shaped and the edges are smoothed out, which typically takes about a week. Then, move on to a medium grit to further refine the surfaces.
As you progress, cleaning your rocks and the tumbler between each stage is crucial. This step prevents the coarser grit residue from scratching the rocks during finer stages. Use fine grit for the third stage to prepare the rocks for the final polish. The last step is to use a polishing compound to achieve a high gleam. Check the rocks periodically; be patient and wait until the desired luster is achieved before you finish tumbling. Each stage should follow for about a week, ensuring a gradual and effective polish.
Master the tips outlined above, ensure you’re well-equipped with the right rock tumbler for adults, accessories, and a methodical approach, and you will be on your way to producing amazing polished stones every time.
Frequently Asked Questions About Rock Tumblers for Adults
Entering the world of rock tumbling can bring up many questions, especially when aiming for the best outcomes. Here, we address some frequently asked questions that adults new to this hobby often have.
What is the best rock tumbler for a beginner?
The best rock tumbler for adults who are beginners is a rotary tumbler. It’s simple, cost-effective, and ideal for shaping rough rocks. Rotary tumblers provide an excellent starting point in the rock tumbling journey.
How long does the rock tumbling process take?
Typically, rock tumbling takes several weeks. Each stage in the process, from initial shaping to final polishing, requires about a week for optimal results.
Can different types of rocks be tumbled together?
No, it’s not recommended to tumble different types of rocks together. Rocks should be of similar hardness to ensure they all polish at the same rate.
How much noise does a rock tumbler make?
The noise level depends on the model. Some tumblers have noise-reducing features, but generally, they can be quite loud. Always check for quiet operation when purchasing a rock tumbler for adults.
How often should I replace the grit?
Replace the grit at each stage of the tumbling process. Start with a coarse grit and move to finer ones as you progress. The grit should be changed once it’s no longer effective in smoothing the rocks.
What maintenance does a rock tumbler require?
Regular cleaning and occasional parts replacement are the main maintenance tasks. Follow the user manual for specific maintenance instructions to keep your rock tumbler in good working order.
Do I need anything besides the tumbler and rocks to start?
Yes, you will need tumbling grits for different polishing stages, fillers to cushion the rocks, and a polish compound to achieve the final shine. It’s also wise to have a basic toolkit for any equipment maintenance.
Remember to do thorough research and understand your needs before investing in a rock tumbler for adults. With the right equipment and patience, rock tumbling can be a highly rewarding hobby.