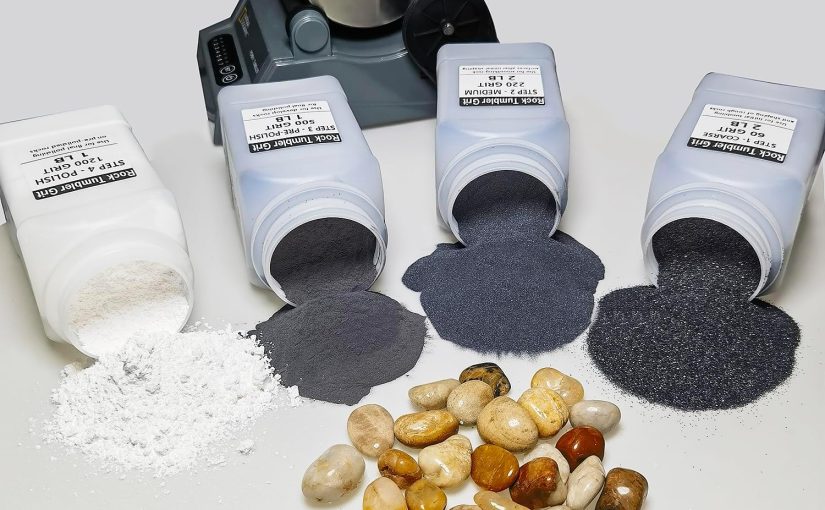
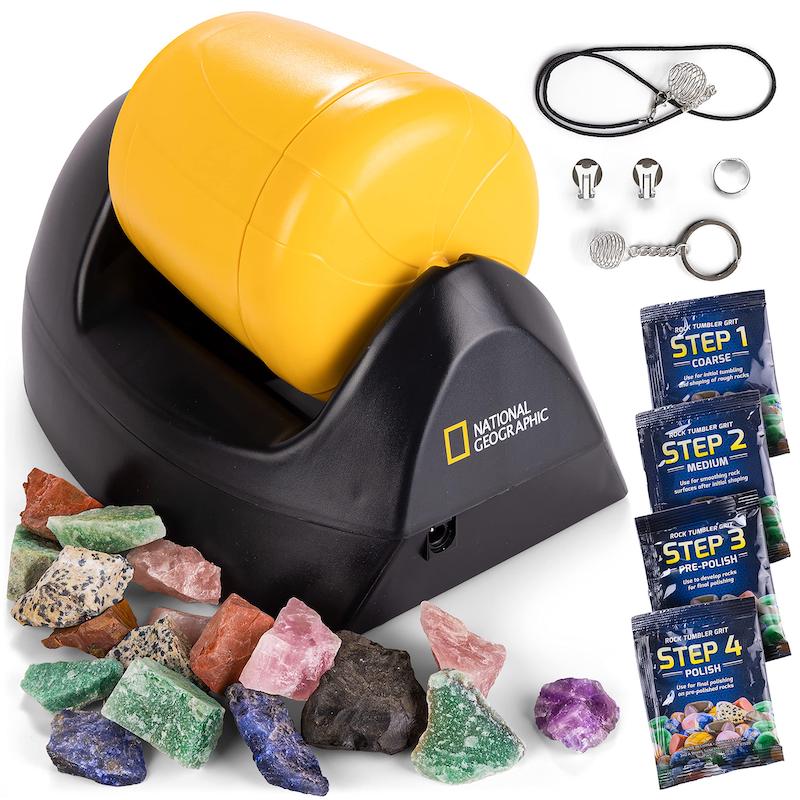
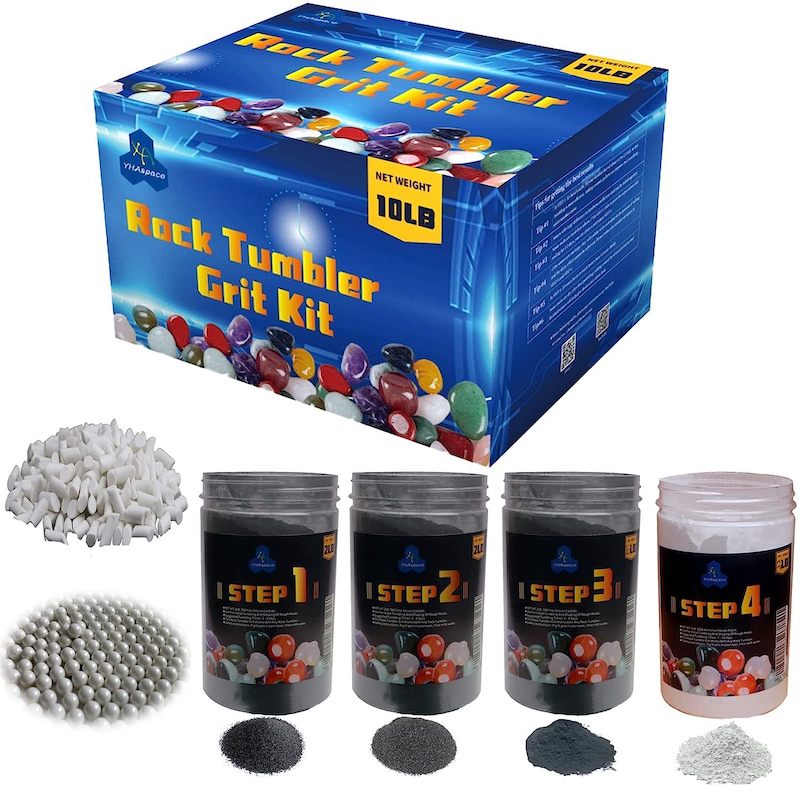
What is Rock Tumbler Grit?
Rock tumbler grit is a powerful substance. It shapes and polishes rocks in a rock tumbler. This grit consists of different materials. These include silicon carbide and aluminum oxide. They are very abrasive. This means they can grind away rough edges from rocks. It’s like sandpaper for woodworking. But rock tumbler grit has different sizes and coarseness levels.
The size and coarseness are for different stages of tumbling. Fine grit, for example, polishes rocks. Coarser grit can remove more material faster. This makes rocks smooth and ready for the next stage. Rock tumblers use this grit over weeks to make rocks look shiny.
In a rock tumbler, grit and water work together. They act as a consistent abrasive force. Over time, this mix helps create beautifully polished stones. Using the right type and amount of grit is crucial. It ensures a perfect polish and avoids damaging the rocks. Every tumbler and rock type might need a different grit. It is essential to understand this to achieve the best results.
The Different Types of Grit and Their Uses
Rock tumbler grit comes in several types. Each type serves a different purpose in the tumbling process. Here’s a brief overview of common grit types and their uses:
- Coarse Grit: Usually, this is silicon carbide of about 60/90 grit. It is the first step in the tumbling process. Coarse grit helps to shape the rocks and remove any sharp edges or large imperfections.
- Medium Grit: This is typically around 120/220 grit. It continues to smooth the rocks after coarse grinding. It prepares the rocks for further polishing.
- Fine Grit: Fine grit, such as 500 or 600 grit, is used for the pre-polish step. It smooths rocks to a matte finish before the final polish.
- Polishing Grit: This could be aluminum oxide or a finer silicon carbide grit. It polishes the rocks to a high shine. This step is usually the last in the tumbling process.
- Polish Powder: After the rocks become smooth, a polish powder like cerium oxide or tin oxide gives them a mirror-like finish.
Each type of grit must be used in a specific order. Skipping a step or using the wrong type can harm the rocks or ruin the finish. When selecting rock tumbler grit, understanding its purpose is key. It helps achieve the best results for your tumbling project.
How to Choose the Right Grit for Your Rocks
Choosing the correct rock tumbler grit is crucial. It can mean the difference between mediocre and magnificent results. Here’s a simple guide to help you pick the right grit:
- Assess Rock Hardness: Some rocks are harder than others. Softer rocks need finer grits, while harder rocks require coarser ones.
- Consider Rock Size: For larger rocks, start with a coarser grit. Smaller rocks might only need a finer grit.
- Examine Rock Surface: Look at the surface. Do you see deep scratches or is it fairly smooth? Deep scratches need coarser grit to begin with.
- Decide on Desired Finish: If you want a high shine, finish with a fine polish. A less glossy finish may need a rougher final step.
- Check Your Tumbler’s Capacity: Use a grit that suits your tumbler’s size and power. Don’t overload it with a heavy grit.
- Read the Instructions: Your tumbler will have guidelines. Follow them for the best grit to use with that machine.
- Experience Matters: If you’re new, start with standard grit progressions. As you learn, you can experiment more.
Selecting the right grit is not just about getting a shiny rock. It also increases the lifespan of your tumbler. Using incorrect or poor-quality grit can damage both the rocks and the tumbler. Remember to handle the grit with care. This keeps you and your tumbler safe throughout the polishing process.
The Grit Tumbling Process: Step by Step
Achieving polished and shiny rocks involves a precise tumbling process. Using rock tumbler grit correctly is essential. Below is a step-by-step guide designed to help beginners get started.
- Cleaning the Rocks: Begin by cleaning your rocks. Remove dust and debris. This ensures that grit can work effectively.
- Adding Coarse Grit: Start with coarse grit in the tumbler. This stage shapes your rocks and removes any sharp edges.
- Tumbling Time: Let the rocks tumble for about one week. Check periodically. Ensure the rocks are smoothing out as expected.
- Rinsing Rocks and Tumbler: After tumbling, rinse the rocks. Clean the tumbler too. This prevents cross-contamination of grit sizes.
- Medium Grit Stage: Use medium grit next. It further smoothens the rocks. Allow the rocks to tumble for another week.
- Fine Grit Phase: Switch to fine grit. This pre-polishes the rocks. Expect another week of tumbling.
- A Thorough Cleaning: Again, rinse the rocks and clean the tumbler. This step is crucial before the final polish.
- Polishing Grit Step: Add polishing grit. This is the final stage. It gives the rocks that desired shine.
- The Final Tumbling: Allow the rocks to tumble for the last week. This ensures a high-quality polish.
- Wash and Admire: Rinse the rocks for one last time. Now it’s time to admire the polished stones you’ve created.
This process takes time and patience. Results won’t be instant, but they’re worth the wait. Remember, the key is to not rush the steps and allow each stage to fully complete. Skipping steps or hurrying can result in less shine and even damage your rocks. Each step of tumbling builds upon the last, working towards that perfect shine.
Tips to Maximize the Effectiveness of Tumbling Grit
To get the best results from your rock tumbling efforts, maximizing the effectiveness of your rock tumbler grit is key. Here are some handy tips to help you polish like a pro:
- Measure Grit Accurately: Use precise measurements for your grit. Too much or too little can impact the tumbling process.
- Use the Right Water Ratio: Add just enough water to make a slurry with the grit. It should not be too watery or too dry.
- Ensure Proper Tumbler Balance: Balance your tumbler load. An imbalanced tumbler can hinder rock movement and grit effectiveness.
- Regularly Check Progress: Open the tumbler regularly to check progress. This can help you decide if more time or grit is needed.
- Clean Between Stages: Clean your rocks and tumbler well between each grit stage. Leftover grit can scratch the rocks.
- Cushion Delicate Rocks: Use plastic pellets or rubber bands as a cushion for fragile rocks. This prevents them from chipping.
- Maintain Consistent Tumbling Speed: Keep the tumbler speed consistent for even polishing.
- Replace Worn Grit: Don’t reuse grit. Old grit loses its abrasiveness and won’t polish properly.
- Monitor for Over-Tumbling: Over-tumbling can ruin the shape and smoothness of rocks. Keep an eye on the time.
- Control Temperature: Make sure your tumbler operates in a cool, shaded place. Overheating can alter the effectiveness of the grit.
By following these tips, you can improve the tumbling process and achieve a better finish on your rocks. The key is to be attentive and patient throughout the entire process. Attention to detail makes all the difference when using rock tumbler grit to create stunning polished stones.
Common Mistakes to Avoid When Using Rock Tumbler Grit
While it’s essential to use the correct rock tumbler grit, it’s just as crucial to use it properly to avoid mistakes. Beginners, in particular, are susceptible to common errors that can affect the final outcome of their tumbled rocks. Here are some of the pitfalls you should steer clear of for the best tumbling results:
- Wrong Grit Size: Using a grit size that’s not suited for your rock’s hardness or current stage can hinder progress. Make sure to follow the recommended size for each tumbling phase.
- Overloading the Tumbler: If you put too many rocks or too much grit in the tumbler, they won’t tumble properly. This can lead to inadequate grinding and polishing.
- Skipping Grit Stages: Each stage of grit has a purpose. Skipping a stage can result in poorly polished rocks or ones that haven’t had enough time to smooth out rough edges.
- Insufficient Cleaning: Not thoroughly cleaning the tumbler and rocks between stages can mix grits. This causes scratches and blemishes on your rocks.
- Reusing Grit: Used grit loses its abrasiveness. Reusing it won’t polish your rocks well and might leave them looking dull.
- Ignoring Tumbler Leaks: A leaking tumbler is a sign of potential issues. Check seals and repair any leaks immediately to prevent grit and water loss.
- Not Checking Progress: Failing to regularly check on your rocks can lead to over-tumbling which wears them down too much, or under-tumbling which leaves them unpolished.
By avoiding these mistakes and applying the tips from earlier sections, you’ll be on your way to producing beautifully tumbled rocks with your rock tumbler grit.
Maintaining Your Rock Tumbler for Optimal Performance
To keep your rock tumbler running smoothly, regular maintenance is key. Here’s how to ensure it performs at its best:
- Check for Wear and Tear: Inspect your tumbler for any signs of damage regularly. Look for cracks or wear on the belts and barrels.
- Regular Cleaning: After each use, clean the tumbler thoroughly. This prevents buildup of grit and extends the machine’s life.
- Barrel Seals: Ensure the seals on your tumbler’s barrel are tight. This stops leaks that could cause damage.
- Lubricate Moving Parts: Apply lubricant to bearings and other moving parts to reduce friction. This helps to prevent overheating.
- Belt Tension: Check the tension of any belts. Loose belts can lead to inefficient tumbling.
- Replace Worn Parts: When parts wear out, replace them promptly. This includes belts, barrels, and seals.
- Avoid Overloading: Don’t overload your tumbler with too many rocks or too much grit.
- Follow Manufacturer Guidelines: Stick to the manufacturer’s instructions for care and capacity.
- Use Quality Grit: Always use high-quality rock tumbler grit for the best results. Cheap or incorrect grit can damage your tumbler.
With these practices, your tumbler will continue to produce beautiful polished stones session after session. It’s essential not to cut corners with maintenance, just as with the tumbling process itself. Proper care ensures longevity and reliability, giving you the best tumbling experience possible.
Where to Buy Quality Rock Tumbler Grit
Finding quality rock tumbler grit is vital for successful tumbling. Here are options to consider when purchasing grit:
- Local Hobby Shops: Check stores near you that specialize in rock tumbling supplies.
- Online Retailers: Sites like Amazon offer a variety of grit types for purchase.
- Specialty Online Stores: Look for stores that specifically cater to rock tumbling and lapidary enthusiasts.
- Direct from Manufacturers: Buying directly can sometimes offer the best prices and freshest stock.
- Rock Tumbling Forums and Communities: Ask for recommendations on where others buy their grit.
While shopping, remember to compare product quality and prices. Read reviews and ask questions about the grit’s performance. Ensure the grit is specifically designed for tumbling, as other types might damage your rocks or tumbler. Moreover, consider buying in bulk to save money in the long run, especially if you tumble frequently.
Choose a reliable supplier who offers a range of grit sizes. This allows you to stick with one supplier for all your tumbling needs. Quality grit leads to beautifully polished stones, so invest in the best you can afford.


