Choosing Your Tumbler
When starting your DIY stitch tumbler project, selecting the right tumbler is crucial. Here are steps to guide you:
- Material Matters: Choose a tumbler made of stainless steel or plastic. Stainless steel tumblers are durable and maintain beverage temperature, while plastic ones are lightweight and less costly.
- Size and Shape: Think about how you will use your tumbler. For coffee or tea, a 12 to 16-ounce size works well. For cold drinks, consider larger sizes. The shape should accommodate your stitch design comfortably.
- Color and Finish: Pick a color that complements your stitch pattern. A matte finish is best for adhesion, while a glossy finish may require extra preparation.
- Lid and Handle: Ensure the tumbler comes with a secure lid. A handle is optional but can be handy.
- Customization Potential: Some tumblers have a coating that makes them easier to customize. Check for this feature if you plan to add complex designs.
Remember, the stitch tumbler you choose will serve as the canvas for your creativity, so take your time with this step.

Gathering Your Materials
Once you’ve chosen the perfect stitch tumbler, it’s time to gather the necessary materials for your project. Here’s what you’ll need:
- Embroidery Thread: Select high-quality embroidery thread in colors that match your design. Durability and colorfastness are key.
- Needles: Sharp and suitable for the thread and tumbler material. Have various sizes on hand.
- Scissors: A sharp pair for clean cuts on your thread.
- Adhesive: A strong, water-resistant adhesive that’s compatible with the tumbler’s material.
- Patterning Tools: Tools such as pencils or chalk to mark your design on the tumbler before stitching.
- Protective Tape: Use painters’ or masking tape to guard areas of the tumbler not meant for stitching.
- Optional Accessories: Consider beads or sequins to add a sparkle to your design.
Make sure each item is ready and in good condition before you start. Quality materials will help ensure a beautiful, long-lasting stitch tumbler.
Preparing Your Workspace
Before you dive into the fun part of crafting your stitch tumbler, preparing your workspace is essential. A well-organized area ensures the process is smooth and enjoyable. Here’s how to set up your crafting space:
- Clean Surface: Start with a clean, flat surface. Ensure it’s free of dust and debris to avoid contaminating your materials.
- Ample Lighting: Good lighting is crucial. Natural light is best, but if that’s not possible, use a bright desk lamp.
- Organize Supplies: Arrange your materials neatly. Place threads, needles, scissors, and adhesives within easy reach.
- Design Display: Have your stitch pattern visible. Pin it up or prop it nearby to reference as you work.
- Comfort Matters: Choose a comfortable chair. You may be sitting for a while as you craft your tumbler.
- Protection for Surfaces: Lay down a sheet or craft mat. This protects your table and makes clean-up easier.
- Distraction-Free Zone: Minimize distractions. Turn off the TV and maybe play some soft music to keep you focused.
After organizing your space, you’re ready to begin the exciting task of applying your stitch design to your tumbler. Remember, a comfortable and clean workspace not only makes crafting enjoyable but also affects the quality of your finished product.
Designing Your Stitch Pattern
Crafting a unique stitch pattern is key to personalizing your tumbler. Follow these tips:
- Choose a Theme: Start by deciding on a theme that reflects your style or interest.
- Sketch Ideas: Draw out a few designs on paper. Keep it simple yet engaging.
- Size It Right: Measure your stitch tumbler area. Ensure your design fits well.
- Color Selection: Pick thread colors that stand out against your tumbler’s background.
- Simplicity: Aim for simple patterns. They’re easier to stitch and often look cleaner.
- Test on Fabric: Practice your design on a scrap piece of fabric to perfect it.
Your stitch pattern is the artwork of your craft. Take time to make it both personal and professional. It will give your stitch tumbler a signature look that’s all your own.
Applying the Stitch Design
Once you’ve crafted your unique stitch pattern, it’s time to bring it to life on your tumbler. This stage requires patience and precision to ensure the best results. Follow these steps to apply your stitch design effectively:
- Transfer Your Design: Use your patterning tools to gently mark the design outline on your tumbler. Ensure the marks are visible enough to follow.
- Secure Your Thread: Tie a small knot at the end of your embroidery thread. This prevents it from slipping through the stitches.
- Begin Stitching: Start from the inside or bottom of your tumbler to keep knots and starts hidden. Push the needle through your marked points carefully.
- Maintain Tension: Keep the thread tension consistent. This avoids loose stitches that could catch on objects or warp the design.
- Add Embellishments: If your design includes beads or sequins, sew them on as you go. This integrates them seamlessly into the pattern.
- Inspect as You Go: Regularly check your work. Make adjustments as needed to keep your stitch tumbler design looking its best.
- Finish Off: When you reach the end of your design, secure the thread with a knot on the inside of the tumbler. Trim any excess.
Remember, applying the stitch design to your stitch tumbler is a delicate process. Take breaks if necessary to keep your stitching neat. The effort will pay off when you see your beautiful, hand-crafted design come together.
Sealing and Protecting Your Design
After spending time applying your stitch design to the tumbler, it’s important to seal and protect it. This will ensure the design stays intact and the colors remain vibrant over time. Here are steps to seal and protect your design:
- Choose a Sealant: Select a clear sealant that’s compatible with the tumbler’s material. Make sure it’s non-toxic and food safe if it’s near the rim.
- Clean the Surface: Wipe down the stitched area gently. Make sure it’s free from dust and debris before you apply the sealant.
- Apply the Sealant: Use a soft brush or a spray to apply the sealant evenly. Cover all the stitched areas well, but avoid drips.
- Dry Thoroughly: Allow the sealant to dry completely. This may take several hours or as recommended by the sealant instructions.
- Check Coverage: Once dry, inspect the sealant layer. Look for any spots you might have missed and apply a second coat if necessary.
- Cure the Sealant: Some sealants require time to cure. Follow the instructions to ensure maximum protection.
Sealing your stitch tumbler is critical for its durability. Do this step correctly and it will help keep your tumbler looking great for a long time.
Caring for Your Stitch Tumbler
To keep your stitch tumbler looking its best, proper care is essential. Here are easy steps to follow:
- Gentle Washing: Hand wash your tumbler with mild soap and warm water. Avoid harsh scrubbers.
- Avoid Dishwashers: The high heat can damage the embroidery and sealant. Always hand wash.
- Dry Promptly: After washing, dry your tumbler with a soft towel to prevent water spots.
- Store Safely: Keep your tumbler in a place where it won’t get knocked over or scratched.
- Regular Checks: Look for any loose threads or damage regularly. Make repairs as needed.
- Limit Sun Exposure: Keep your tumbler out of direct sunlight to avoid fading the thread colors.
By taking simple steps to care for your stitch tumbler, you can enjoy your handcrafted creation for many joyful moments to come.
Creative Ideas and Inspirations
Creativity fuels every DIY stitch tumbler project. Here are inspirations to spark your imagination:
- Nature Motifs: Think flowers, leaves, or landscapes for a natural feel.
- Personal Monograms: Stitch your initials for a personal touch.
- Favorite Quotes: Embroider inspiring words or phrases that resonate with you.
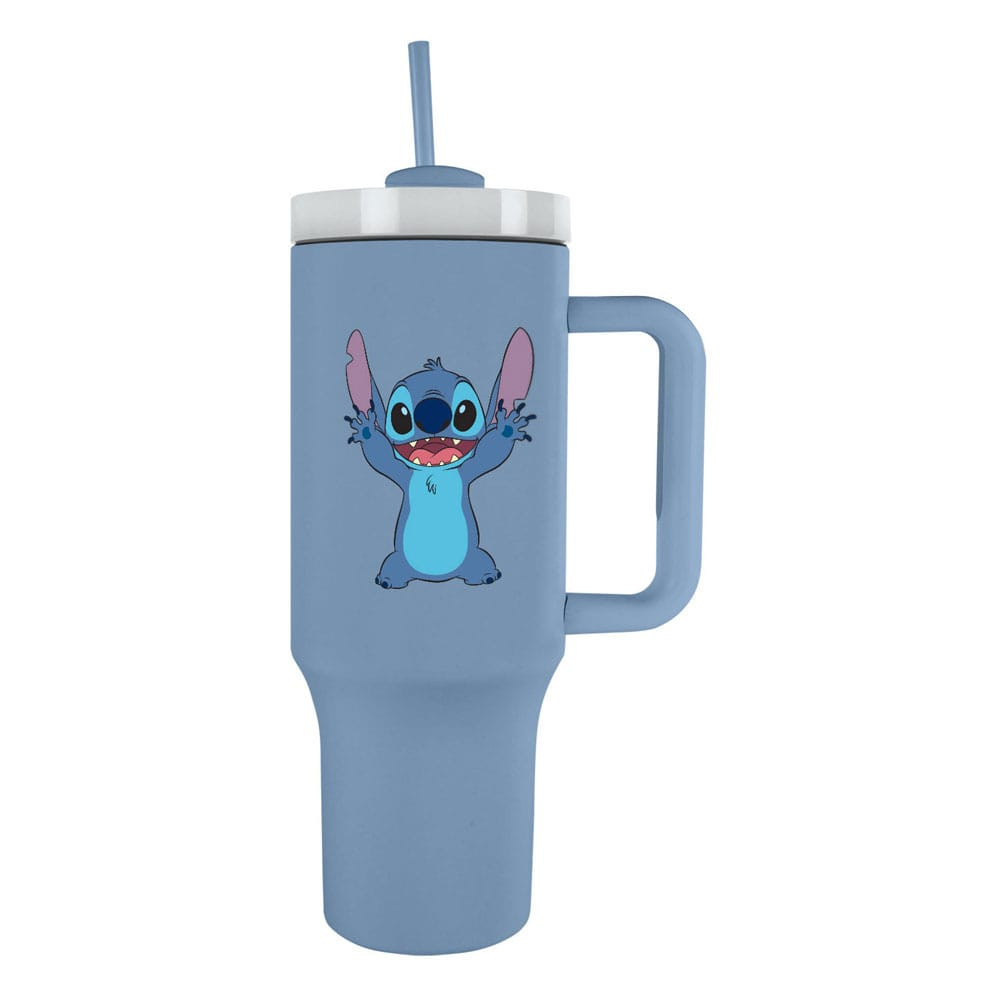
- Pop Culture References: Show off your favorite movies, books, or characters with unique designs.
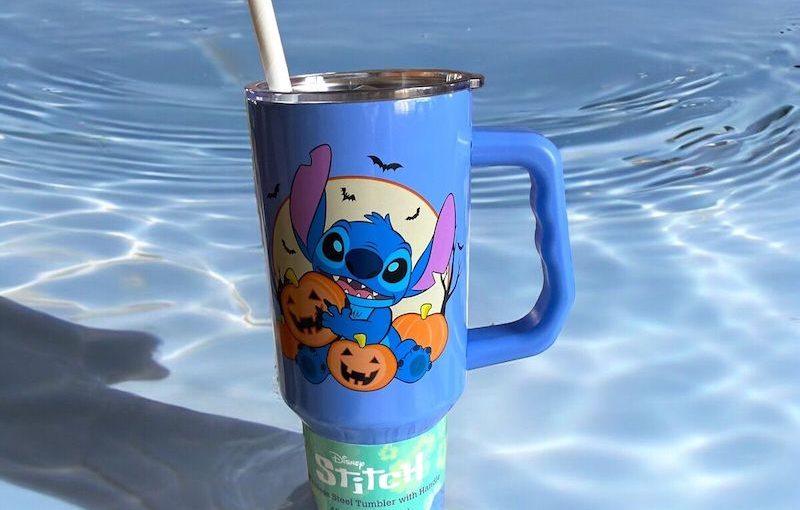
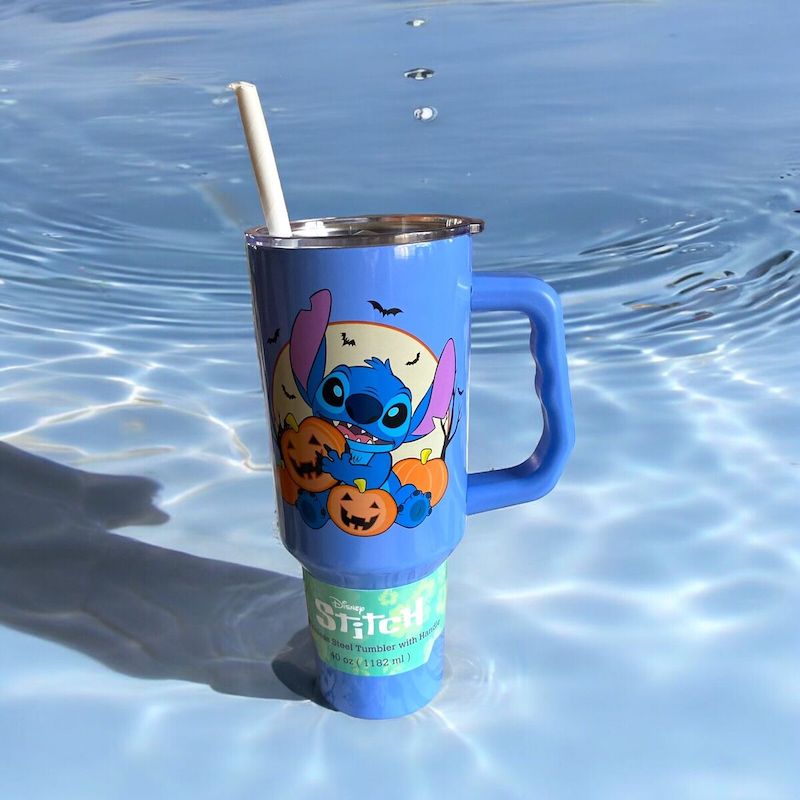
- Holiday Themes: Get festive with patterns for Christmas, Halloween, or Easter.
- Animal Patterns: From pets to wild creatures, animals make adorable additions.
- Geometric Shapes: Play with lines, circles, and triangles for a modern look.
- Oceanic Designs: Waves, fish, and coral are great for a serene vibe.
- Sport Team Logos: For sports lovers, flaunt your team spirit on your tumbler.
- Matching Sets: Create a series that go together for friends or family.
These suggestions aim to give direction and offer a starting point for your designs. Mix and match ideas, or combine themes to make something uniquely yours. Find what sparks joy and let creativity lead your stitch tumbler project.